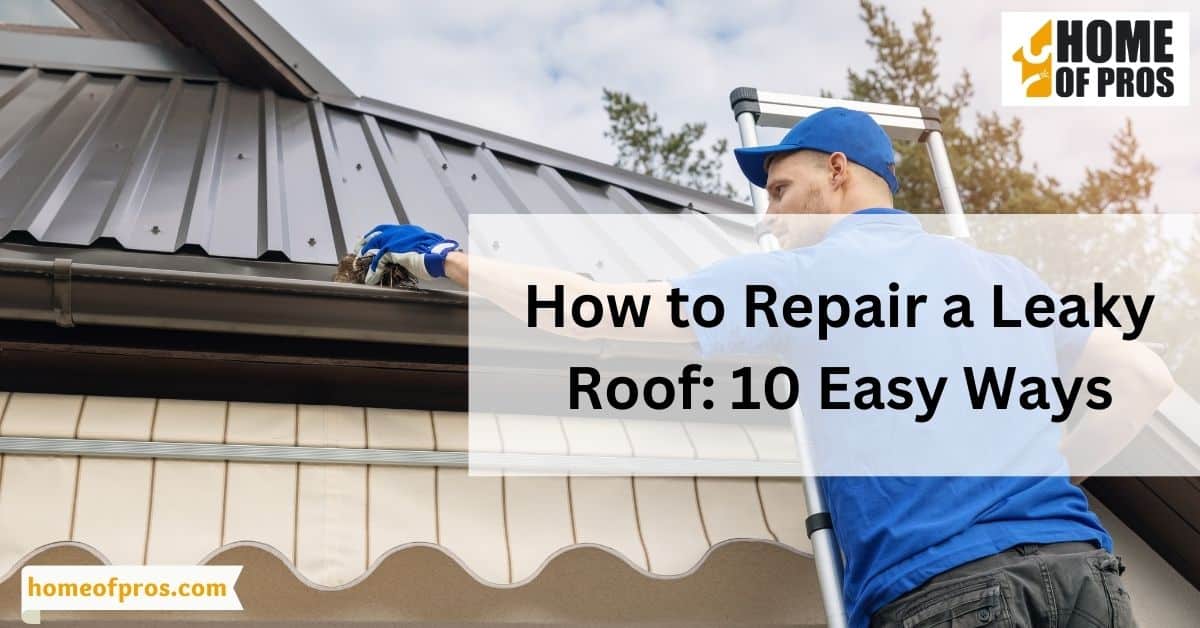
Are you dealing with a leaky roof? It can be a frustrating experience. Not only does it cause water damage inside your home, but it also leaves you in an uncomfortable situation. Don’t worry – there are ways you can take to repair the problem and prevent further damage.
Repairing a leaky roof is easy and can be done with basic tools and materials. First, identify the source of the leak and inspect the roof for damage. Then, apply a temporary patch, replace damaged shingles, seal flashing and vents, repair cracks, fix gutters and downspouts, apply a waterproof coating, or hire a professional roofing contractor if needed.
In this blog post, we’ll provide 10 easy ways how to repair a leaky roof. From identifying the source of the leak and gathering the necessary tools to applying a temporary patch and waterproof coating, we’ll help you get your roof back in top condition. Keep reading for everything you need to know about fixing a leaky roof!
1. Identify the Source of the Leak
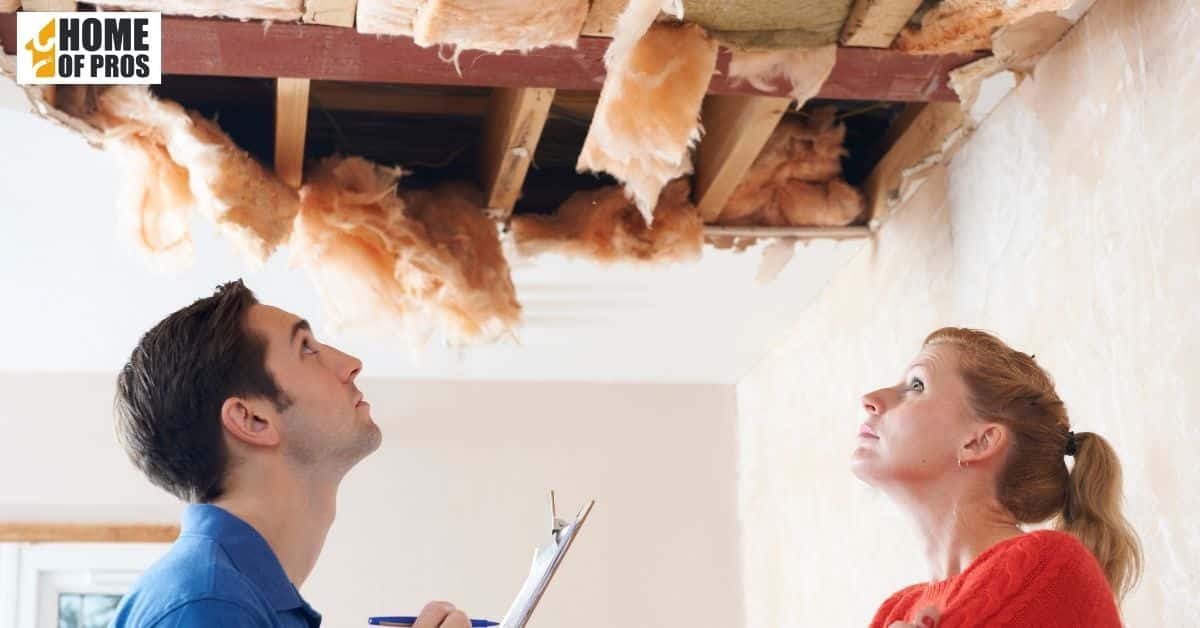
Before you can repair a leaky roof, you need to identify the source of the leak. The first step is to look for obvious signs of damage, such as missing shingles or cracked flashing. If you can’t find any visible damage, you may need to do some detective work.
Start by examining the area where the leak is occurring. Look for any discoloration or water stains on the ceiling or walls. From there, you can trace the source of the leak back to the roof.
Keep in mind that the actual source of the leak may not be directly above the stain or discoloration, as water can travel along rafters and other parts of the roof before dripping down. Once you’ve identified the source of the leak, you can begin the process of repairing it.

2. Inspect the Roof for Damage
After you’ve identified the source of the leak, it’s important to inspect the roof for any damage. Start by examining the shingles, looking for any that are missing, cracked, or damaged. If you find any damaged shingles, they will need to be replaced.
Next, inspect the flashing around chimneys, vents, and skylights. Flashing is the metal or plastic strips that cover the joints and seams of the roof. If the flashing is damaged or missing, it can allow water to seep into the roof and cause leaks.
Also, inspect the gutters and downspouts for any damage or clogs, as they can cause water to overflow and damage the roof. By thoroughly inspecting the roof for damage, you can ensure that all necessary repairs are made and prevent future leaks.
3. Gather the Necessary Tools and Materials
To repair a leaky roof, you’ll need to gather some basic tools and materials. Here’s a list of everything you’ll need:
- Ladder
- Safety harness and ropes
- Hammer
- Nails
- Roofing cement
- Roofing nails
- Utility knife
- Shingles (if needed)
- Flashing (if needed)
- Caulk gun and sealant
Before you start the repair process, make sure you have all of these tools and materials on hand. You’ll also want to take appropriate safety precautions, such as using a sturdy ladder and wearing a safety harness if you’ll be working on a steep roof. With the right tools and materials, you can repair your leaky roof and prevent further damage to your home.
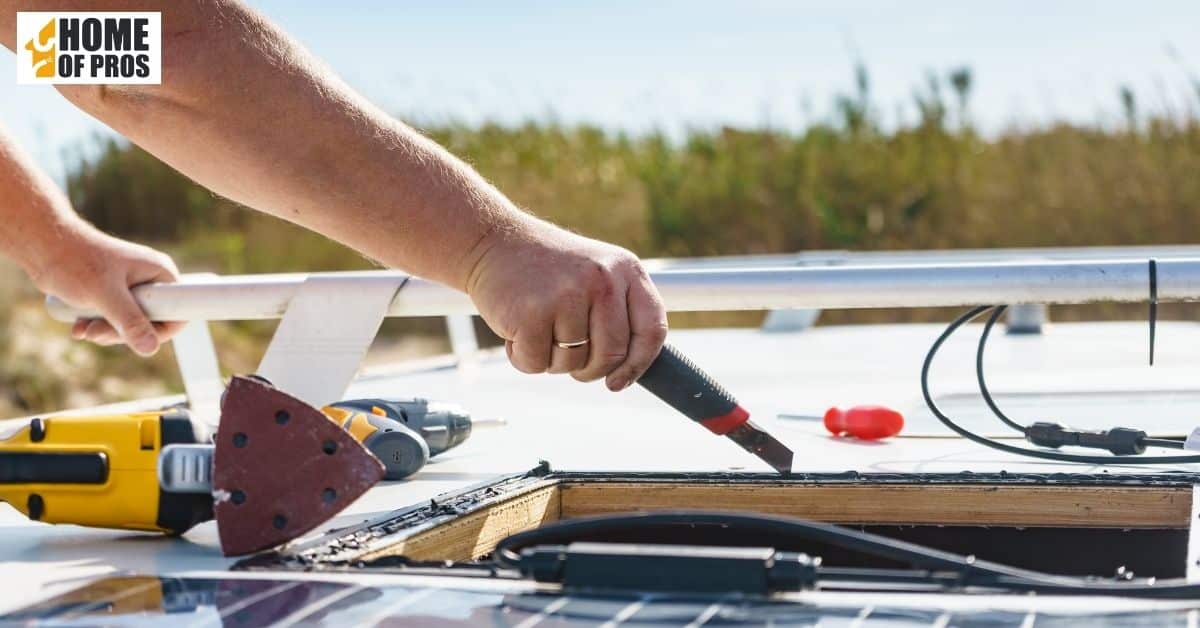
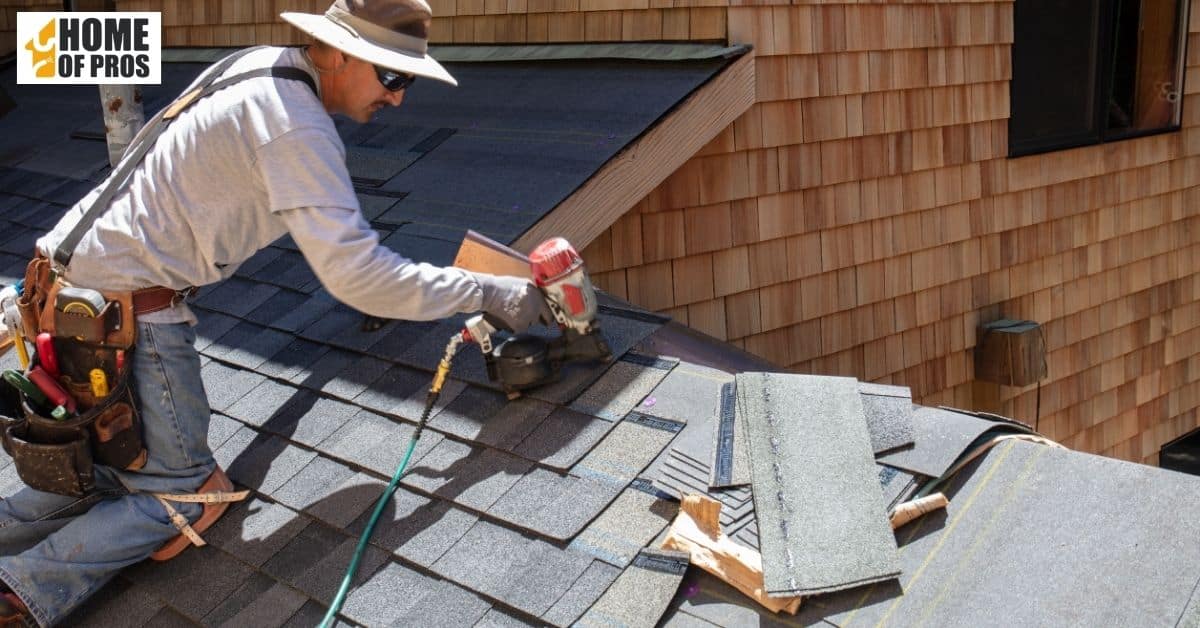
4. Apply a Temporary Patch
If you have a leaky roof, applying a temporary patch can help prevent further damage to your home. Here are the steps to follow:
- Clear any debris- Before you start, make sure the area around the leak is clear of debris.
- Cut a patch- Use a utility knife to cut a piece of roofing material, such as a shingle, to fit over the leak.
- Apply roofing cement- Apply a layer of roofing cement around the area of the leak.
- Press the patch firmly- Press the patch firmly into place, making sure it covers the leak.
- Secure with roofing nails- Use roofing nails to secure the patch in place.
- Cover the edges: Cover the edges of the patch with more roofing cement.
Keep in mind that a temporary patch is just a temporary solution and should be replaced with a permanent repair as soon as possible. Applying a temporary patch can help keep water from seeping into your home and causing further damage until a professional can make a permanent repair.
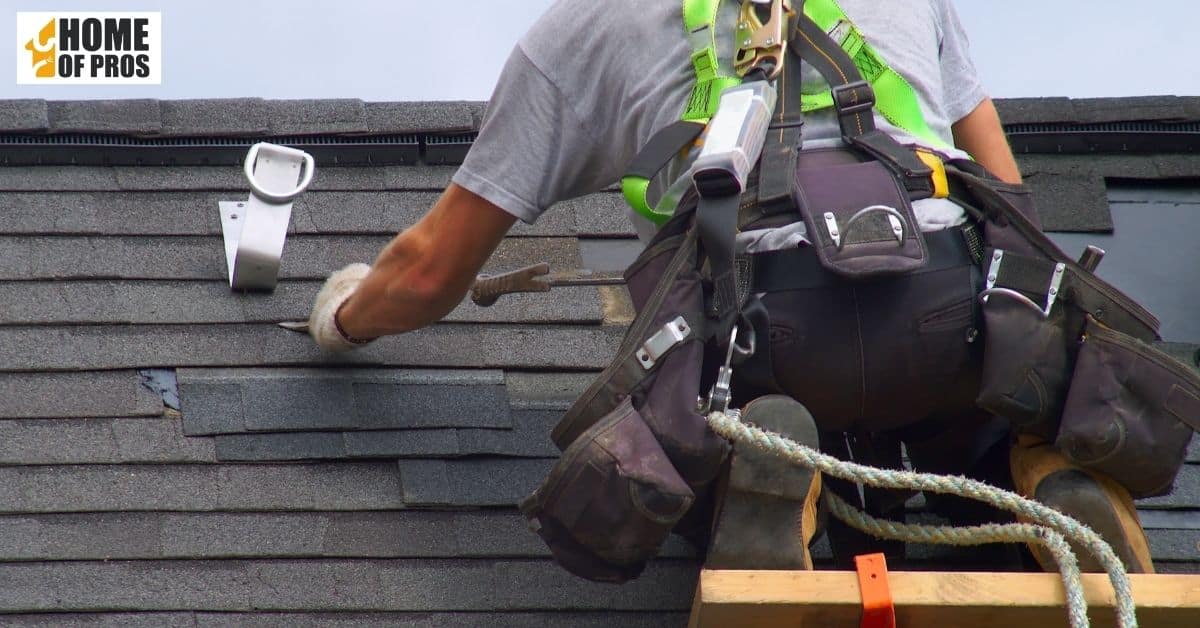
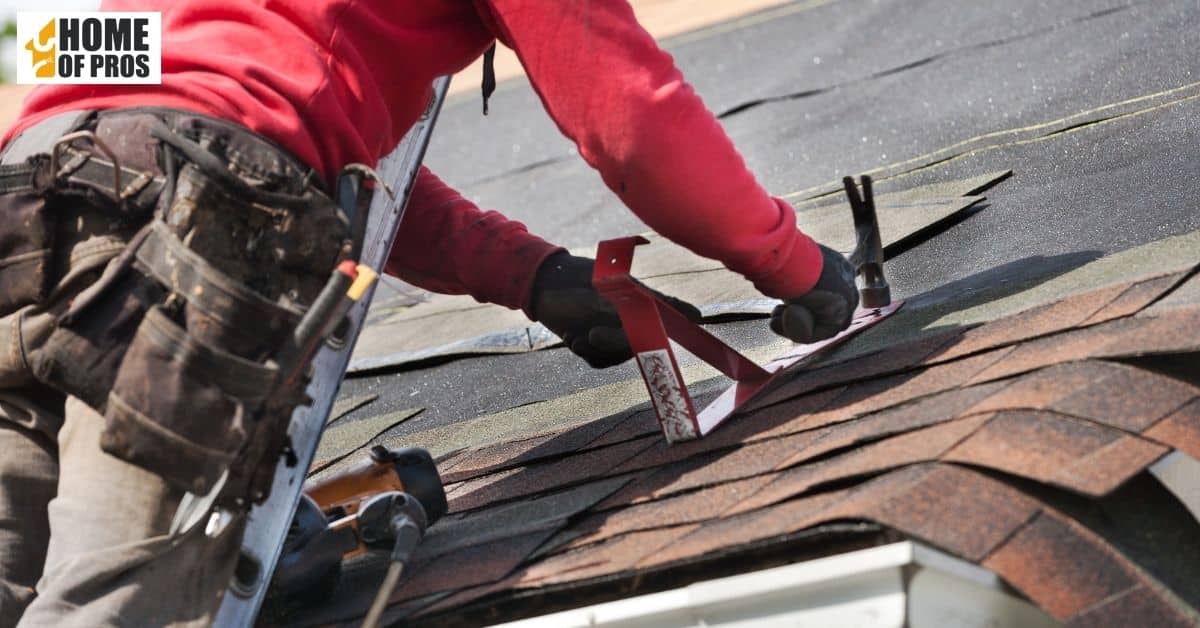
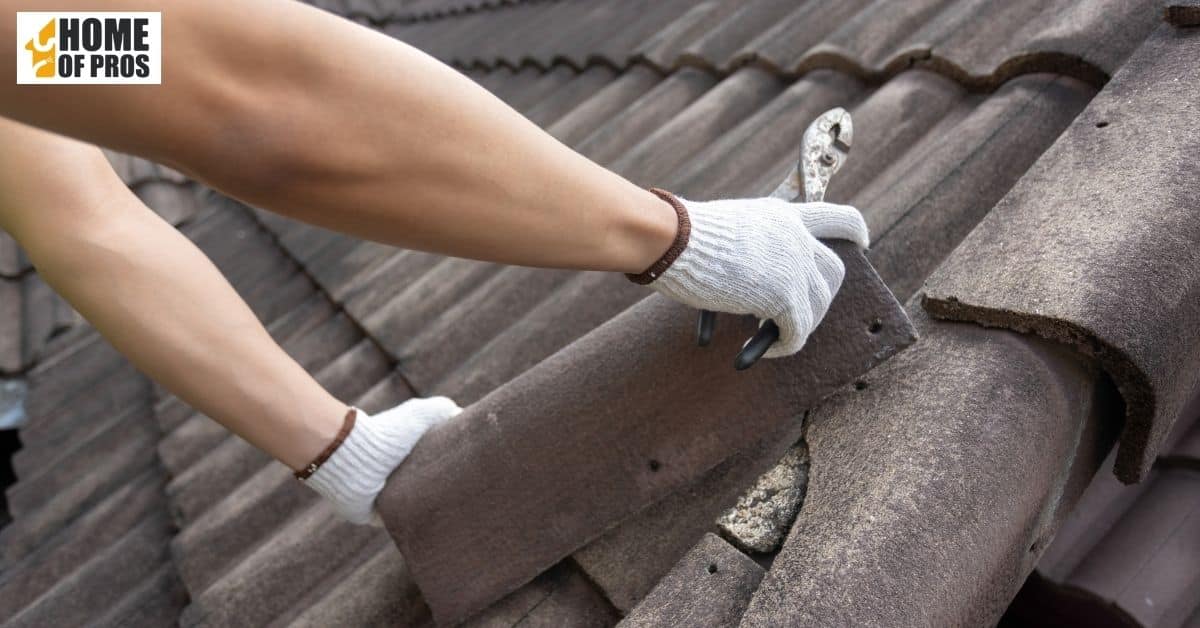
5. Replace Damaged Shingles
If your leaky roof is caused by damaged shingles, you’ll need to replace them to stop the leak. Start by removing the damaged shingles, using a pry bar to lift the edges and nails. Once the damaged shingles have been removed, use a utility knife to cut new shingles to fit the space.
Next, slide the new shingles into place, making sure they overlap the adjacent shingles. Secure the new shingles with roofing nails, and apply roofing cement around the edges to seal them in place. This will prevent water from seeping under the shingles and causing further damage. By replacing damaged shingles, you can fix your leaky roof and prevent further water damage to your home.
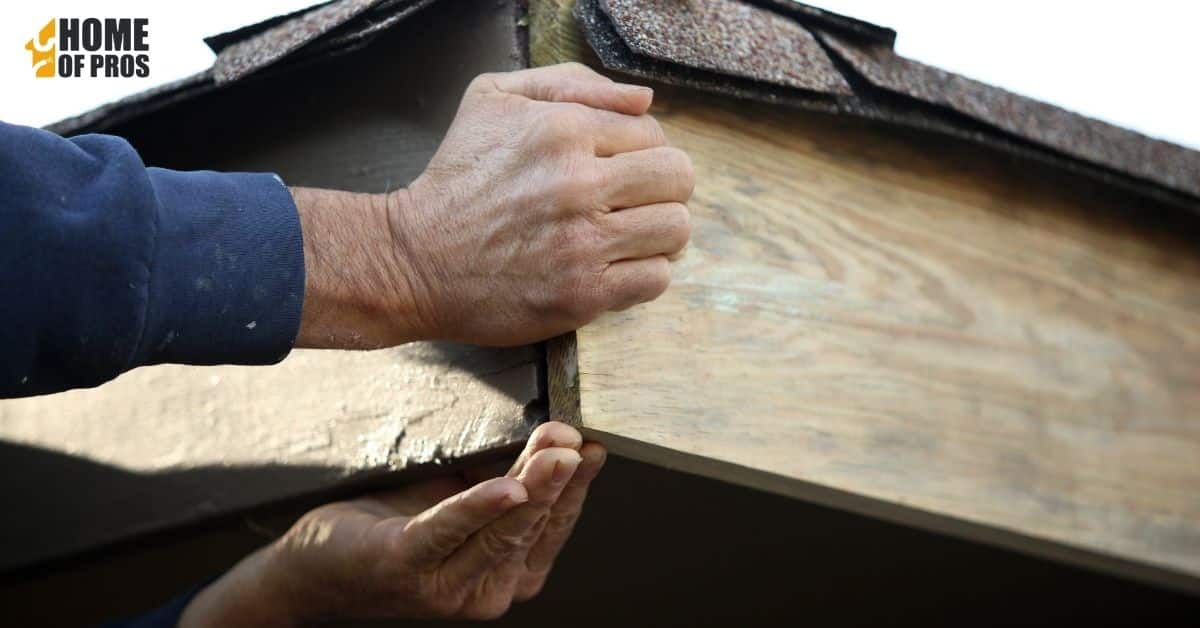
6. Seal Flashing and Vents
If your leaky roof is caused by damaged flashing or vents, you’ll need to seal them to prevent water from seeping into your home. Start by removing any old sealant or caulk around the flashing or vent.
Next, apply a new layer of sealant or caulk around the edges of the flashing or vent. Make sure the sealant or caulk covers all edges and gaps. If the flashing or vent is damaged, it may need to be replaced. In this case, you can either replace it yourself or hire a professional to do it for you.
Sealing flashing and vents is an important step in preventing water damage to your home. By ensuring that they are properly sealed, you can stop leaks and protect your home from further damage.
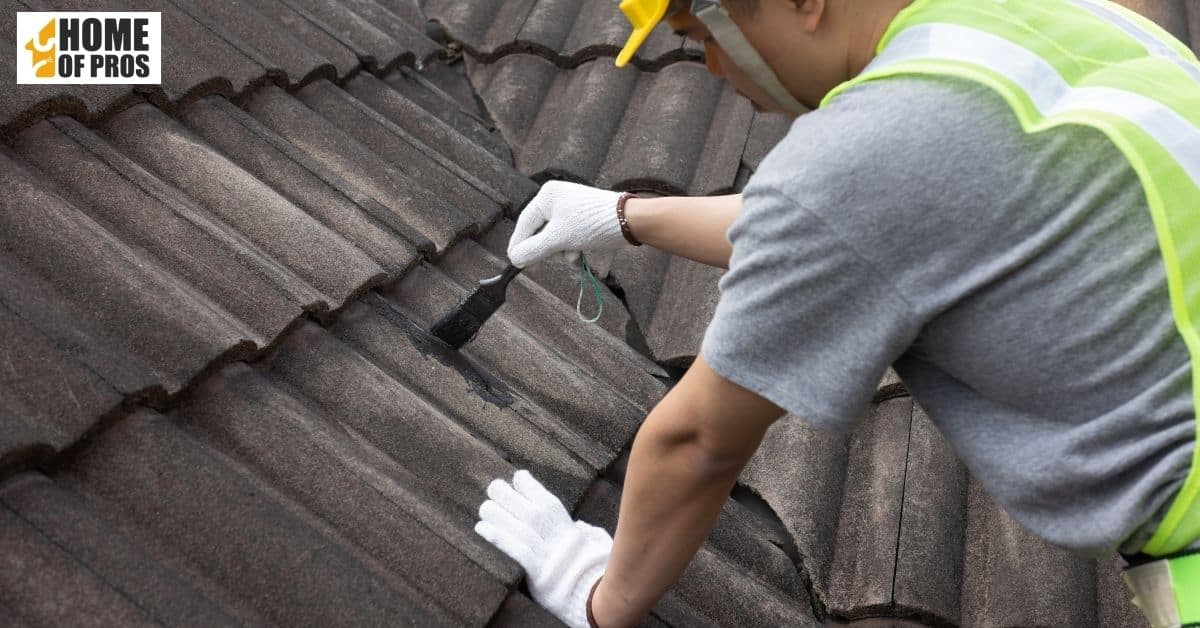
7. Repair Cracks in the Roof
If your leaky roof is caused by cracks in the roof itself, you’ll need to repair those cracks to prevent water from seeping in. Start by cleaning the area around the crack, removing any debris or loose material.
Next, use roofing cement to fill the crack. Apply the cement generously, making sure to cover the entire crack. You may also want to reinforce the area by placing a strip of roofing mesh over the crack and covering it with another layer of roofing cement.
Repairing cracks in your roof can help prevent further water damage to your home. By taking action to fix cracks as soon as you notice them, you can avoid more expensive repairs down the line.
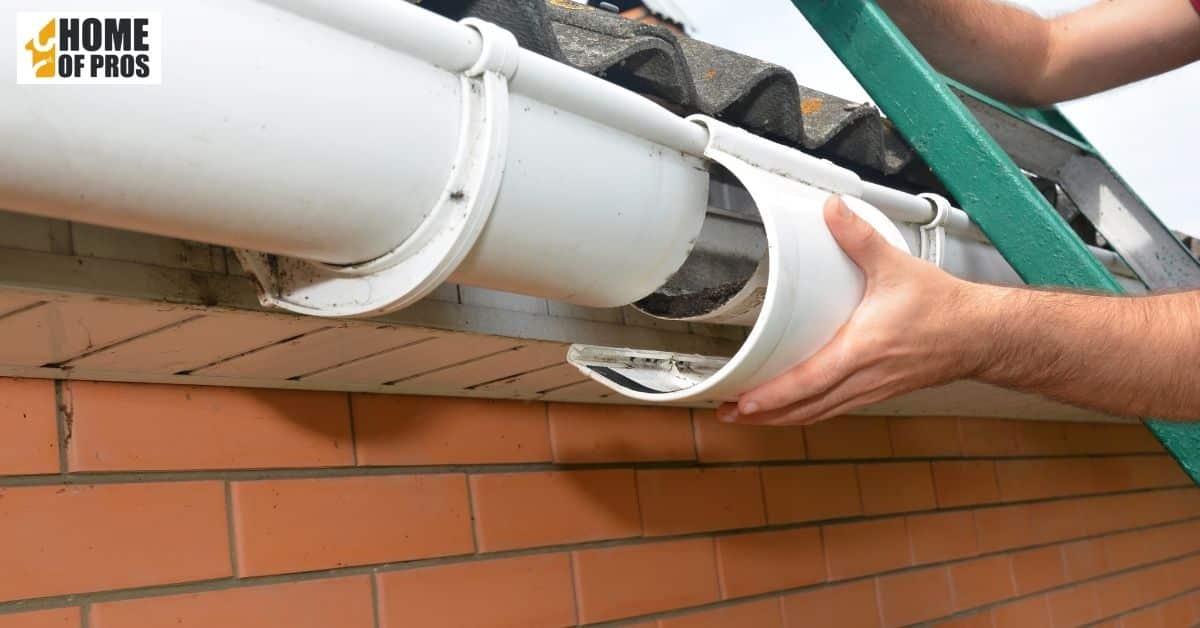
8. Fix Gutters and Downspouts
Leaky roofs can also be caused by clogged or damaged gutters and downspouts. If your gutters are clogged, water can back up onto the roof and cause leaks. Start by cleaning out the gutters, removing any debris or leaves that may be causing the blockage. If the gutters are damaged, they may need to be repaired or replaced.
Next, check the downspouts to make sure they are clear and functioning properly. If the downspouts are clogged, water can back up and cause leaks. Make sure the downspouts are properly attached to the gutters and direct water away from your home’s foundation.
Fixing gutters and downspouts is an important step in preventing water damage to your home. By ensuring that they are clear and functioning properly, you can avoid leaks and protect your home from further damage.
9. Apply a Waterproof Coating
Applying a waterproof coating to your roof can help prevent leaks and water damage. Here are the steps to follow:
- Clean the roof- Before you start, make sure the roof is clean and free of debris. You can use a power washer or a hose to clean the roof.
- Apply the coating- Use a roller or sprayer to apply the waterproof coating to the roof. Make sure to cover the entire roof, paying special attention to any areas that are prone to leaks.
- Let it dry- Allow the coating to dry completely before applying a second coat.
- Apply a second coat- Once the first coat is dry, apply a second coat of waterproof coating.
- Inspect for any missed spots: After the second coat has dried, inspect the roof for any missed spots or areas that may need additional coating.
Applying a waterproof coating can help protect your roof from leaks and water damage. Make sure to follow the manufacturer’s instructions for the coating you choose, and consider hiring a professional if you’re not comfortable doing the job yourself.
10. Consider Hiring a Professional Roofing Contractor
If you’re not comfortable repairing your leaky roof yourself, or if the damage is too extensive for a DIY approach, it may be time to consider hiring a professional roofing contractor. Here are some reasons why:
Safety: Repairing a roof can be dangerous, especially if you don’t have the proper equipment or training. Professional contractors have the experience and equipment needed to work safely at heights.
Experience and Expertise: Professional roofing contractors have the knowledge and expertise to diagnose and repair roofing issues. They can identify the source of the leak and recommend the best course of action to fix the problem.
Quality Materials: Professional contractors have access to high-quality materials and can recommend the best products for your specific roofing needs.
Time and Money: While hiring a professional may cost more initially, it can save you time and money in the long run. A professional contractor can complete the job more quickly and efficiently, and the repairs are likely to last longer than a DIY approach.
If you’re considering hiring a professional roofing contractor, here are some things to look for:
Licensing and Insurance: Make sure the contractor is licensed and insured to work in your area. This will protect you in case of any accidents or damage during the repair process.
References and Reviews: Check the contractor’s references and reviews from previous customers to ensure they have a good reputation.
Written Estimates: Get written estimates from multiple contractors so you can compare pricing and services.
Overall, hiring a professional roofing contractor can give you peace of mind knowing that your roof is being repaired properly and safely.
In conclusion
Repairing a leaky roof can help prevent water damage to your home and costly repairs down the line. From identifying the source of the leak and gathering the necessary tools to applying a waterproof coating or hiring a professional contractor, there are many steps you can take to fix a leaky roof. By following these 10 easy ways, you can fix your leaky roof and prevent further damage to your home.