Your home’s roof is one of its most critical components, protecting you and your family from rain, wind, and other harsh weather conditions. But like any part of your house, it needs routine maintenance to preserve its integrity and prevent costly damage. Fortunately, you don’t need to be a roofing expert to assess your roof’s condition.
To inspect your roof, ensure you have the right tools on hand and practice safety procedures. From the ground, look for visible signs of damage, then dive into your attic with binoculars and a flashlight. Document any findings, including missing or broken shingles, moss growth, and rusty flashing.
Setting Up for a DIY Roof Inspection
Your roof is one of the most critical parts of your home. It shields your family from the elements and helps maintain the structure of your house. Regular inspections can prevent minor issues from becoming major problems. But how do you go about inspecting your roof yourself? Let’s break it down.
Gather Your Tools
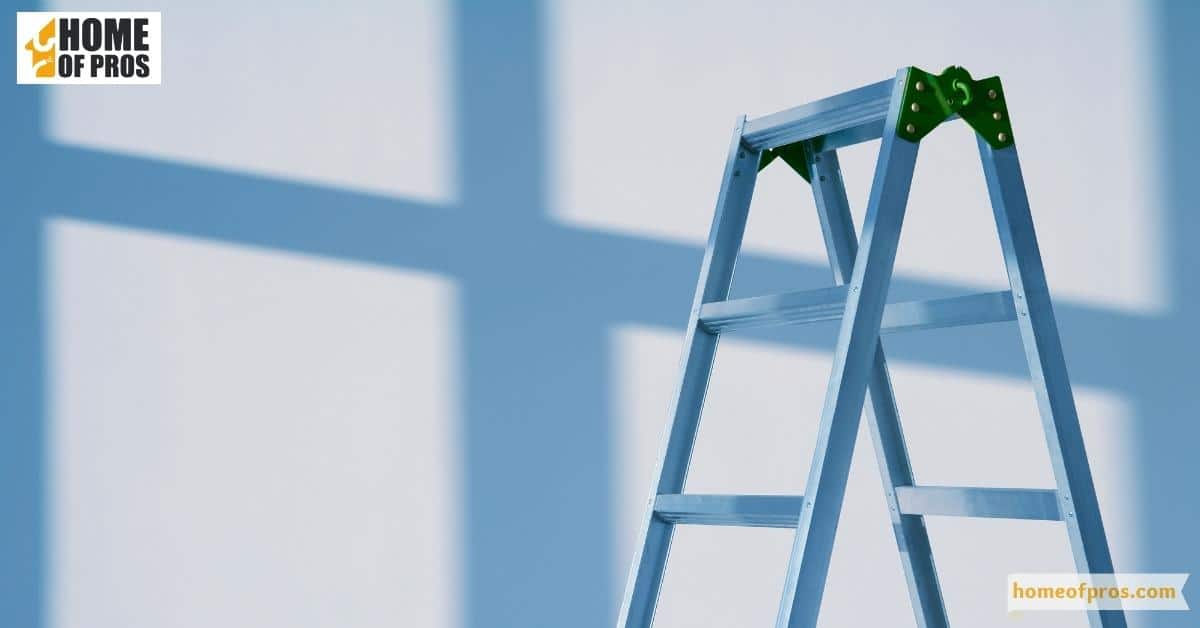
Before you start your inspection, ensure you have the right tools on hand. You’ll need a sturdy ladder, a pair of binoculars for closer inspection, a flashlight for dark corners, and a notepad or digital device to record your findings.

Safety First
Safety should always be your top priority. Ensure your ladder is in good condition and placed on a stable, non-slip surface. Consider having a spotter to hold the ladder while you’re on it. Always wear slip-resistant shoes, and avoid going onto the roof if it’s wet or windy.
Exterior Inspection
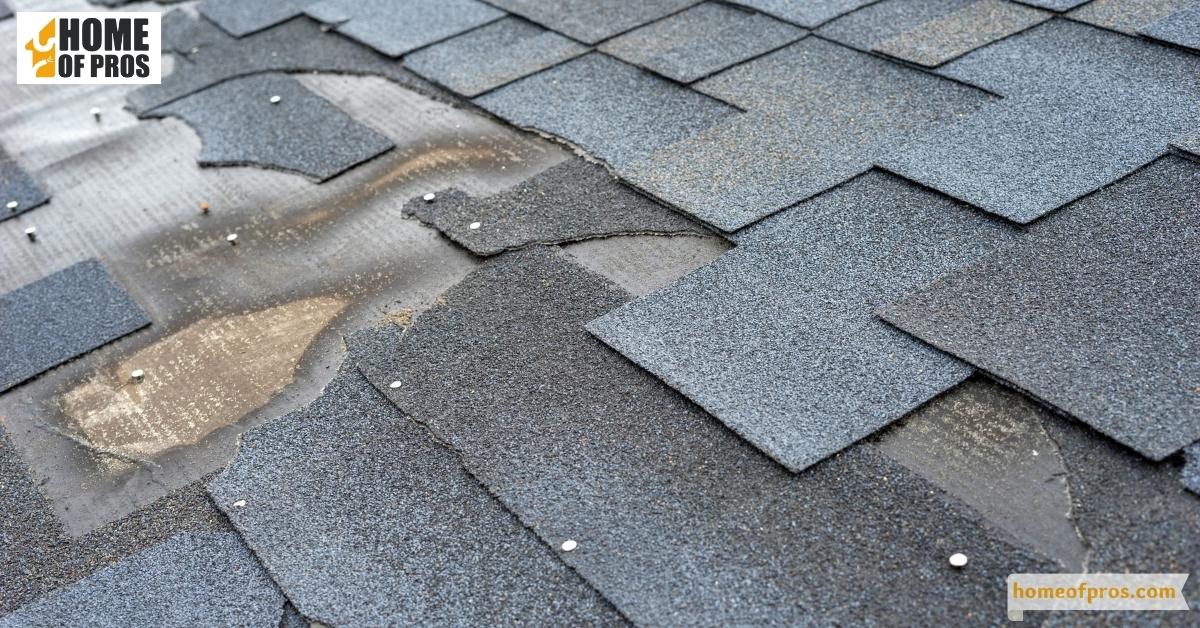
Start your inspection from the ground. Use your binoculars to check for visible signs of damage such as missing or broken shingles, sagging areas, or moss growth. Pay particular attention to the flashing around chimneys, skylights, and vent pipes, as these areas are prone to leaks.
Interior Inspection
Check your attic for signs of leaks or water damage. Look for dark spots or streaks on the wood, as well as damp insulation. If there’s daylight coming through the roof boards, that’s a clear sign of a problem.
Document Your Findings
Keep a record of what you’ve found during your inspection. Photographs can be particularly helpful to document the condition of your roof and track any changes over time.

Assessing the Visual Condition of Your Roof
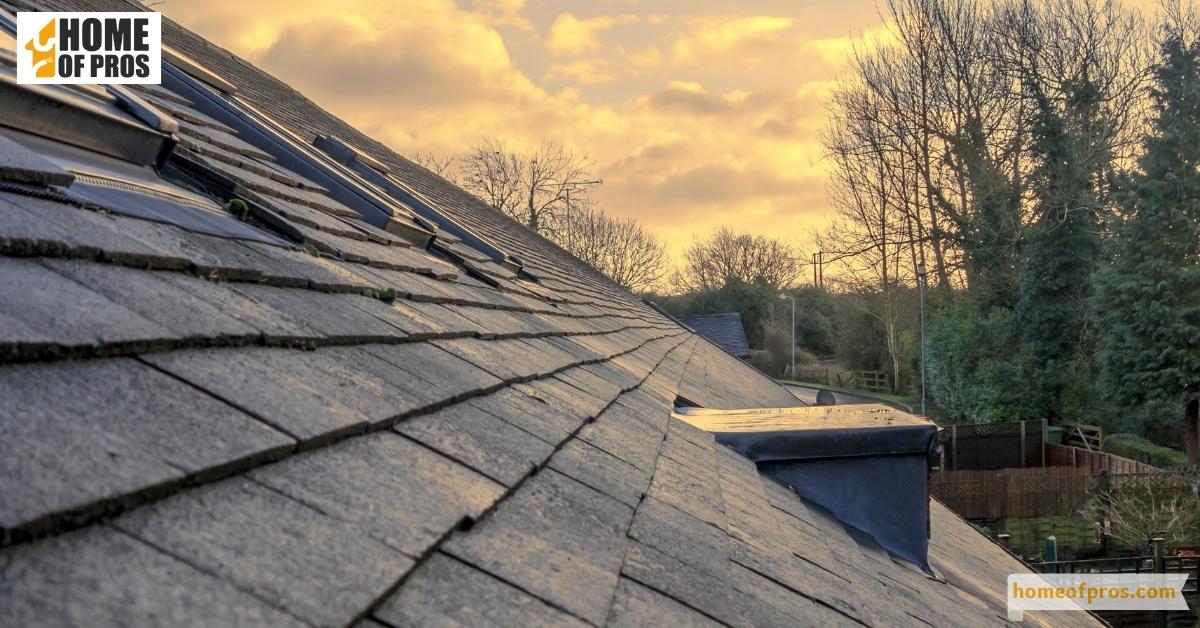
Assessing the visual condition of your roof is an essential part of a DIY roof inspection. Start by surveying your roof from the ground with a pair of binoculars. Look for missing or broken shingles, as these can be entry points for water. Examine the flashing around chimneys, skylights, and vent pipes, as these areas are particularly prone to leaks.
Next, check for signs of moss, algae, or piles of leaves, which can hold moisture and cause rot. A sagging roof is a serious issue and could indicate structural damage.
After the exterior inspection, head to your attic. Look for signs of water damage, like dark spots or streaks on the wood and damp insulation. If you can see daylight through the roof boards, you’ve got a problem that needs immediate attention. Remember, regular inspections can help prevent minor issues from becoming major problems.
Investigating Further with an Intimate Look
An intimate look at your roof involves climbing up for a closer inspection and getting down into your attic to check for signs of water damage. It’s about understanding the intricacies of your roof’s condition beyond what’s immediately visible.
Climb Up for a Closer Look
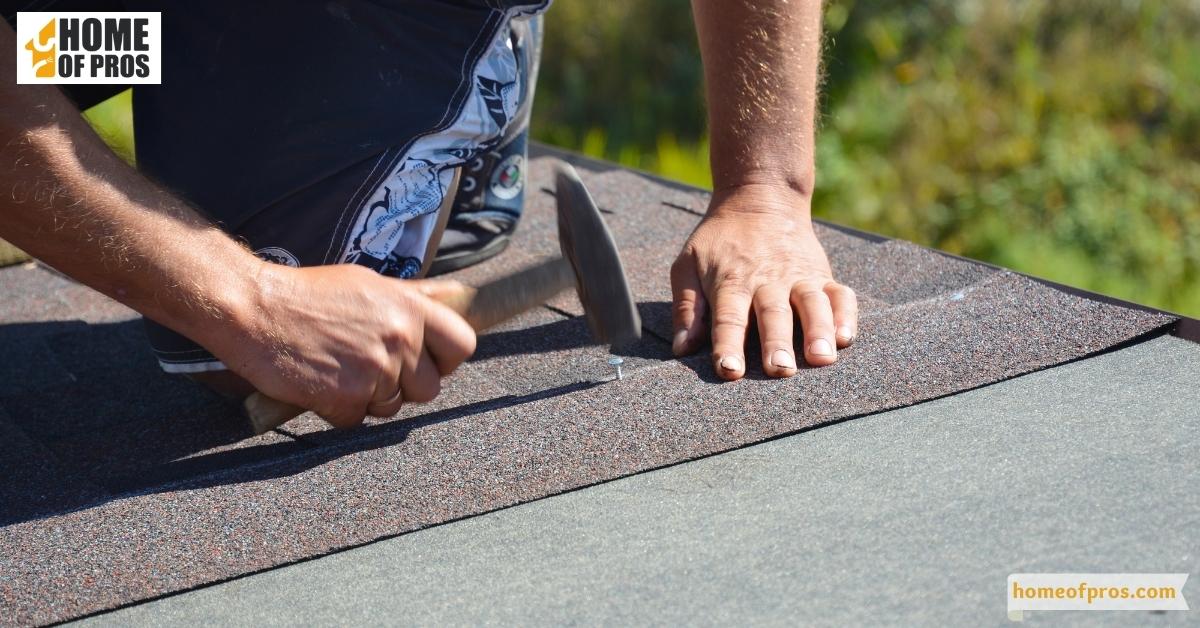
Get your sturdy ladder, put on your slip-resistant shoes, and let’s get a closer look at your roof. Check for loose or exposed nails, as these can lead to leaks. Inspect the sealant around roof penetrations like vents, skylights, and chimneys for cracks or gaps.
Dive Into Your Attic
Your attic can provide crucial clues about your roof’s health. Look for signs of moisture like mold, mildew, rotting wood, or rusted nails. Also, keep an eye out for sagging decking between the rafters. If these issues are present, it may indicate serious roof damage.
Examining Attic Spaces and Ventilation
When it comes to maintaining a healthy home, the importance of attic spaces and ventilation cannot be overstated. They play a crucial role in regulating indoor air quality, controlling moisture levels, and even managing energy consumption. Let’s dive into how you can examine your attic space and its ventilation.
Understand Why Ventilation Matters
Ventilation is pivotal for steep-slope roof assemblies and is a building code requirement. But why? For starters, proper attic ventilation prevents heat buildup in the summer and helps reduce moisture accumulation in the winter. This balance of temperature and humidity can contribute to a comfortable living environment and prolong the life of your roof.
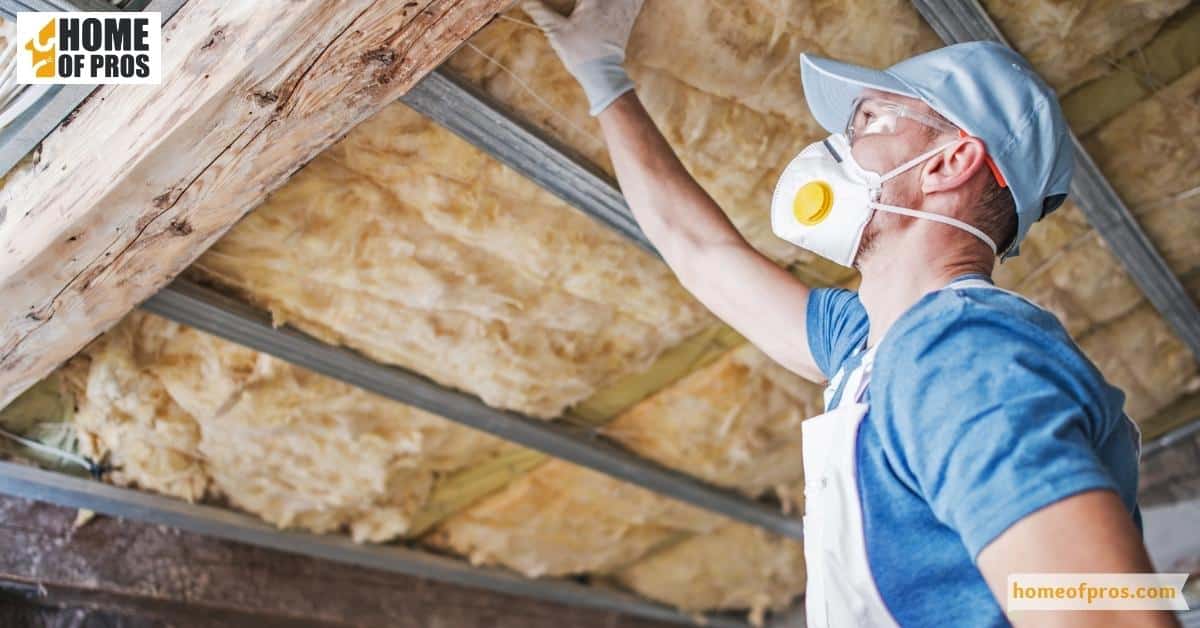
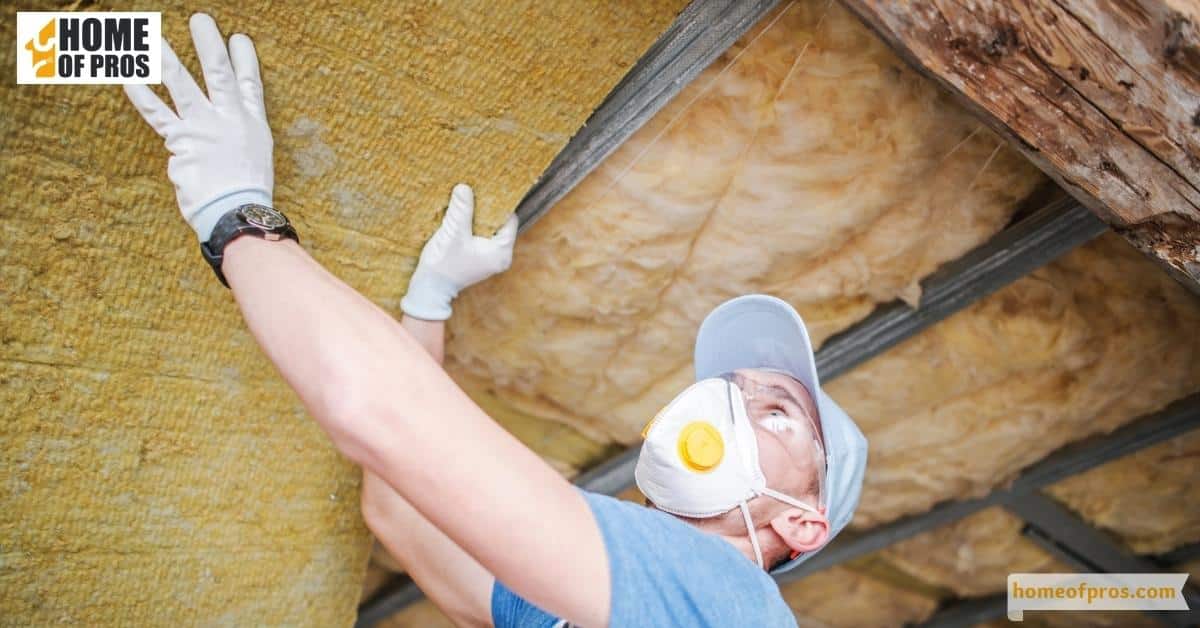
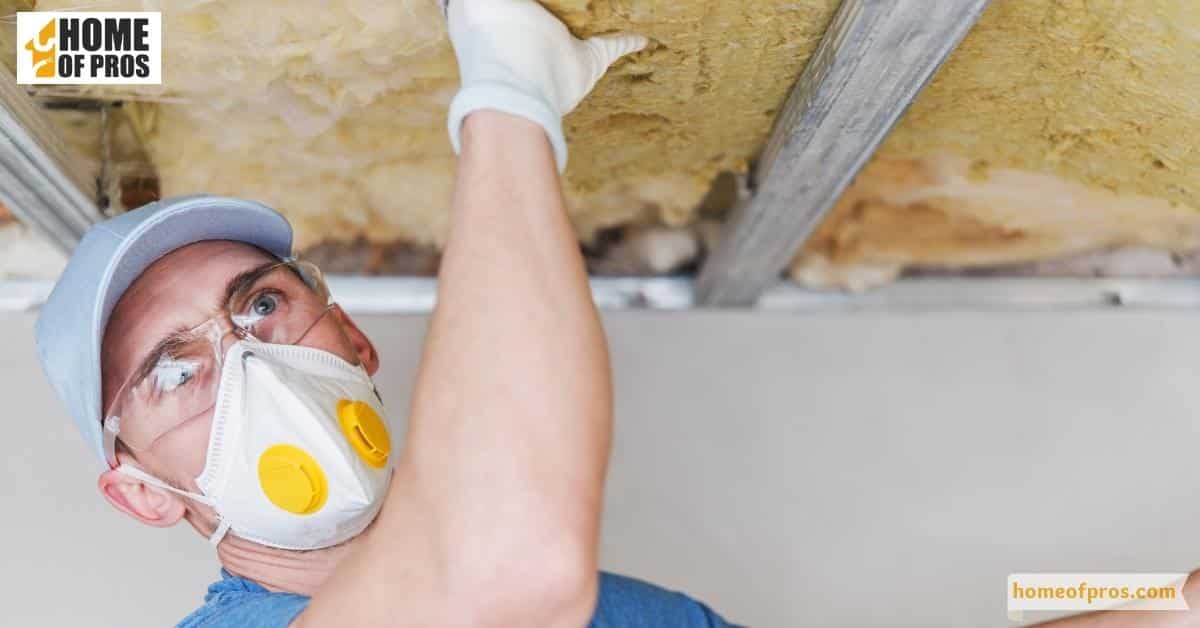
Inspect Your Insulation
Begin by inspecting your attic insulation. It should cover all unfinished spaces without any gaps. Poorly installed or inadequate insulation can lead to heat loss, higher energy bills, and condensation issues that could eventually lead to mold growth or wood rot.
Check Your Ventilation
Attic ventilation can be assessed by looking around the attic space. If you see light coming through the vents, that’s a good sign. If not, there might be blockages that need to be cleared. Additionally, look for signs of rust on metal fasteners and high humidity indicators like mold or dampness, which suggest inadequate ventilation.
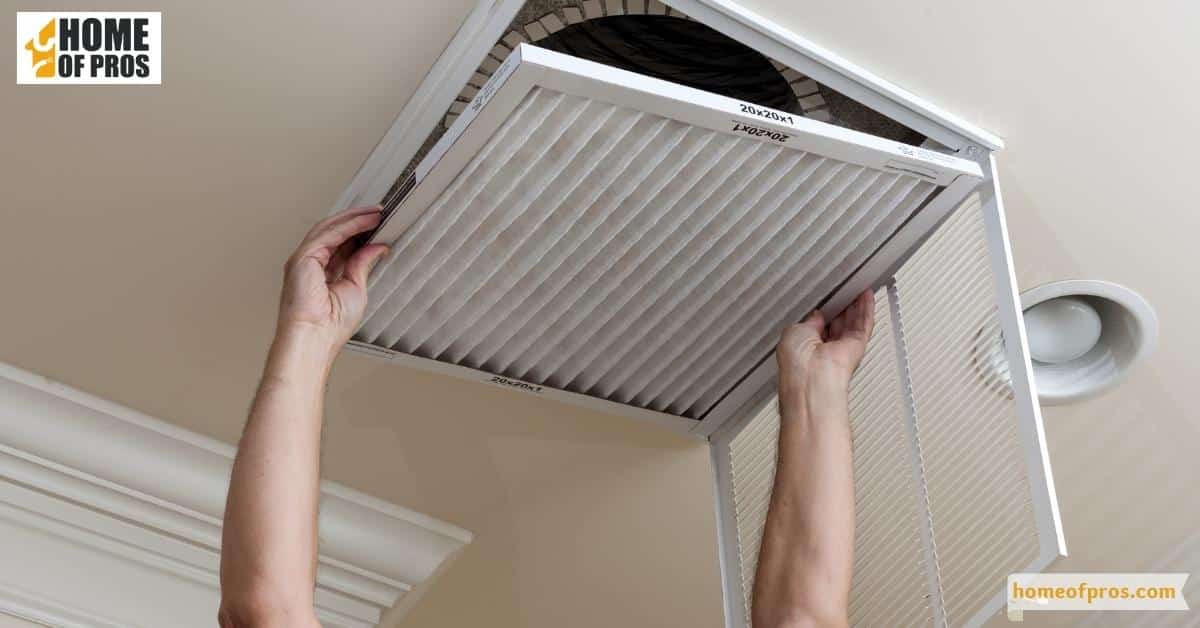
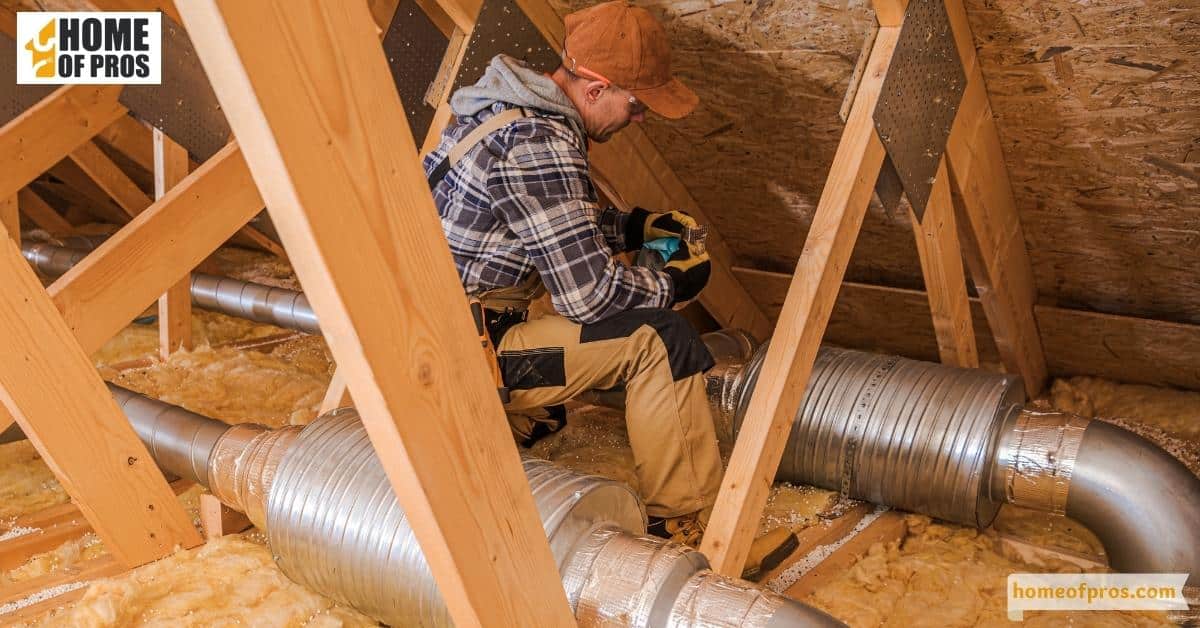
Assess Your Mechanical Ventilation Systems
If your attic has mechanical ventilation systems, make sure they’re operating correctly. These systems can be incredibly efficient at expelling hot air and drawing in cooler air but require regular maintenance to function optimally.
Common Issues to Look Out For
As a homeowner, it’s important to keep your roof in good condition. Not only is it a key component in protecting your investment, but a damaged or leaking roof can lead to costly repairs. That’s why it’s important to do a DIY roof inspection periodically.
When conducting a DIY roof inspection, there are several common issues to keep an eye out for:
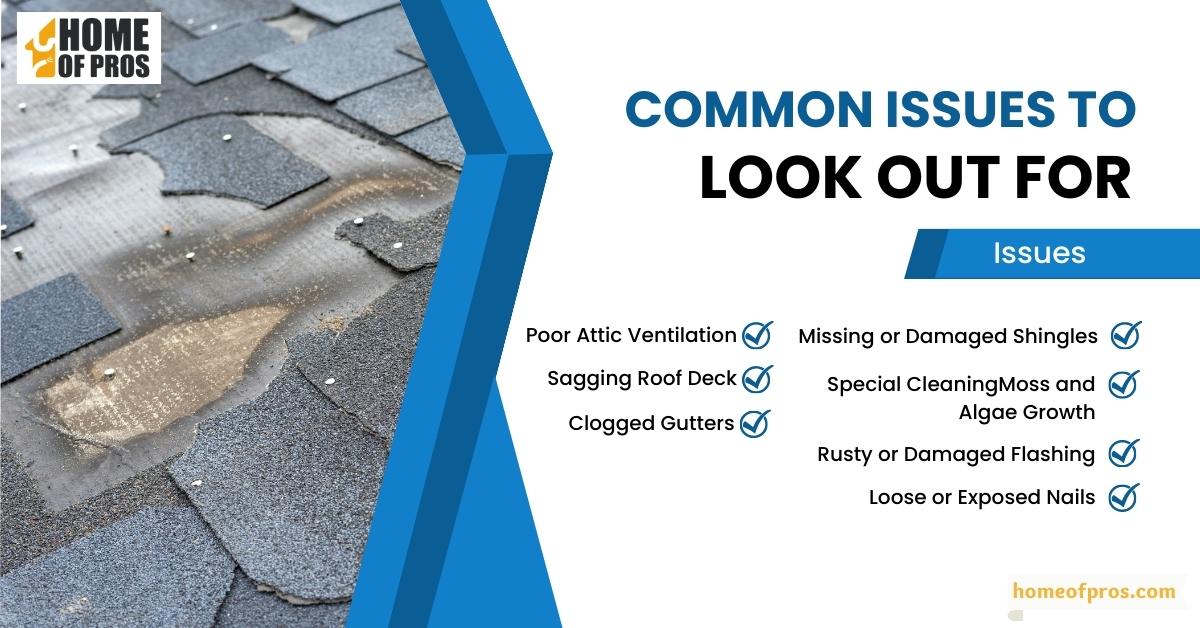
- Missing or Damaged Shingles: Missing, cracked, or curled shingles can allow water to infiltrate your roof, leading to leaks.
- Moss and Algae Growth: These can trap moisture against your roof and lead to damage over time.
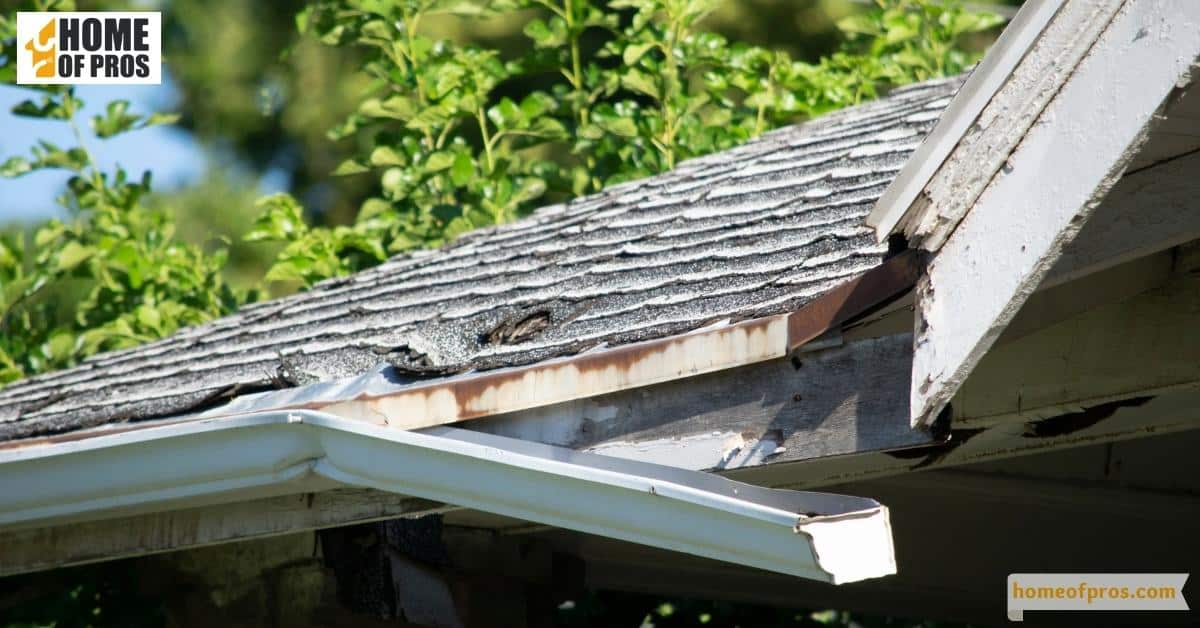
- Rusty or Damaged Flashing: Flashing around chimneys, vents, and skylights should be intact and rust-free to prevent leaks.
- Loose or Exposed Nails: These can create entry points for water, leading to potential leaks.
- Poor Attic Ventilation: Signs may include dampness, mold, or rusted nails in the attic. Poor ventilation can lead to moisture buildup and heat damage.
- Sagging Roof Deck: This may indicate structural issues that need immediate attention.
- Clogged Gutters: Blocked gutters can cause water to back up and seep under your roof, causing damage.
In conclusion
Performing a DIY roof inspection is a practical and straightforward process that can save you time and money in the long run. By following the step-by-step guide we’ve outlined, you’ll be able to accurately assess your roof’s condition and identify any areas that may require professional attention.
Remember, regular inspections are key to maintaining the integrity and longevity of your roof, so don’t wait for a problem to arise before taking action. With a little bit of effort and knowledge, you can ensure the health and safety of your home for years to come.