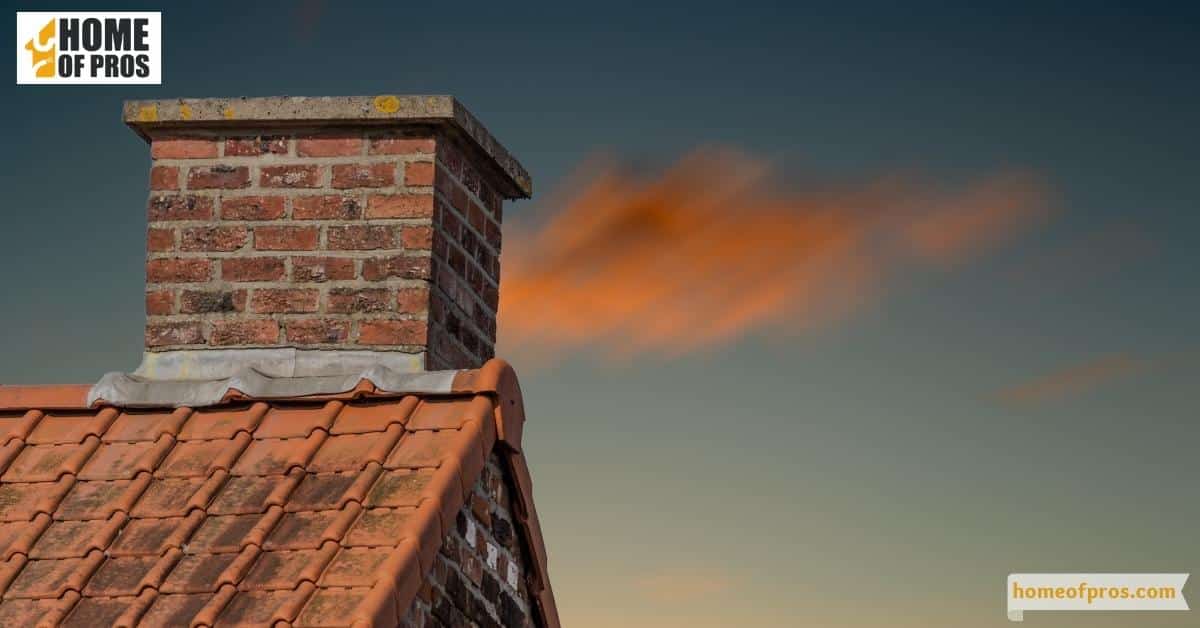
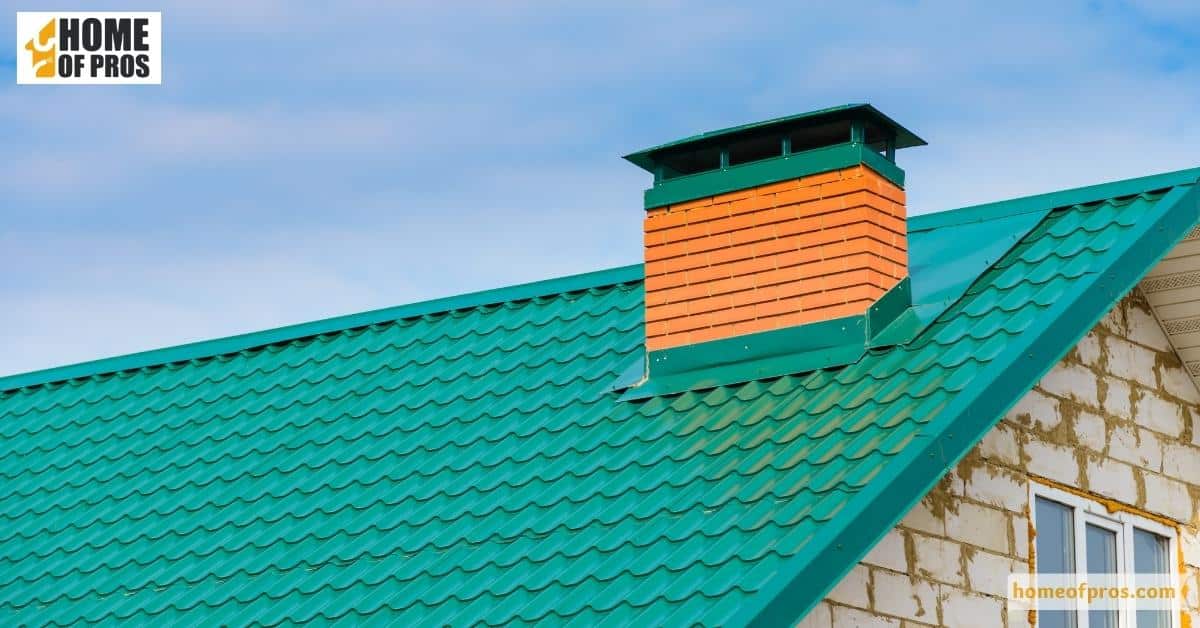
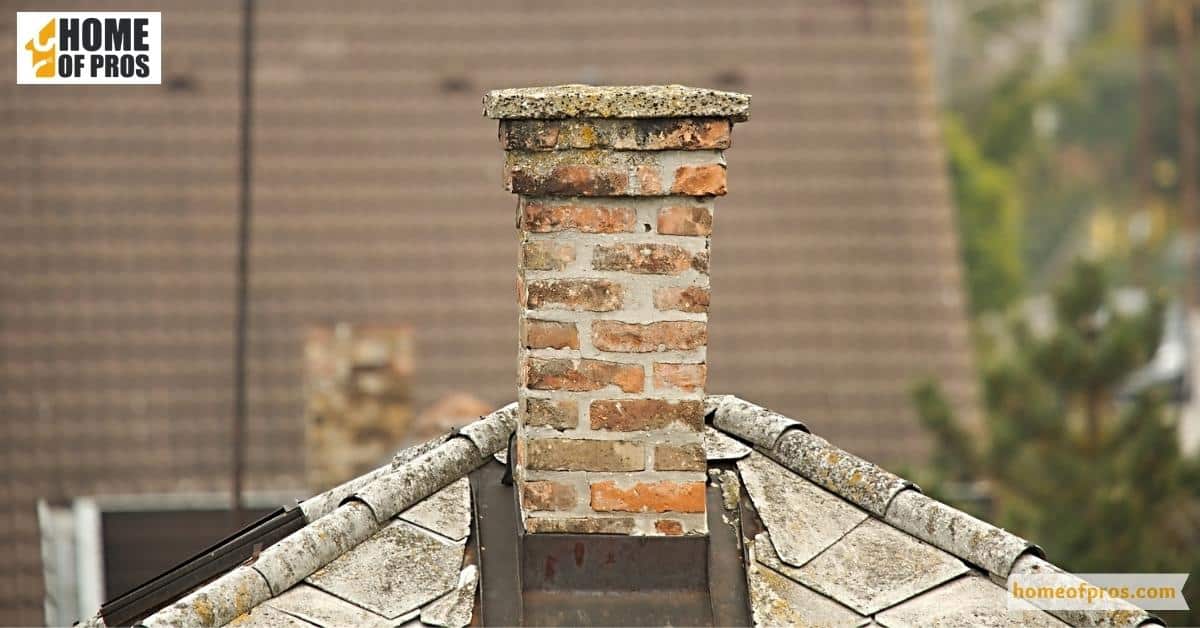
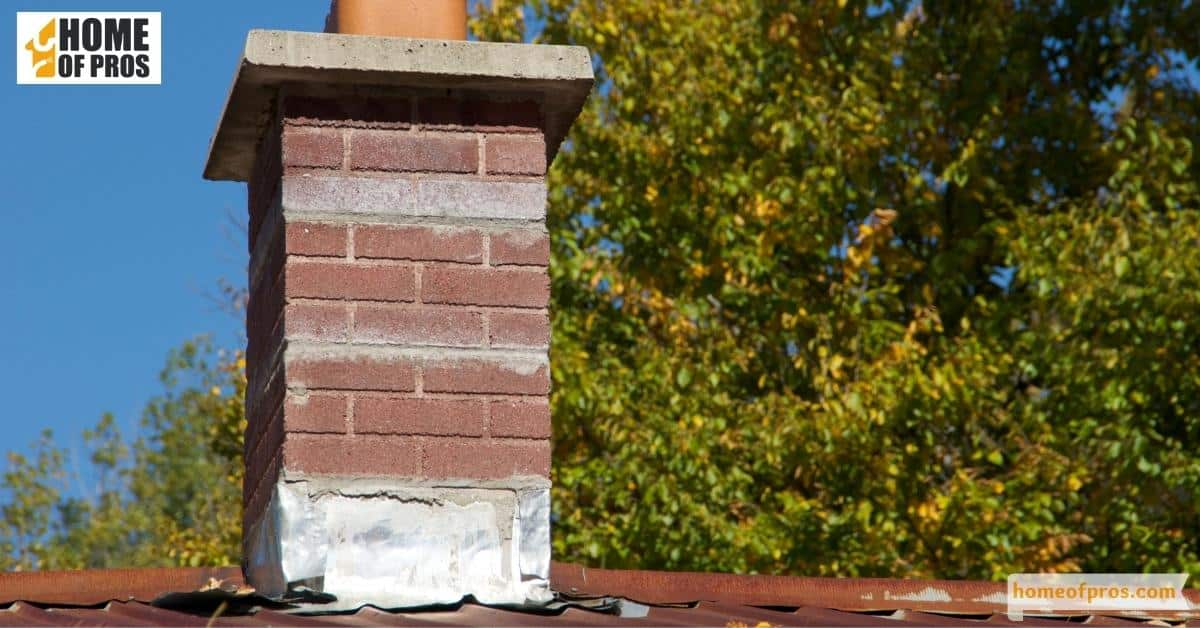
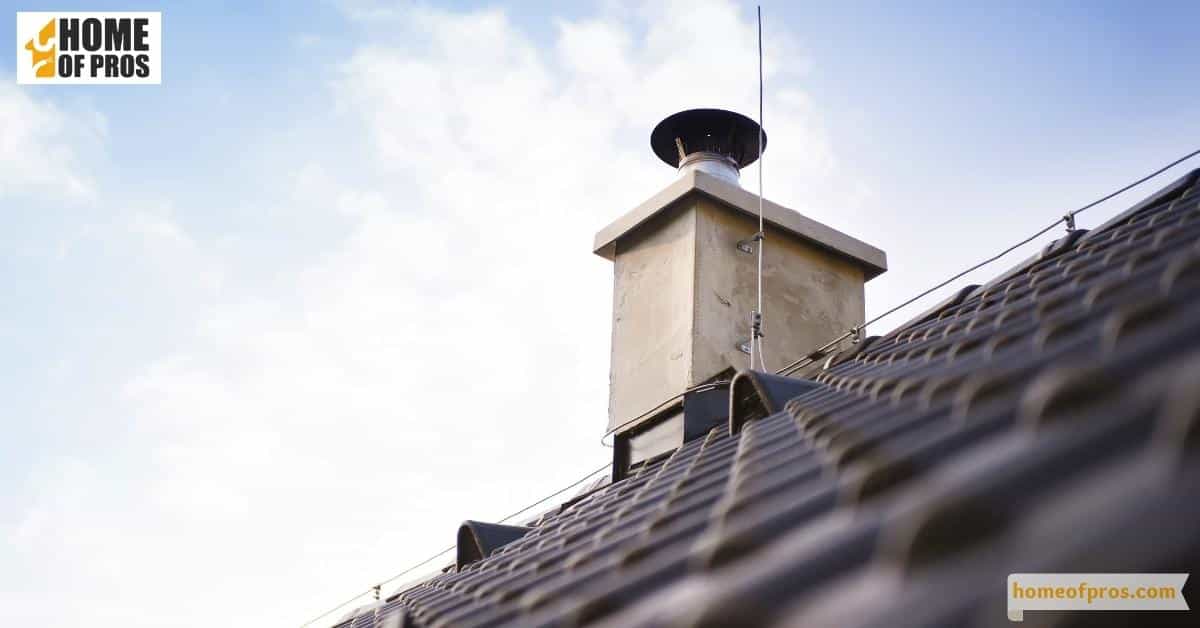
If you’re planning to install a new chimney or revamp an existing one, it’s essential that you include flashing in your project. Chimney flashing is a critical component of your chimney, as it prevents water damage and leaks. Without flashing, water could seep into your chimney and cause severe structural damage.
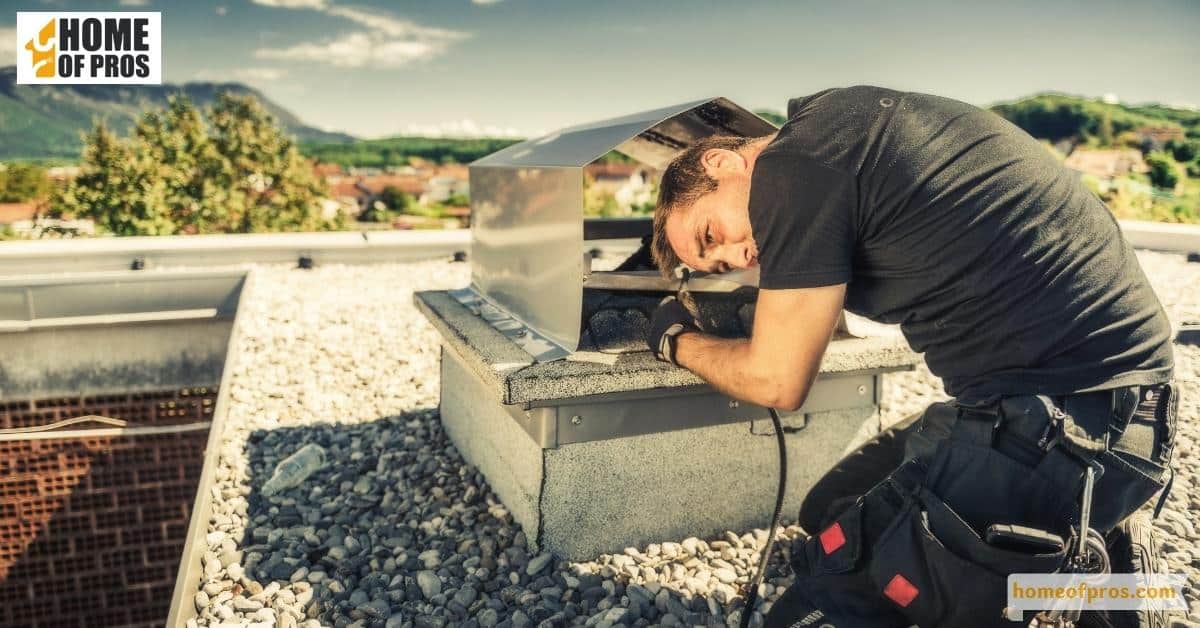
Installing chimney flashing is an important step in protecting your home from water damage. With the right materials and a few simple steps, anyone can install their own chimney flashing with ease. From gathering materials to sealing the edges, each step is crucial for a secure and long-lasting installation.
1. Gather All Materials
Installing chimney flashing can seem like a daunting task, but with the right approach and materials, it can be accomplished with ease. The first step is to gather all of the necessary materials, which include items like flashing, self-adhesive membrane, roofing nails, and sealant.
Once you have everything you need, it’s important to carefully follow the steps required for proper installation. From preparing the roof and chimney surfaces to overlapping the flashing and sealing the edges, each step is crucial to ensure a secure and long-lasting installation.
With a practical approach and the right tools, anyone can successfully install chimney flashing and enjoy the benefits of a well-protected roof.
2. Cut the Base Flashing
Installing chimney flashing might seem like a daunting task, but it can be made simpler by breaking it down into steps. One of the key steps in this process is cutting the base flashing for the chimney. This is important as it ensures that your chimney is properly sealed, and prevents any leaks or water damage in the future.
While it may seem tricky, it can be done with a few basic tools and a little bit of know-how. Don’t hesitate to reach out to a professional with any questions or concerns, but with some patience and careful attention to detail, you can cut and install your base flashing like a pro.
3. Install the Front Base Flashing
The next step in installing your chimney flashing is to attach the front base flashing. This usually consists of two pieces — the front section and a side piece which will be used to overlap the other metal flashings. It is important that you install these correctly, as any errors can lead to potential water damage or air leaks down the line.
To ensure a secure fit, use roofing nails to attach the base flashing pieces and be sure that they are securely fastened. Once everything is in place, you can move on to the next step of the installation process.
4. Add Step Flashing and Chimney Saddle
After attaching the base flashing, it’s time to add step flashing around the corners of your chimney. This will add an extra layer of protection against water damage. Begin by cutting the pieces to size and then use roofing nails to fasten them in place. Once you’ve completed this task, it’s time to install the chimney saddle.
The saddle is a key component that helps keep your flashing in place and prevents it from shifting or slipping over time. To install the saddle, use roofing nails to attach it and make sure it is securely fastened.

5. Install The Chimney Saddle
Once the step flashing is in place, you can begin to install the chimney saddle. This piece of metal helps keep your flashing securely in place and prevents it from shifting or slipping with time. To ensure a secure fit, use roofing nails to attach the saddle and make sure it is fastened correctly. Once everything is in place, you can continue on to the next step.
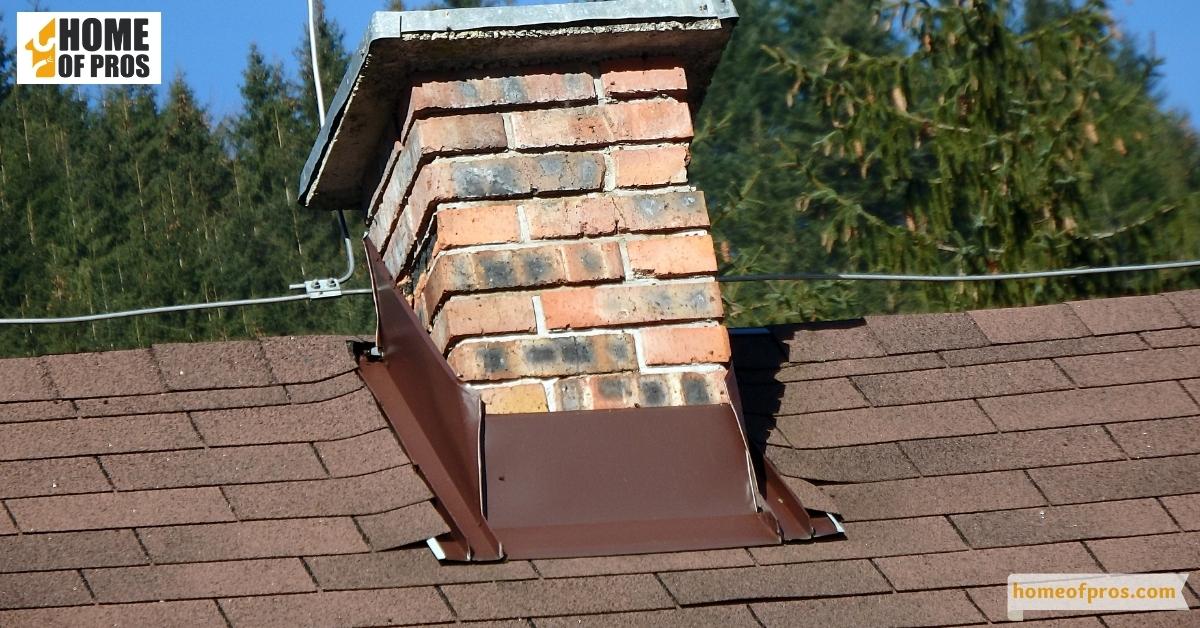
6. Cover With Cap Flashing
The next step in your chimney flashing installation is to cover the base flashing with cap flashing. Before doing this, you’ll need to see grooves in the mortar so that the cap flashing can fit snugly against the roof. This will help to keep the cap flashing in place and ensure that it is securely fastened.
Once you’ve cut the grooves, use roofing nails to secure the front cap flashing and drive in the flange with a hammer. Repeat this process until all of your cap flashings are installed, then continue on to the next step.
7. Install The Front Cap Flashing
Once the grooves are cut in the mortar, you can install the front cap flashing. This is an important step in keeping your chimney properly sealed and preventing any leaks or water damage down the line.
Begin by using roofing nails to secure the cap flashing, then drive in the flange with a hammer. Make sure that everything is securely fastened before you move on to the next step.
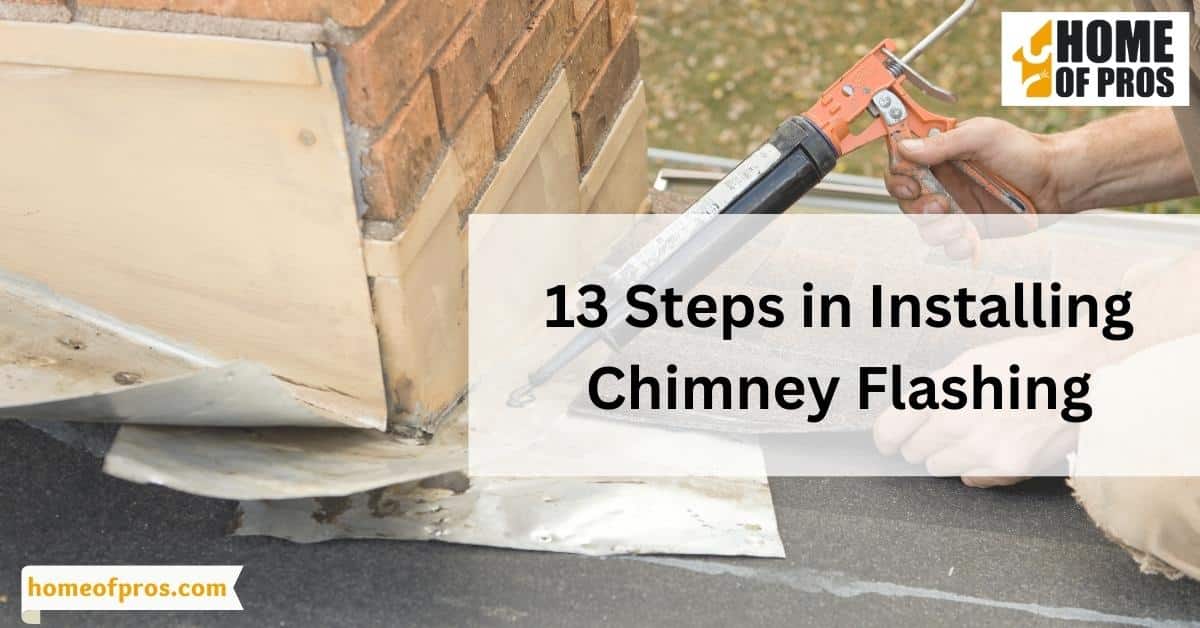
8. Seal the Flashing
The last step in installing chimney flashing is sealing it. This will ensure that your flashing is securely fastened and won’t shift over time, which can lead to potential water damage or air leaks. Before beginning, make sure all of your flashings are correctly installed and fastened.
Then, use a high-quality sealant to cover the edges of your flashing. This will help to create an airtight seal around your chimney and provide additional protection against water damage. With patience and attention to detail, you can successfully install chimney flashing and enjoy the peace of mind that comes with having a well-protected roof.
9. Drive In The Flange
Once the front cap flashing is in place, the next step is to drive in the flange. This will secure your flashing in place and ensure that it won’t shift over time. To do this, use a hammer to gently tap around the edges of your flashing until it is securely fastened.
It’s important to take care not to cause any damage while doing this, as any errors could lead to potential water damage or air leaks down the line.
10. Secure The Flashing
The last step in installing chimney flashing is to secure it. This will ensure that your flashing stays in place and doesn’t shift over time, which can lead to potential water damage or air leaks. To do this, use roofing nails around the edges of your flashing until it is securely fastened.
Once you’ve done this, use a caulking gun to seal the edges of your flashing, which will help create an airtight seal around your chimney. With a practical approach and the right materials, you can successfully install chimney flashing and enjoy the peace of mind that comes with having a well-protected roof for years to come.
11. Continue To Install Cap Flashing
Once the base flashing is in place, you can continue to install cap flashing. This will help protect your chimney from water damage and provide additional support against shifting or slipping over time. Carefully measure and cut each piece of cap flashing so that it fits snugly against the roof, then use roofing nails to secure it in place.
Before moving on to the next step, make sure to double-check that your flashing is securely fastened in place. With patience and attention to detail, you can successfully install chimney flashing and protect your roof from potential water damage.
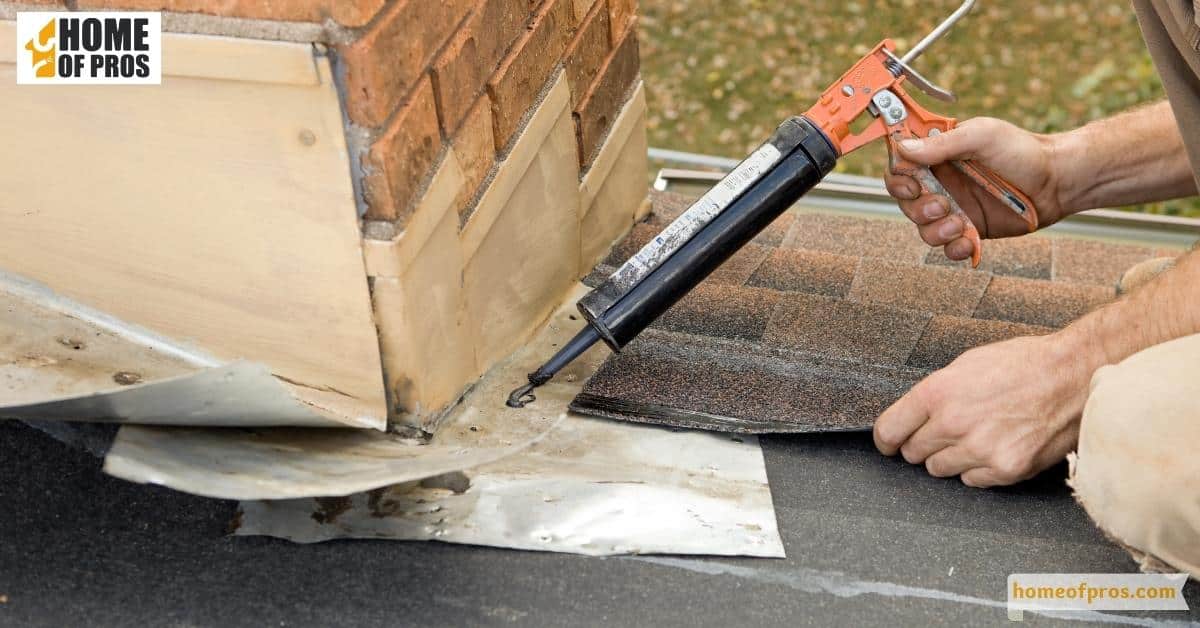
12. Seal The Flashing With Caulk
The last step in installing chimney flashing is to seal it with caulk. This will provide an airtight seal and help keep your flashing securely in place, preventing any leaks or water damage down the line. Before beginning, make sure that all of your flashings are correctly installed and fastened. Then, use a high-quality caulking gun to cover the edges of your flashing.
Be sure to take your time and pay attention to detail, as any errors could lead to potential water damage or air leaks down the line. Once everything is sealed, you can enjoy the peace of mind that comes with having a well-protected roof for years to come.
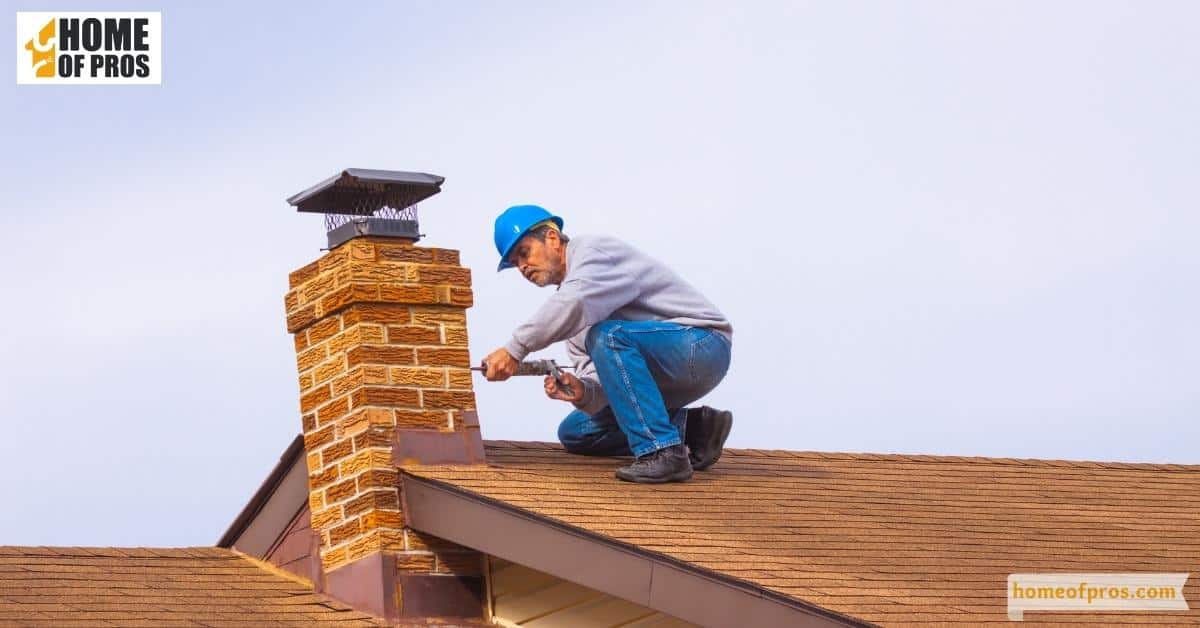
13. Finish Up
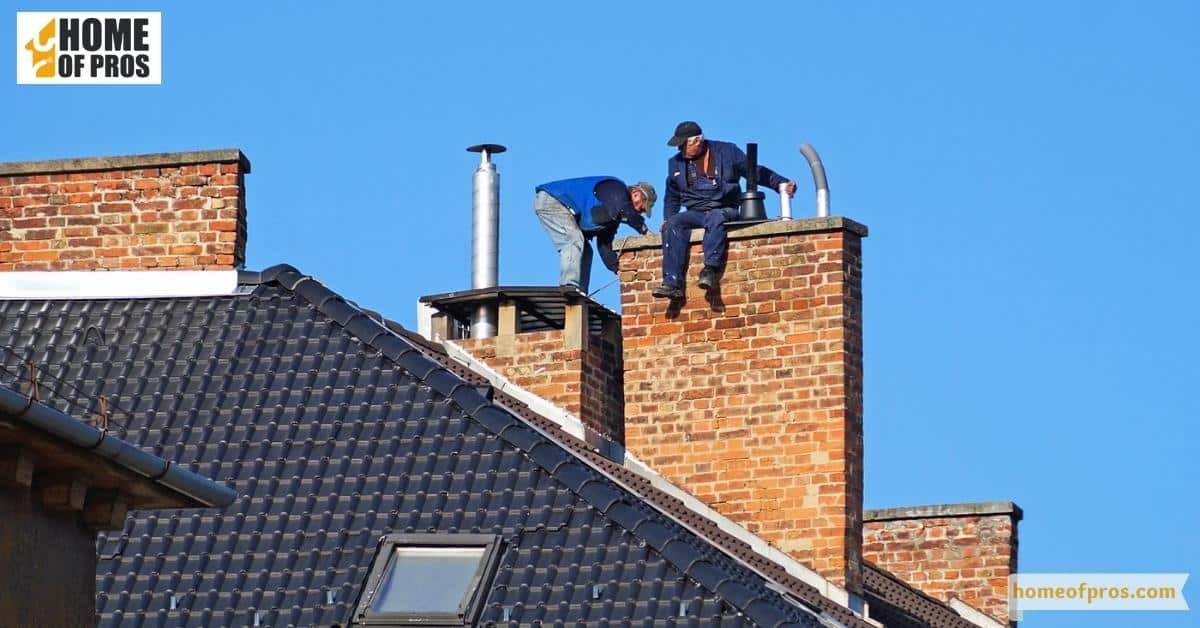
Now that you’ve successfully installed your chimney flashing, it’s time to finish up. Make sure to inspect all of your work and double-check for any loose nails or other potential problems.
If everything looks good, give yourself a pat on the back — you just finished one of the most critical steps in protecting your home from water damage! And with a little bit of patience and the right know-how, you can tackle any DIY task with ease.
In conclusion
By carefully following the steps outlined in this guide and using the right materials, you can install your own chimney flashing with ease. This will help protect your home from water damage for years to come and give you peace of mind that your roof is safe and secure.
So get out there and get started — with a little bit of patience and the right know-how, you can tackle any DIY task like a pro!