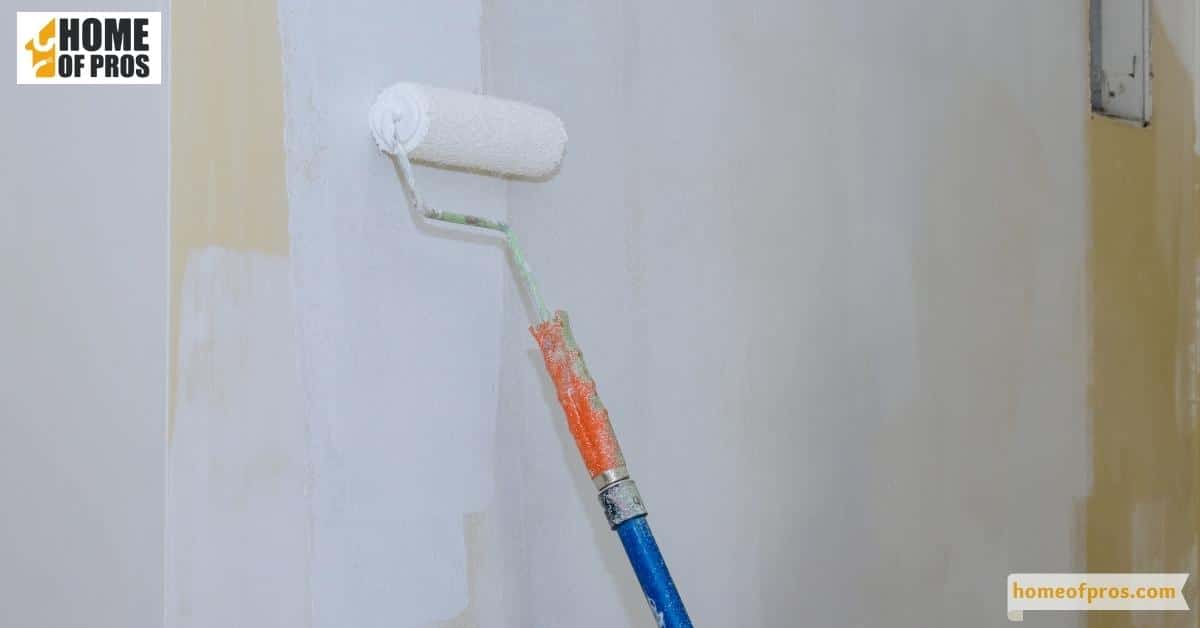
When it comes to painting, primer is an essential step that will help ensure a smooth and even finish. However, the question of how many coats of primer are necessary can be a tricky one.
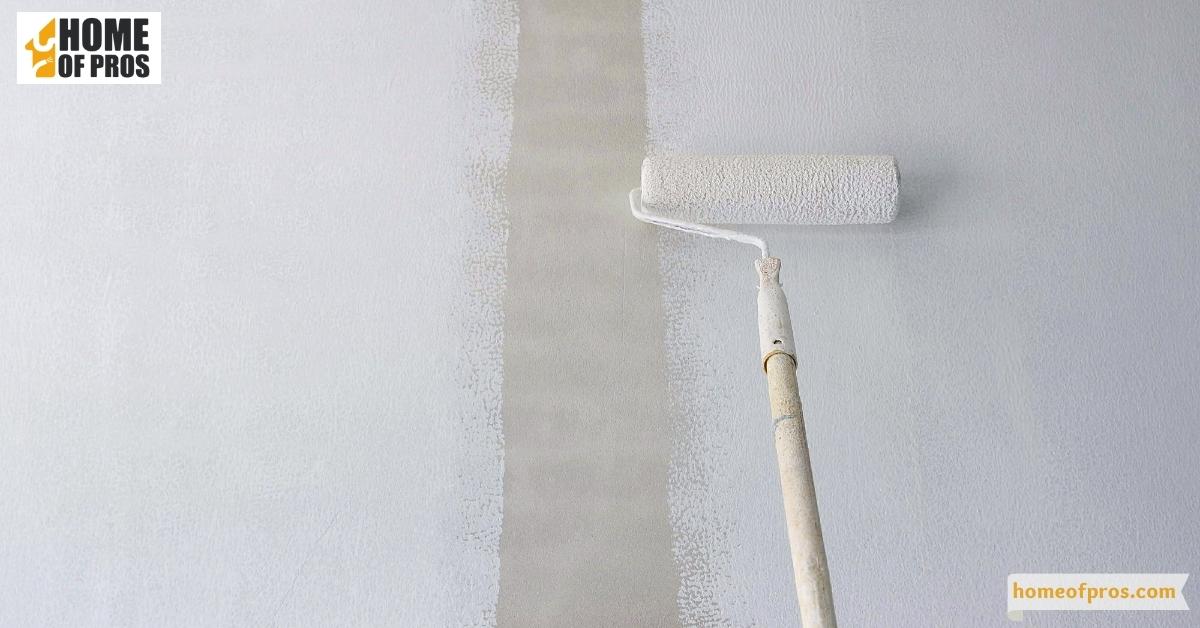
You typically need two coats of primer for most painting projects. Primer helps prepare surfaces for painting and creates a base coat which will help the final paint layer adhere better. It also helps to cover up previous colors, protect surfaces from stains, and provide an even surface for the top coat of paint.

What is Primer?
Primer is a type of paint that helps prepare surfaces for painting and creates a base coat which will help the final paint layer adhere better. It is especially important to use primer when painting over walls or wood that has already been painted, as it can help cover up any existing colors and provide an even surface for the top coat of paint.
Primer can also help protect surfaces from stains and moisture, which is beneficial in areas like the bathroom or kitchen.
Why Should You Use Primer?
Primer is necessary for any painting project because it provides a strong bond between the surface and the top layer of paint, allowing for more even coverage. It also helps to cover up previous colors, especially if they are red, orange, or a strange outdated color.
Additionally, using primer can help prevent common painting mistakes like streaks or cracking of the top coat.
How Many Coats of Primer Are Needed?
Typically two coats of primer should be used for most painting projects. This will ensure that there is a good bond between the new paint and the wall, and it will also help to cover up any previous colors.
If you are using a darker color of paint or if you want to make sure that all traces of an old color are completely covered up, then using three coats of primer is recommended.
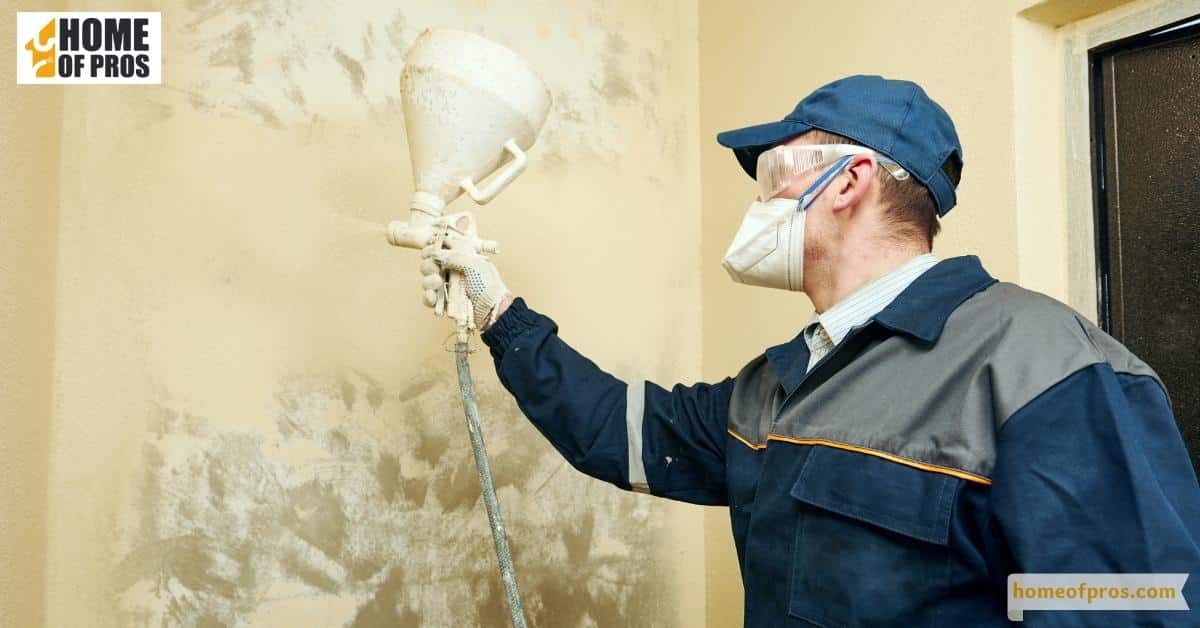
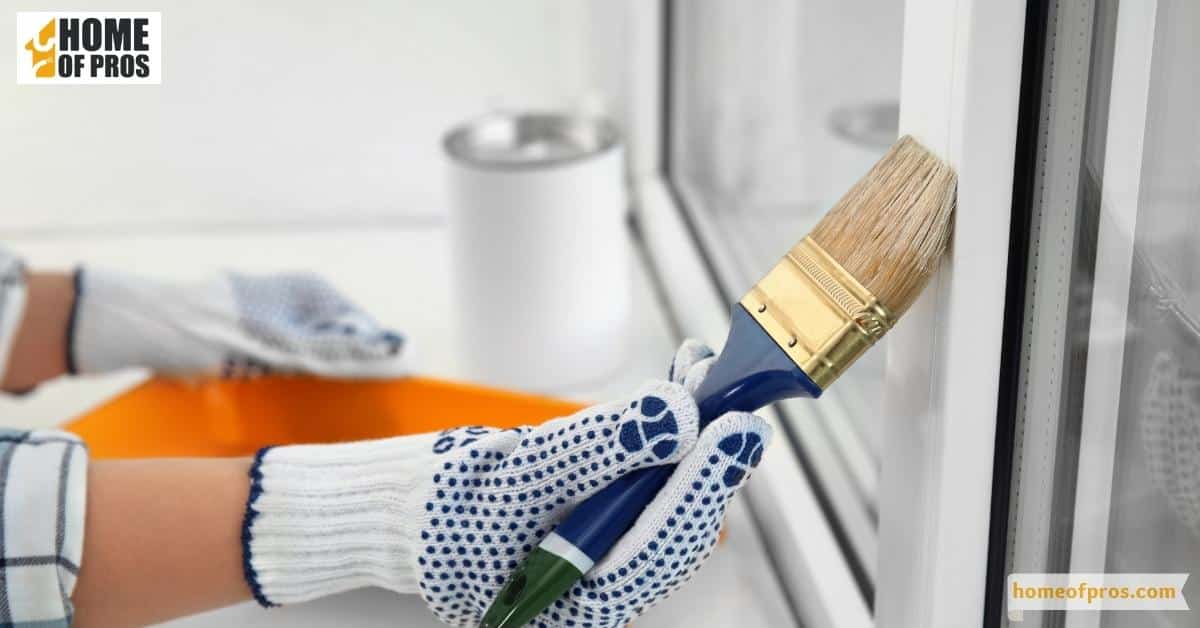
Tips for Applying Primer in Different Surfaces
A primer is an essential tool in any home improvement project. Its role is to prepare your surfaces for the final coat of paint, ensuring a smooth, even finish that lasts. But not all surfaces are created equal. Different materials require different types of primers and application techniques.
Prepping Your Surface
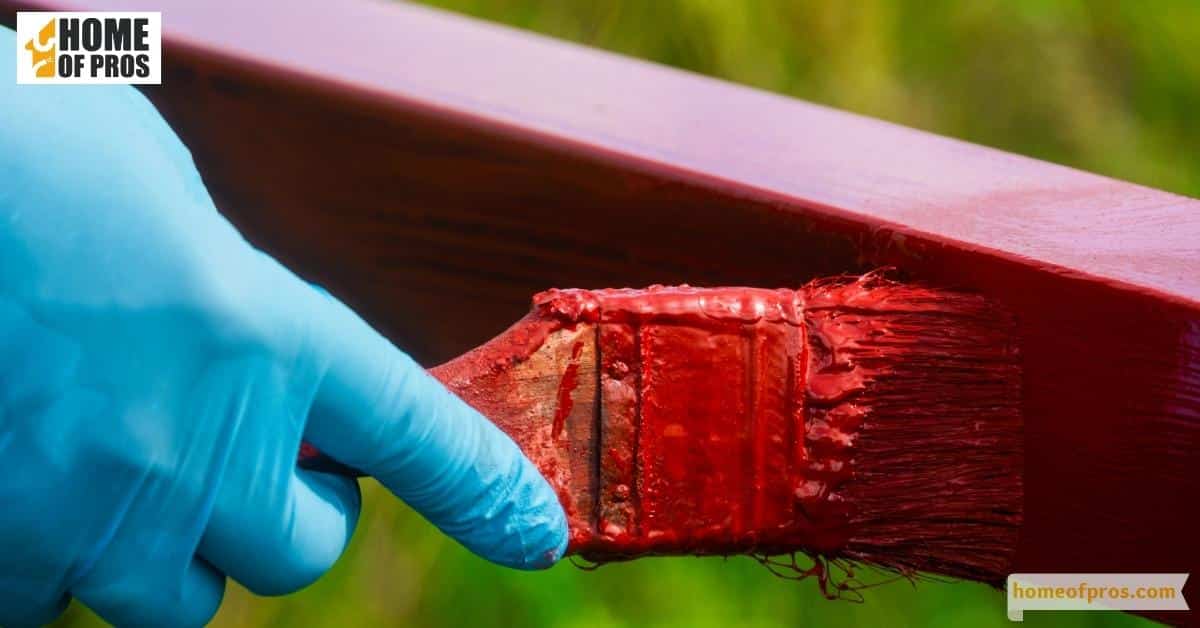
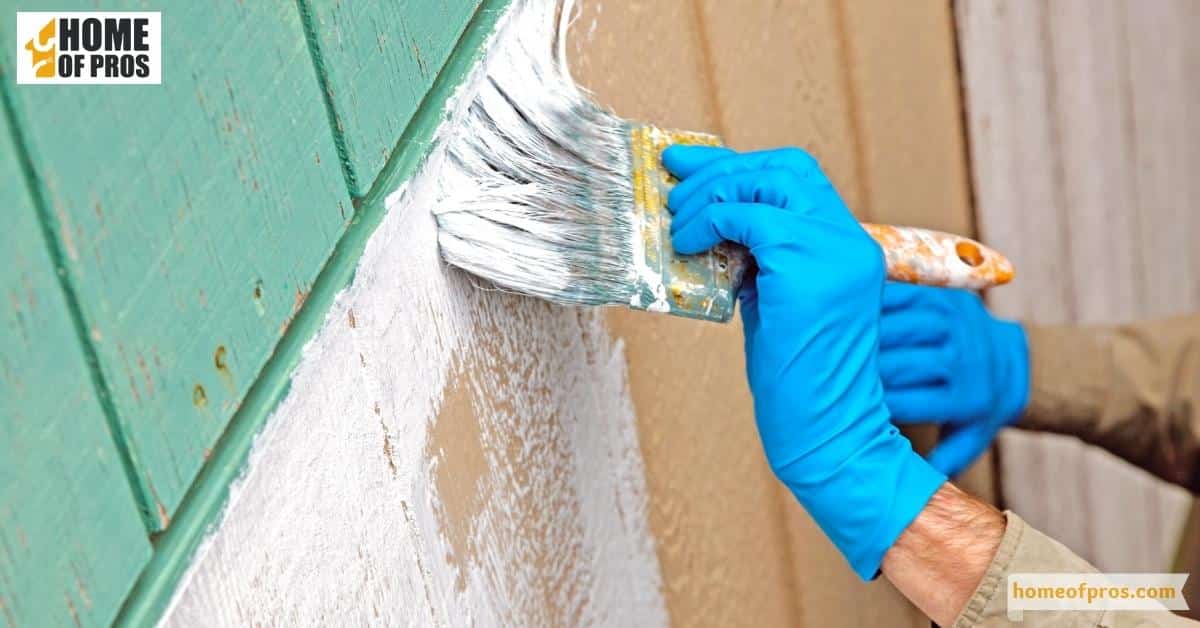
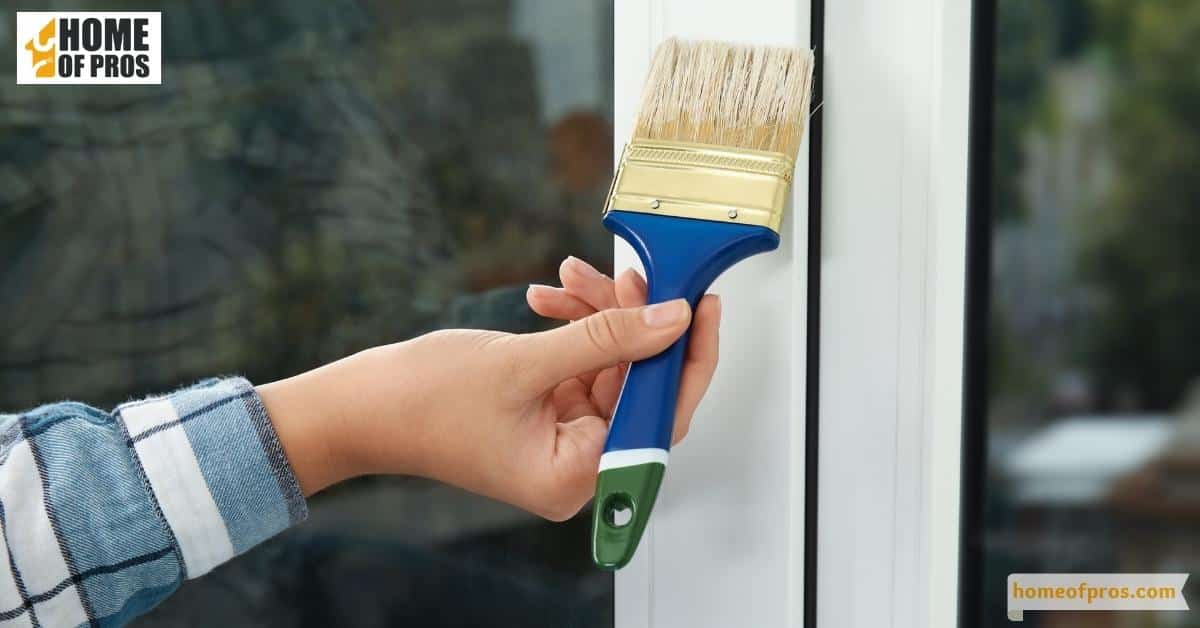
Before you start, it’s important to prepare your surface. Remove any loose paint, rust, or dirt. A clean, smooth surface allows the primer to adhere better. Consider sanding the surface lightly for an even smoother finish.
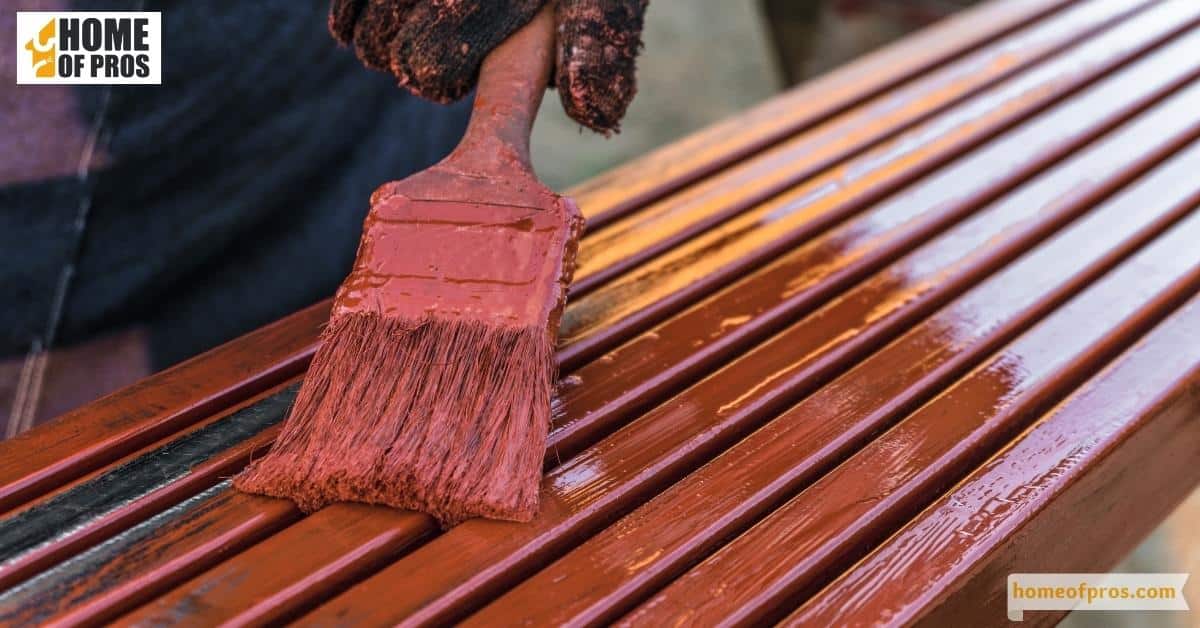
Priming Wood Surfaces
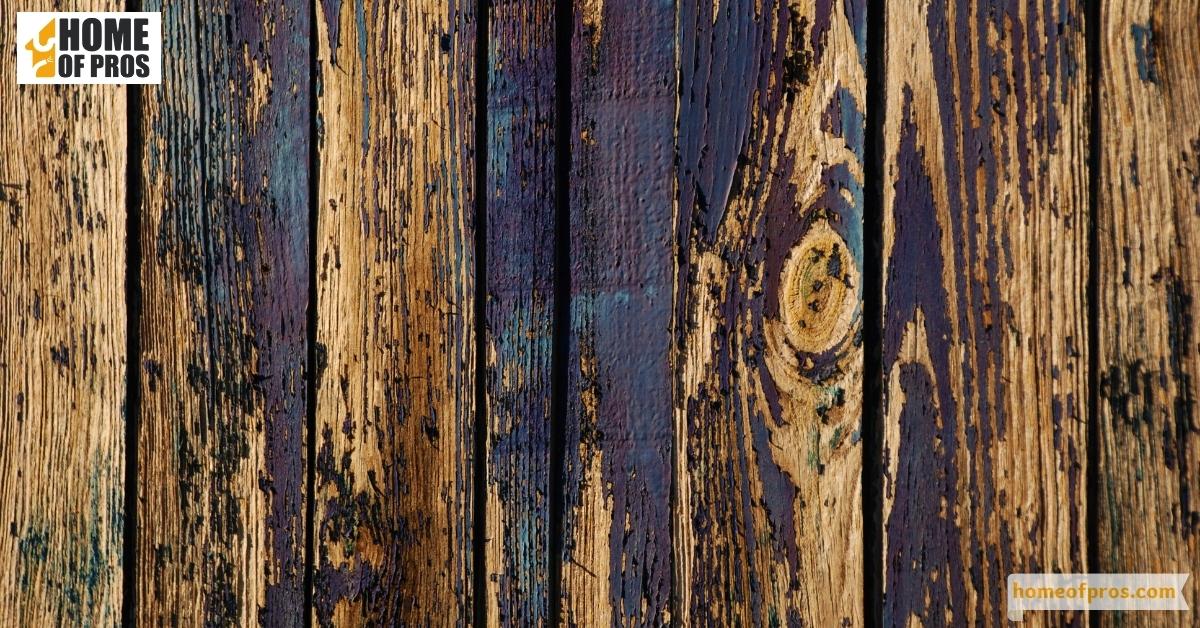
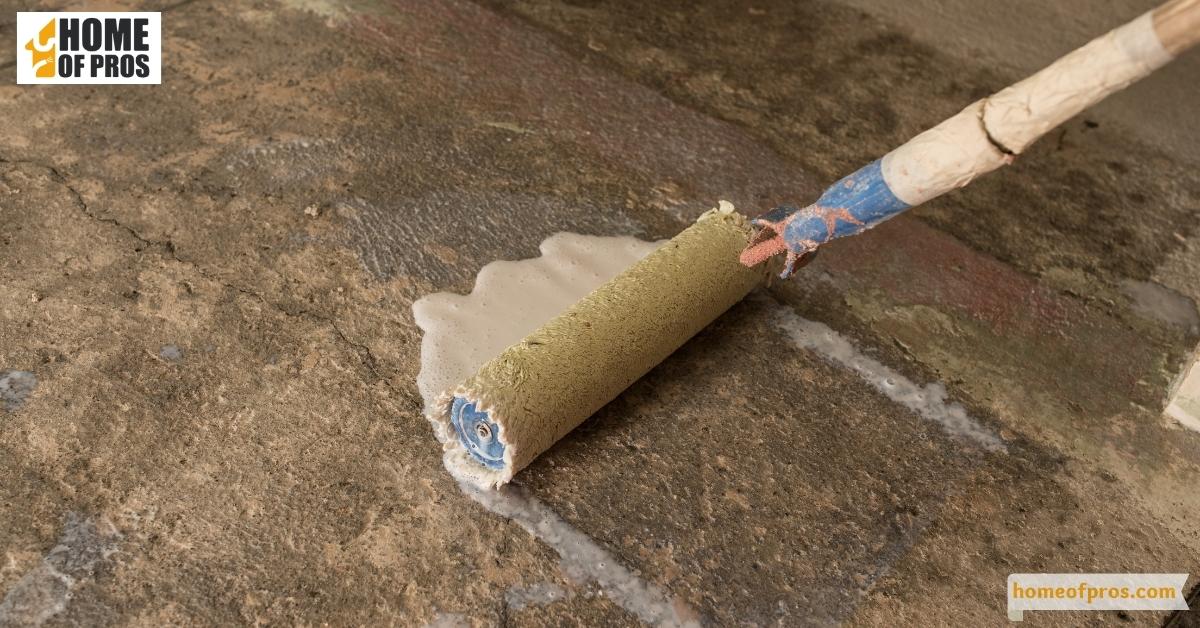
Wood absorbs paint, causing uneven patches if not primed properly. Use an oil-based or latex primer for wood surfaces. Apply evenly with a brush or roller, moving in the direction of the grain. Let it dry before applying the paint.
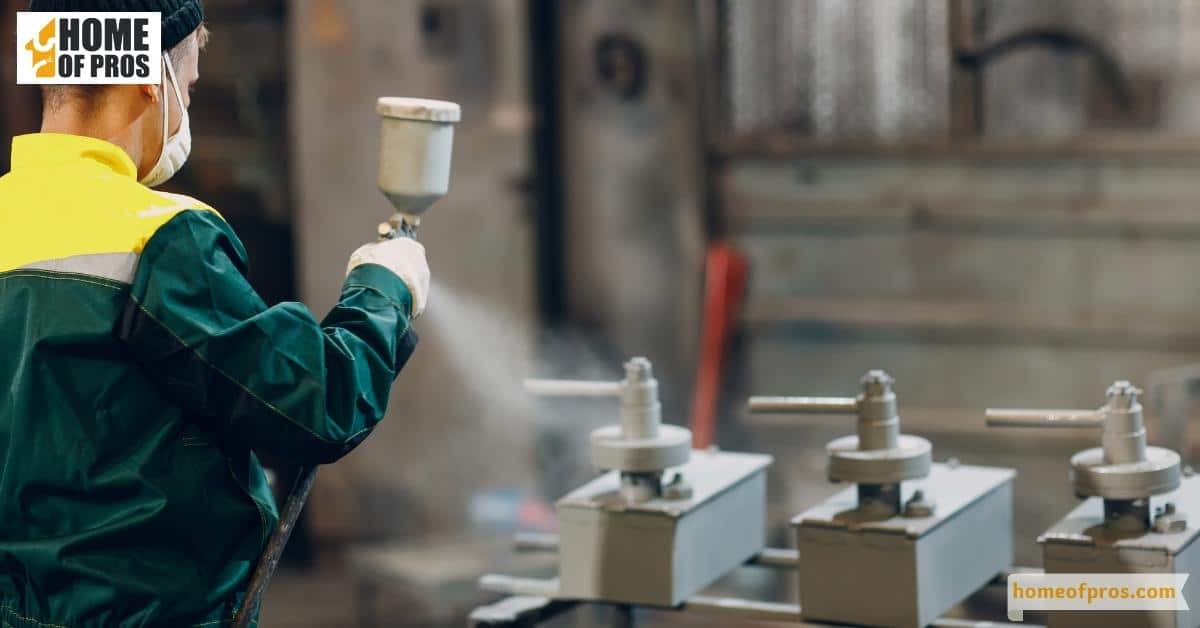
Priming Metal Surfaces
Metal surfaces can be tricky due to their slick nature. You’ll need a primer specifically designed for metal. Apply using a brush or roller, ensuring an even coat. Allow it to dry thoroughly before painting.

Priming Drywall
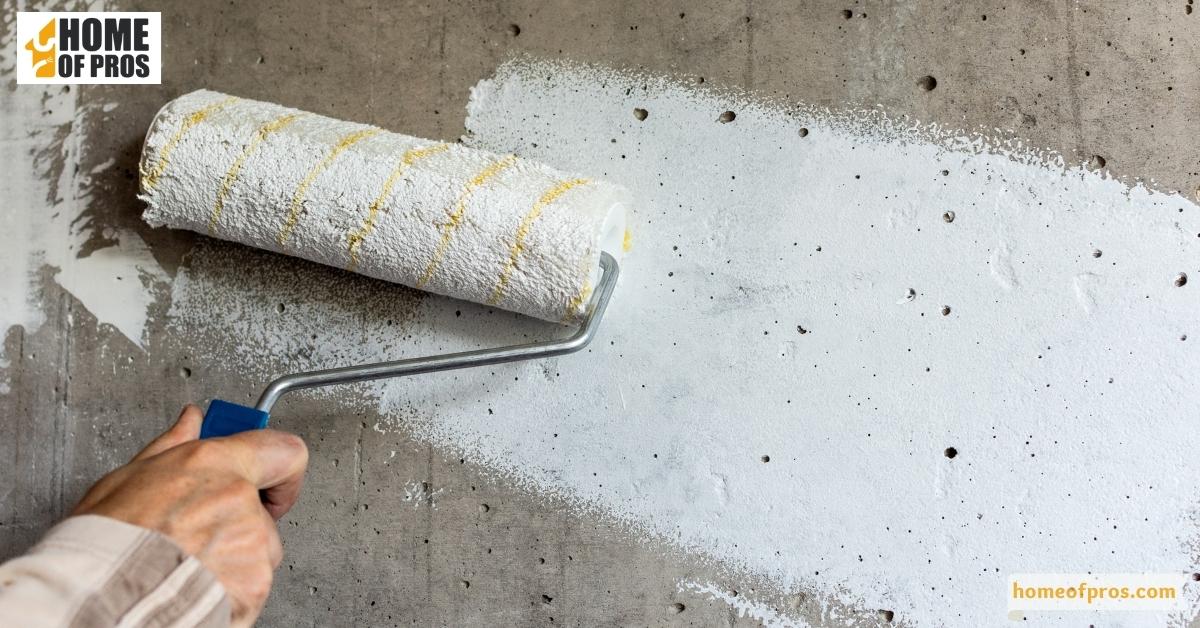
Drywall tends to soak up paint, leading to an uneven finish. A dedicated drywall primer-sealer is your best bet. Apply with a roller in a W pattern for even coverage. Let it dry before painting.
Priming Plastic Surfaces
Plastic surfaces require a primer that can stick to their slick surface. Look for a primer specifically designed for plastic. Spray primers work best for plastic. Apply light, even coats, and let it dry completely before painting.
Selecting the Right Primer for Your Project
Choosing the right primer for your project is crucial to achieving a high-quality finish. Primers are formulated to handle specific situations and materials. Here are a few key considerations to ensure you pick the correct primer:
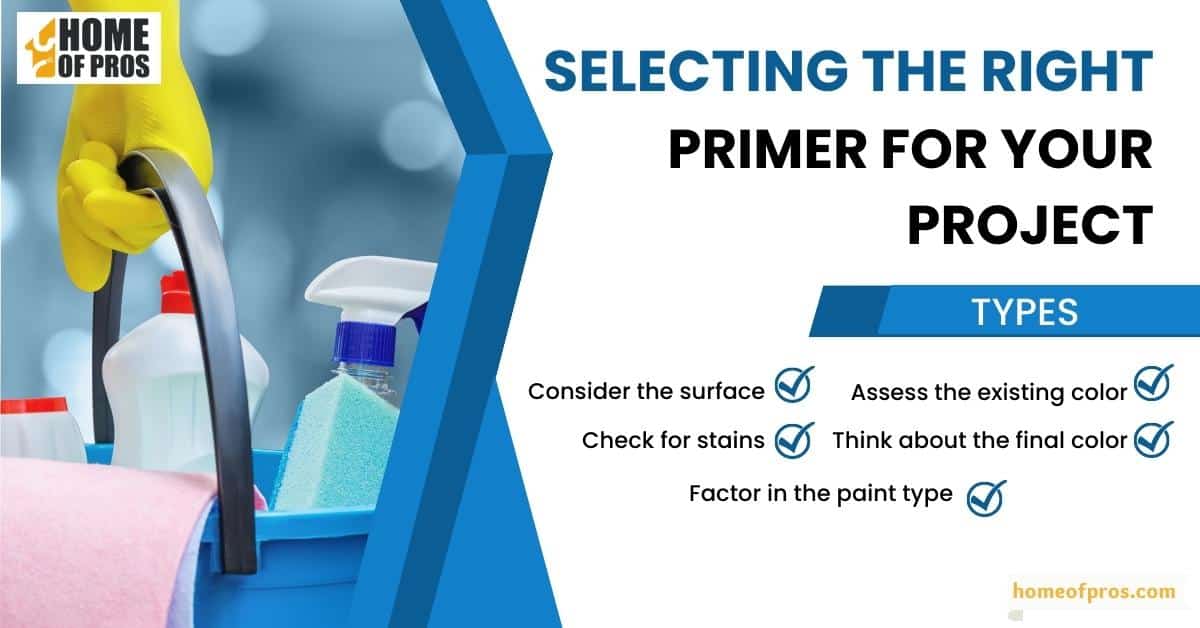
- Consider the surface: Different surfaces require different types of primers. For instance, wood and metal surfaces usually benefit from oil-based primers, while drywall and plastic might require specialized primers.
- Assess the existing color: If you’re painting over a darker color, you might need a primer with high hiding properties to ensure the old color doesn’t show through the fresh paint.
- Check for stains: Primers can also help cover stains. If you’re dealing with a water, smoke, or rust stain, look for a stain-blocking primer.
- Think about the final color: Some primers are available in tinted versions. If you’re painting a dark color, consider a tinted primer to reduce the number of paint coats you’ll need.
- Factor in the paint type: If you’re planning to use latex paint, it’s best to use a latex primer. If you’re using oil-based paint, choose an oil-based primer.
Remember, the right primer can make a huge difference in your painting project. It can help hide previous colors, prevent stains from showing through, and provide a good base for your new paint – all leading to a more beautiful and long-lasting finish.
Common Painting Mistakes to Avoid with Primers
Primer is a crucial first step in any home painting project. However, mistakes with primer can lead to less-than-stellar results. But don’t worry! This guide will help you avoid common primer-related pitfalls and ensure your next painting project is a success.
Skipping the Primer
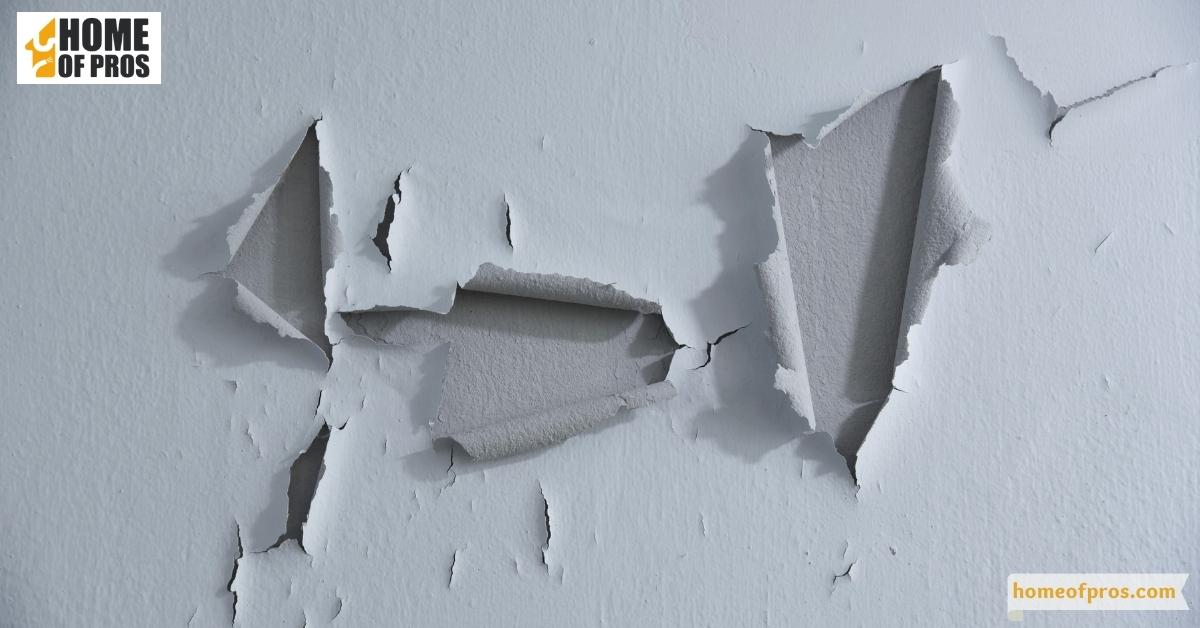
One of the biggest mistakes is skipping the primer altogether. Primer helps paint adhere better and promotes a more even finish. Don’t skip this important step!
Not Preparing the Surface
Before applying primer, it’s crucial to prepare your surface. Clean it thoroughly and sand it lightly if necessary. A clean, smooth surface ensures better primer adhesion.
Using the Wrong Primer
Not all primers are created equal. It’s essential to choose the right primer for your surface (wood, metal, plastic, etc.) and for the type of paint you’ll be using (oil-based or latex).
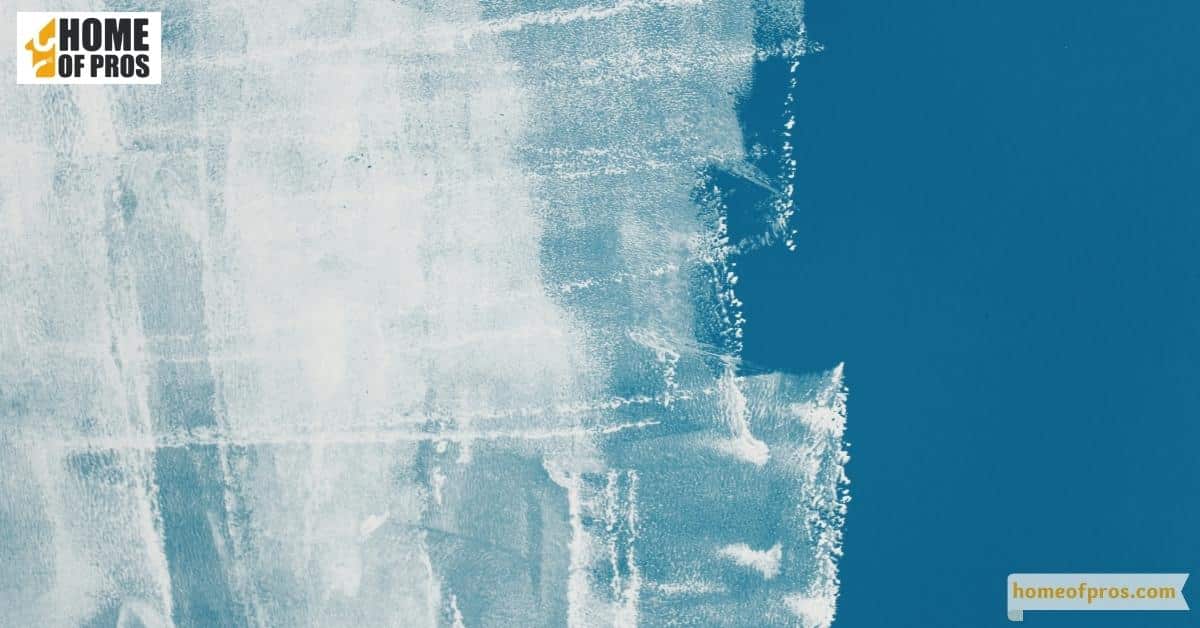
Applying Too Much or Too Little Primer
Applying too much primer can lead to drips and an uneven surface, while too little may not adequately prepare the surface for paint. Aim for a thin, even coat.
Not Letting the Primer Dry
It can be tempting to rush things, but it’s important to let your primer dry fully before applying paint. This allows the primer to do its job and results in a smoother, more durable finish.
Maximizing the Benefits of Primer on Your Painting Project
Maximizing the benefits of primer on your painting project goes beyond just applying it. Understanding its potential and how it impacts your painting project is crucial. In this section, we will delve into how to ensure you get the most out of your primer for a successful painting project.
Understanding Primer Types
You need to understand the different types of primers available and which one is best for your specific project. For instance, oil-based primers are excellent for wood and metals, while latex primers are perfect for drywall. If you’re working on a plastic surface, a primer specifically designed for plastic is necessary.
Surface Preparation
A well-prepared surface can significantly enhance the performance of your primer. It’s not just about cleaning the surface but also sanding it for a smooth finish. For metal surfaces, removing rust is vital, while for wood, it’s crucial to ensure it’s free from any dirt or grease.
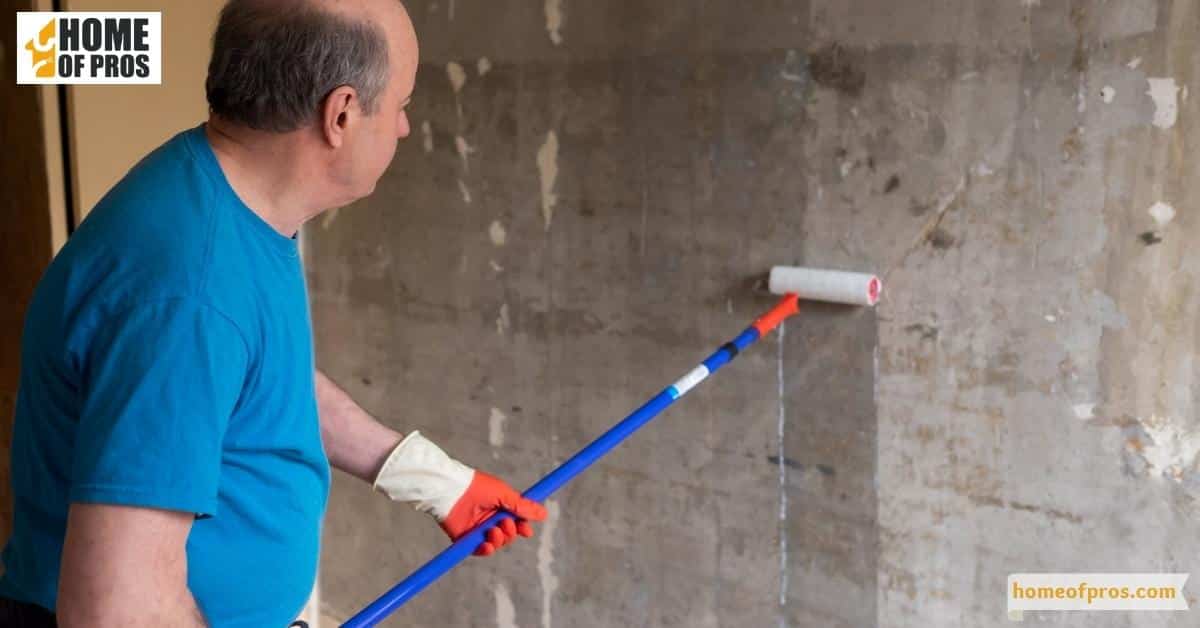
Adequate Application
Applying primer uniformly across the surface enhances its effectiveness. An uneven application can lead to inconsistencies in your final paint job. Using the right tools, such as a roller or paintbrush, and following the right techniques can help achieve an even application.
Proper Drying Time
Allowing your primer to dry fully before proceeding with the paint ensures it serves its purpose effectively. Drying times can vary based on primer type and environmental conditions, so it’s crucial to follow the manufacturer’s instructions.
Priming for Final Paint Color
If you’re planning to paint with a dark color, using a tinted primer can be beneficial. Tinted primers can reduce the number of paint coats you need and ensure a richer final color. By understanding and implementing these steps, you can leverage the full potential of primer, ensuring a smooth, durable, and high-quality finish for your painting project.
In conclusion
A primer is an essential step in any painting project. From helping create a strong bond between the surface and the paint to covering up previous colors, it plays a vital role in producing great results.
Knowing how many coats of primer you should use, what type of primer to select for different surfaces, and how to maximize its benefits can ensure a successful painting project.