Have you ever been frustrated by a faulty ice maker that simply won’t produce ice? It’s a common problem that can be caused by a variety of issues, but don’t worry! With the right tools and some simple steps, you can fix your ice maker and have it working like new again.
Gather the necessary tools, disassemble the icemaker, service the water inlet valve, replace the thermostat in an icemaker control module, and reassemble & test. Follow these steps for the successful repair of your ice maker and get back to sipping that cold drink!
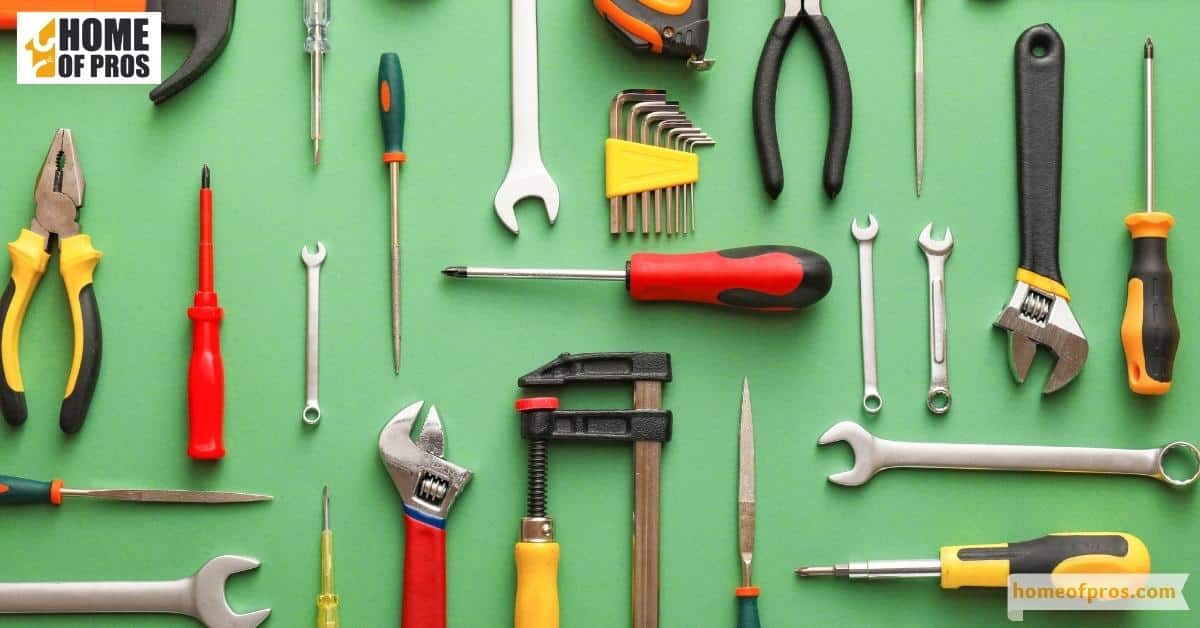
1. Gather the Necessary Tools
Having the right tools on hand is an essential first step for icemaker repair. Before you begin, gather together screwdrivers, an adjustable wrench, a nut driver, metallic putty, and a multimeter. If you don’t have these tools already in your home toolkit, they should be easy to find at any hardware store or appliance parts shop.
It’s also important to remember safety precautions when working with tools, like wearing eye protection and gloves as needed. You may also need to turn off the power or unplug the appliance before beginning work on an icemaker. With the right tools and safety measures in place, you’re ready to get started!
Before starting your repair, gather these necessary tools:
- Screwdriver set
- Multimeter for testing electrical connections
- Adjustable wrench
- Nut drivers
- A hairdryer (to defrost any frozen lines)
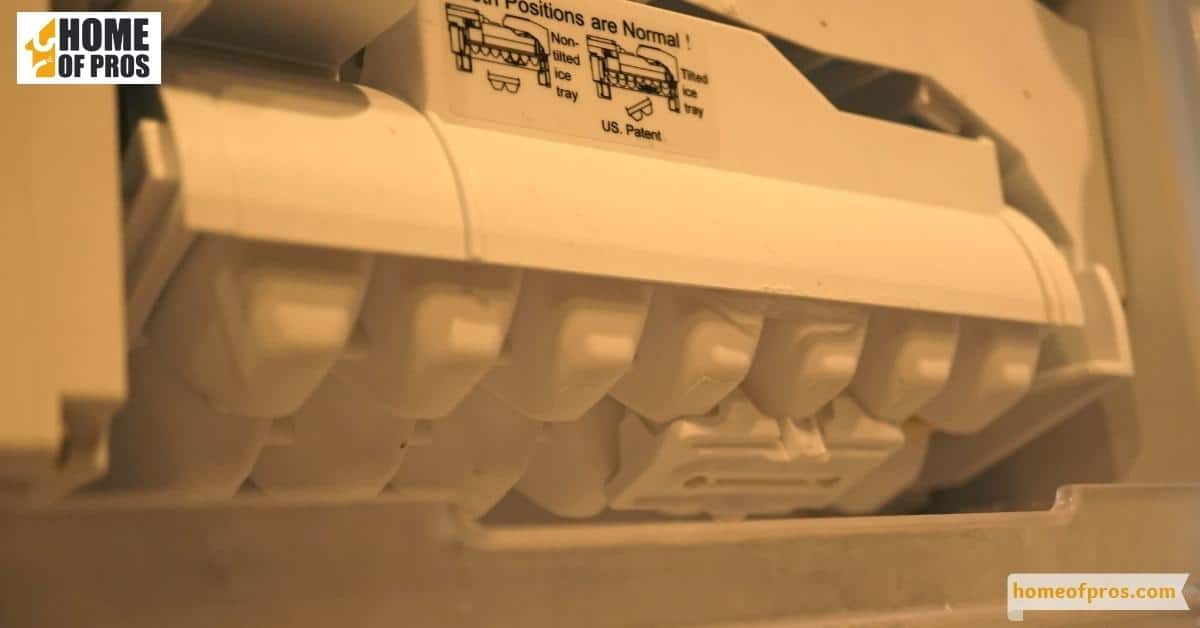
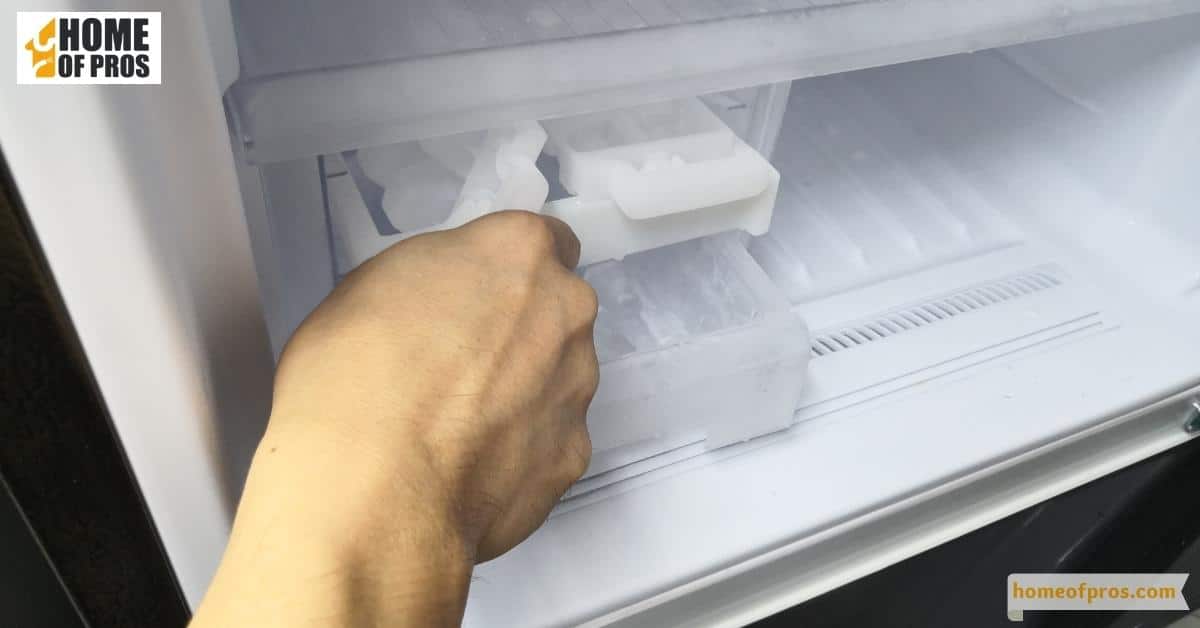
2. Disassemble the Icemaker
If you’re dealing with a faulty ice maker, disassembling it can seem like a daunting task. But don’t worry – with this step-by-step repair guide, you’ll be able to fix the problem in no time. First, turn off the power to the ice maker and remove any ice from the tray. Then, carefully detach the ice maker from the freezer wall and disconnect any wires.
Next, remove the cover of the ice maker and inspect the components for any visible damage or wear. If you find any faulty parts, replace them with new ones. Finally, reassemble the ice maker and turn the power back on to test it out. With these simple steps, you’ll be able to fix your ice maker and enjoy a refreshing cold drink once again.
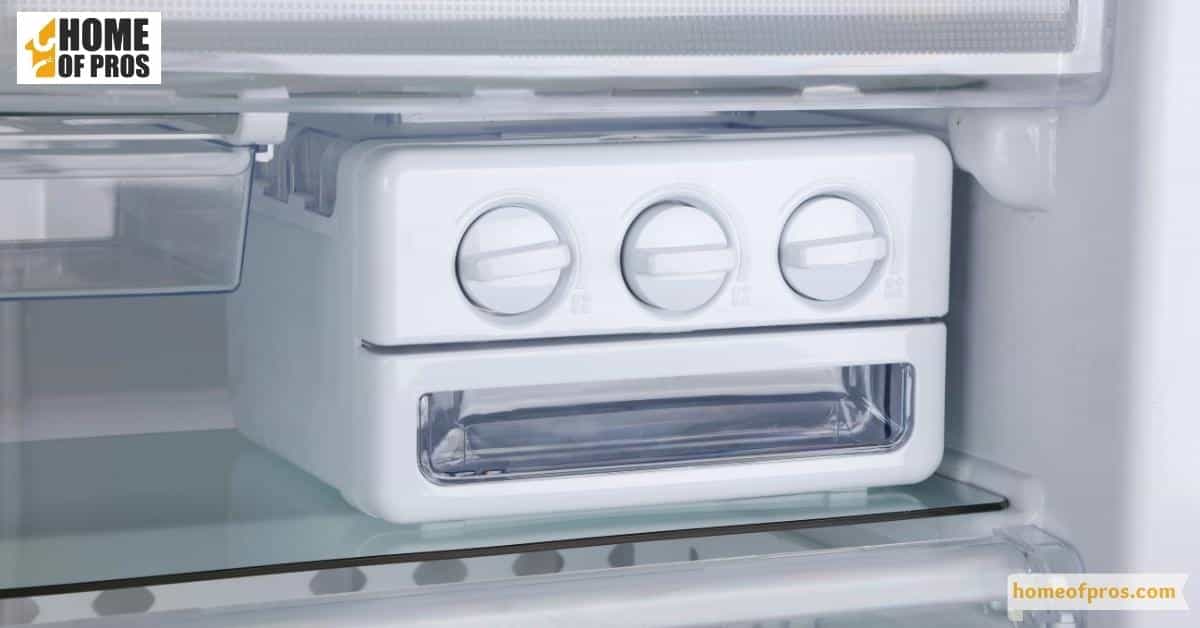
3. Service the Icemaker Water Inlet Valve
Are you tired of constantly buying bags of ice because your ice maker just isn’t working properly? It might be time to service the icemaker water inlet valve. This may sound daunting, but with our step-by-step repair guide, you’ll have your ice maker up and running in no time.
First, locate the icemaker water inlet valve and disconnect the water supply. Next, remove the valve by unscrewing any bolts or screws holding it in place and disconnecting any wires or tubing.
Once removed, inspect the valve for any damage or debris, and if necessary, clean or replace it. Finally, reattach any wires or tubing and screw the valve back into place, then reconnect the water supply.
4. Replace the Thermostat in an Icemaker Control Module
If you’re experiencing issues with your ice maker, it could be due to a faulty thermostat in the control module. Fortunately, replacing the thermostat yourself is a relatively simple fix. To begin, you’ll need to gather a few tools, including a multimeter and a replacement thermostat. The first step is to unplug your fridge and turn off the water supply.
Then, remove the ice maker from the freezer and locate the control module. Take note of the wiring and carefully remove the faulty thermostat. Install the new thermostat, making sure to connect the wiring correctly.
Once everything is reassembled, turn the water and power back on and wait for your ice maker to start producing ice once again. With a little bit of patience and attention to detail, you can save yourself a lot of time and money by fixing your faulty ice maker yourself.
5. Reassemble and Test Your Ice Maker
Fixing a faulty ice maker can seem overwhelming, but fear not! With the right tools and step-by-step guidance, you’ll have your ice maker up and running in no time. The first step is to reassemble and test your ice maker. This may seem like a daunting task, but we’ve got you covered.
Starting with taking apart your ice maker and carefully checking each component, we’ll walk you through the process of putting it all back together and testing it to ensure proper function. With our approachable and practical guide, you’ll be able to tackle this repair with ease and get back to enjoying ice-cold beverages in no time.
6. Keeping Your Ice Maker in Good Condition
It’s a hot summer day and you’re about to pour yourself a nice cold drink, but when you go to use your ice maker, it’s not working properly. Don’t panic – this step-by-step repair guide will help you get your ice maker back in working condition. First things first: keeping your ice maker clean is key to preventing malfunctions.
Regularly wiping down the inside of your ice maker and making sure the water supply and drain are functioning properly can go a long way in preventing issues. If you do encounter a problem, make sure to turn off the water supply and unplug the machine before making any repairs.
With a little bit of know-how and some simple tools, you’ll be back to enjoying ice-cold drinks in no time.
7. Get the Right Replacement Parts for Successful Repair
When your ice maker stops working, it can be frustrating and inconvenient. Knowing how to fix the problem can save you time and money. However, getting the right replacement parts is crucial for a successful repair. This step-by-step guide will walk you through the process of finding and installing the necessary parts.
Don’t worry if you aren’t an expert in appliance repair – this guide is approachable and practical for anyone to follow. With a little patience and the right tools, you can have your ice maker back up and running in no time.
In conclusion
Fixing a faulty ice maker may seem like a daunting task, but with this step-by-step repair guide, it can be a practical and approachable task. The informative instructions provided will guide you through the process, making it easier to troubleshoot and identify the problem with your ice maker.
Additionally, with each repair step, you’ll gain knowledge of how your ice maker works, preparing you for future maintenance. So, the next time your ice maker stops working, don’t panic! Let this repair guide help you diagnose and fix the issue, and enjoy a cold, refreshing drink in no time.