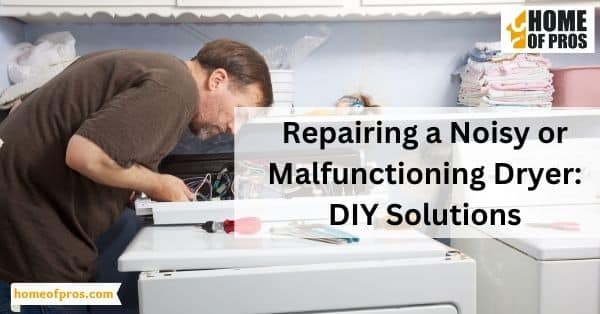
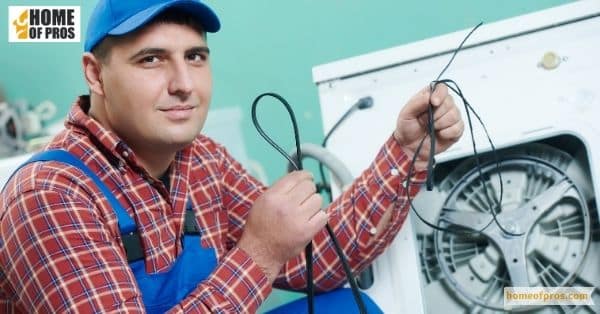
Discover DIY solutions for repairing a noisy or malfunctioning dryer. Learn about common causes of dryer noises, troubleshooting techniques, a step-by-step repair guide, and tips for fixing malfunctioning components. Stay safe and maintain a fully functional dryer with our essential maintenance tips.
In this blog, we’ll cover how to troubleshoot and repair your dryer so you can get back to doing laundry quickly. Keep reading for tips on repairing a noisy or malfunctioning dryer!
Identifying Common Causes of Noisy Dryer Operations
A noisy dryer can be quite bothersome, especially in the middle of the night or early morning. Identifying the root cause of your appliance’s loud and unusual sound is crucial to addressing the problem.
Worn Out Drum Support Rollers
Drum support rollers are responsible for keeping the dryer drum balanced and rotating smoothly. Over time, these rollers can wear out, causing a loud thumping or rumbling noise. Inspect the rollers for signs of wear, such as flat spots or excessive wobbling.
Faulty Belt
The dryer belt is responsible for rotating the drum. If the belt becomes worn, frayed, or stretched, it can produce a high-pitched squealing or screeching noise. Check the condition of the belt by visually inspecting it or gently tugging it. If it appears damaged or loose, it may need to be replaced.
Defective Idler Pulley
The idler pulley is another crucial component that helps maintain tension on the dryer belt. A faulty idler pulley can create a loud rattling or squeaking noise. Inspect the pulley for any signs of wear, such as excessive play or misalignment. If necessary, replace the idler pulley to eliminate the noise.

Worn Drum Glides or Slides
Dryer drums are equipped with glides or slides that provide support and prevent metal-to-metal contact. If these components become worn or damaged, they can cause a grinding or scraping noise as the drum rotates. Examine the glides or slides for signs of wear and replace them if needed.
Loose or Damaged Blower Wheel
The blower wheel moves air through the dryer and can sometimes become loose or damaged. A loose blower wheel may produce a thumping or rattling sound, while a damaged wheel can cause a humming or vibrating noise. Check the blower wheel for tightness and any visible signs of damage.
Remember, before attempting any repairs, it’s crucial to unplug the dryer and ensure your safety. If you’re unsure about the specific cause of the noise or lack the necessary expertise, it’s recommended to consult a professional technician for assistance.
DIY Troubleshooting Techniques for a Malfunctioning Dryer
Experiencing issues with a malfunctioning dryer can be frustrating, but before calling a professional technician, it’s worth trying some DIY troubleshooting techniques to potentially resolve the problem.
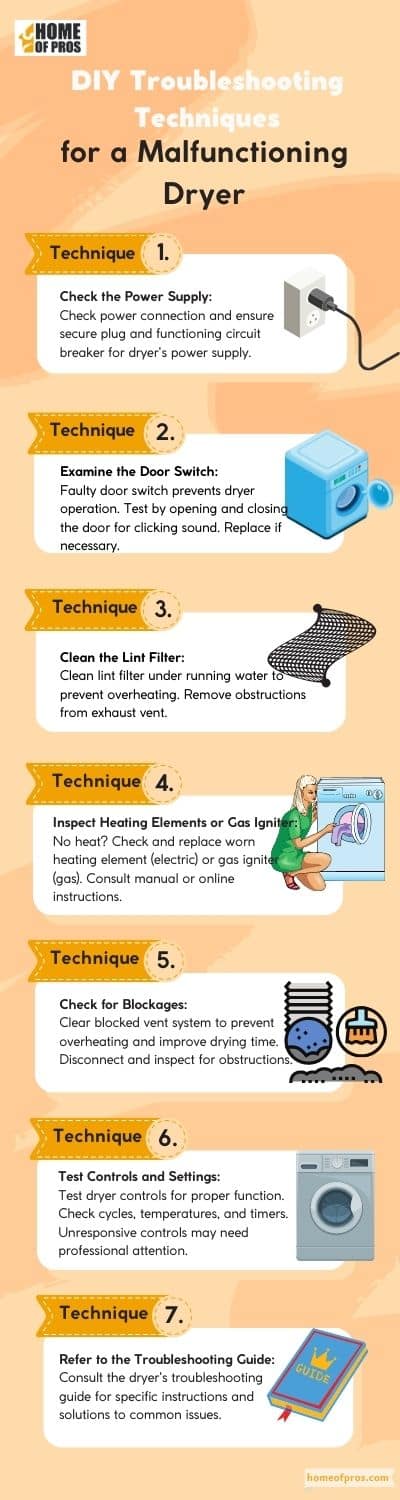
If these troubleshooting techniques do not resolve the problem or if you are unsure about performing any of the steps, it is advisable to contact a professional appliance repair technician. They have the expertise and specialized tools to diagnose and fix more complex issues with your dryer.
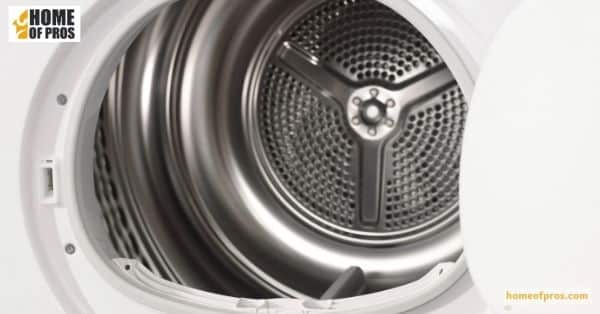
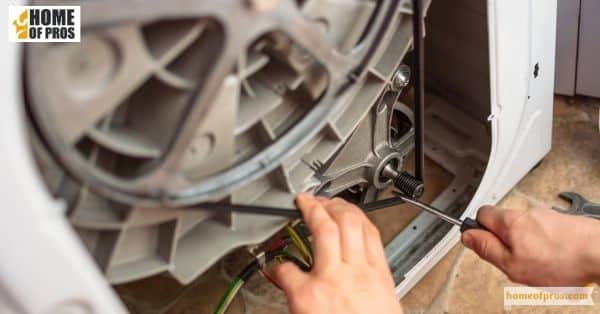
Repairing Dryer Noises: Step-by-Step Guide
If you’ve noticed an unusual noise coming from your dryer, it could be a sign that something is not quite right. Not only can these sounds be annoying, but they could also indicate a problem that may require repair. Luckily, repairing dryer noises doesn’t have to be a daunting task. With a step-by-step guide, you can easily diagnose the issue and fix it without having to call a professional.

Step 1: Unplug the Dryer
For safety purposes, always unplug the dryer from the power source before starting any repair work.
Step 2: Remove the Lint Filter
Take out the lint filter and clean it thoroughly. A clogged filter can cause the dryer to make excessive noise. Rinse it under running water and let it dry completely before putting it back.
Step 3: Inspect the Drum Support Rollers
Locate the drum support rollers at the back of the dryer. Check for signs of wear, such as flat spots or excessive wobbling. If they are damaged or worn, they may need to be replaced.
Step 4: Replace Worn Drum Glides or Slides
Inspect the drum glides or slides that provide support to the dryer drum. If they are worn or damaged, they can cause a grinding or scraping noise. Replace them with new ones as needed.
Step 5: Tighten or Replace the Blower Wheel
The blower wheel moves air through the dryer. If it is loose or damaged, it can create noise. Tighten it carefully using a wrench or replace it if necessary.
Step 6: Check the Belt
Examine the dryer belt for signs of wear, fraying, or stretching. If the belt is damaged, it can cause a squealing or screeching noise. Replace the belt if needed.
Step 7: Test the Idler Pulley
Inspect the idler pulley for any signs of wear, misalignment, or excessive play. A faulty idler pulley can create rattling or squeaking noises. Replace it if necessary.
Step 8: Reassemble and Test
Once all the necessary repairs or replacements are made, reassemble the dryer. Make sure all components are properly secured and tightened. Plug in the dryer and run a test cycle to check if the noise issue has been resolved.
Safety Precautions and Maintenance Tips for a Quieter, Fully Functional Dryer
- Regularly clean the lint filter after each use to prevent lint buildup, improve drying efficiency, and reduce the risk of dryer fires.
- Clean the dryer vent and exhaust duct annually to remove lint accumulation and ensure proper airflow. Clogged vents can cause the dryer to overheat and produce noise.
- Keep the dryer area free from flammable materials to minimize fire hazards. Avoid storing items on top of or around the dryer.
- Avoid overloading the dryer, as it can strain the components, lead to excessive noise, and reduce drying efficiency. Follow the manufacturer’s guidelines for load capacity.
- Check and tighten all connections, including power cords, vent hoses, and gas lines, to ensure they are secure and free from leaks or damage.
- Inspect the dryer drum periodically for any sharp edges or rough spots that can damage clothes. Smooth out any imperfections or consider replacing the drum if necessary.
- Keep the dryer level and stable to prevent excessive vibrations and noise during operation. Adjust the leveling feet if needed.
- Avoid running the dryer when you are not at home or while sleeping to minimize the risk of accidents or malfunctions going unnoticed.
- Regularly check the dryer’s exterior and control panel for any signs of damage or wear. Promptly address any issues to prevent further complications.
- Familiarize yourself with the manufacturer’s manual for specific maintenance recommendations and safety instructions tailored to your dryer model.

In conclusion
Repairing a noisy or malfunctioning dryer may seem daunting, but DIY solutions are available. Not only can fixing it yourself save money, but it can also be a great way to learn more about your appliances.
From cleaning the lint trap and exhaust vents to replacing faulty parts, there are several steps that can be taken to silence that pesky dryer noise or fix any issues with performance. Proper maintenance and occasional repairs can greatly extend the life of your dryer.
So don’t hesitate to tackle the task yourself with the help of online tutorials or professional guidance. By taking the time to troubleshoot and fix the problem, you can save time and money in the long run while ensuring your laundry appliances perform optimally.