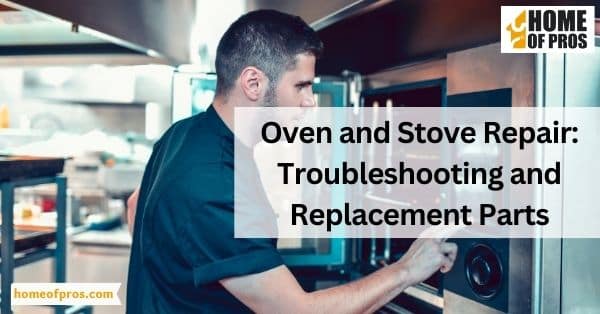
Is your oven or stove not performing as it should? Are you looking for ways to troubleshoot and repair the issue? If so, you’ve come to the right place.
Oven and stove repair covers troubleshooting, replacement parts, safety precautions, and DIY instructions. It helps you fix common problems like uneven heating and burner issues. Save time and money by following our guidance for a smoothly functioning oven or stove.
In this blog post, we’ll walk through the basics of oven and stove repair. With these simple steps, you’ll be able to quickly get back to baking your favorite dishes in no time. So let’s get started!
Overview of Common Problems With Ovens and Stoves
As one of the most important appliances in your kitchen, ovens, and stoves are essential for preparing your favorite meals. However, like any other household appliance, ovens, and stoves can develop problems and breakdowns.
Being aware of common problems with your oven and stove can help you diagnose issues and resolve them more quickly. Some of these common issues include temperature control problems, malfunctioning burners, broken igniters, and faulty heating elements.
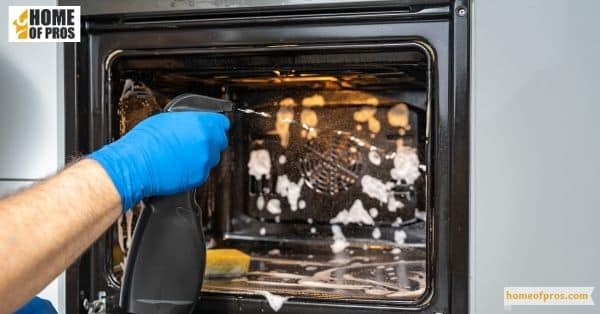
It’s always best to consult a professional if you’re unsure of how to diagnose and fix these problems. Regular maintenance and cleaning can also help prevent these issues from occurring in the first place.

Troubleshooting Common Oven and Stove Problems
Ovens and stoves are essential appliances in any kitchen, but they can occasionally experience issues that hinder their performance. Troubleshooting common problems can help you identify the root cause and potentially resolve the issue without the need for professional assistance.
Uneven Heating
Your oven or stove may have hot spots, resulting in uneven cooking or baking.
Troubleshooting Tips:
- Ensure that you are preheating the oven adequately before use.
- Use an oven thermometer to verify the actual temperature inside the oven.
- Avoid overcrowding the oven with too many dishes, as it can obstruct airflow.
- Rotate baking sheets or dishes halfway through cooking to promote even heat distribution.
- If the issue persists, it could be due to a faulty heating element or temperature sensor, which may require professional repair.
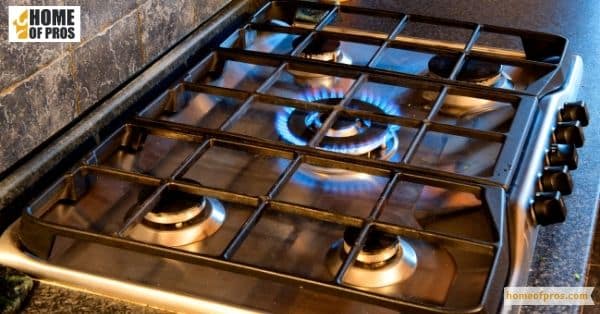
Burner Problems
One or more burners on your stove are not working or producing uneven flames.
Troubleshooting Tips:
- Check if the burner is properly connected and seated in its socket.
- Clean the burner and its ports to remove any debris or food residue that may be obstructing the gas flow.
- Ensure that the burner cap is correctly positioned and aligned.
- Swap the malfunctioning burner with a working one to determine if the issue lies with the burner or the stove itself.
- If cleaning and swapping burners do not solve the problem, it may indicate a faulty igniter, control switch, or gas valve, which may require professional repair.
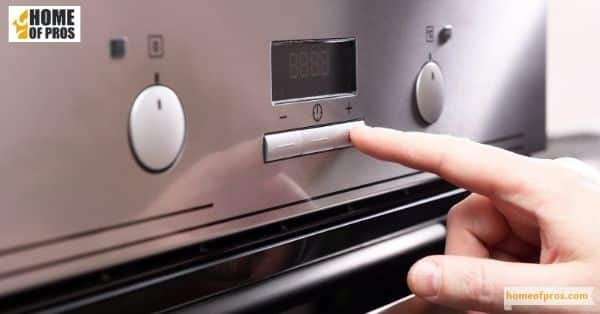
Control Panel Malfunctions
The control panel on your oven or stove is not responding or displaying error codes.
Troubleshooting Tips
- Check if the appliance is properly plugged in and receiving power.
- Reset the circuit breaker or replace the fuse if necessary.
- Allow the appliance to cool down completely, as some models have a safety feature that disables the control panel during high-temperature conditions.
- Consult the user manual for specific error codes and follow the recommended troubleshooting steps.
- If the control panel remains unresponsive or displays persistent error codes, it may require professional repair or replacement.
Self-Cleaning Issues
The self-cleaning feature on your oven is not working as expected.
Troubleshooting Tips
- Ensure that the oven door is securely closed and properly latched.
- Verify that the self-cleaning cycle has been set correctly according to the manufacturer’s instructions.
- Remove any excessive grease or food residue from the oven before initiating the self-cleaning process.
- If the oven continues to have issues with self-cleaning, it could be due to a faulty door lock mechanism, temperature sensor, or control board, which may require professional attention.
Oven Light Not Working
The light inside your oven is not turning on.
Troubleshooting Tips
- Replace the bulb with a new one to ensure the issue is not simply a burnt-out light.
- Check the light socket for any signs of damage or lose connections.
- Inspect the wiring leading to the light socket for any visible faults.
- If the light still doesn’t work, it could indicate a faulty light switch or electrical problem, which may require professional repair.
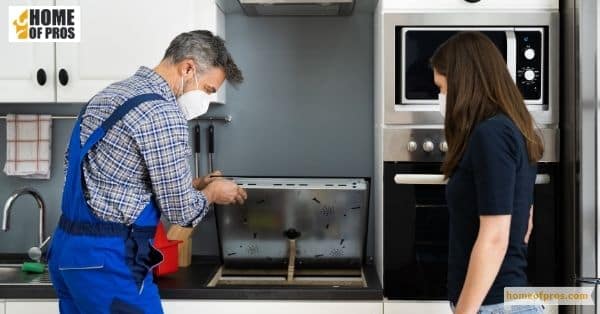
Replacement Parts for Ovens and Stoves
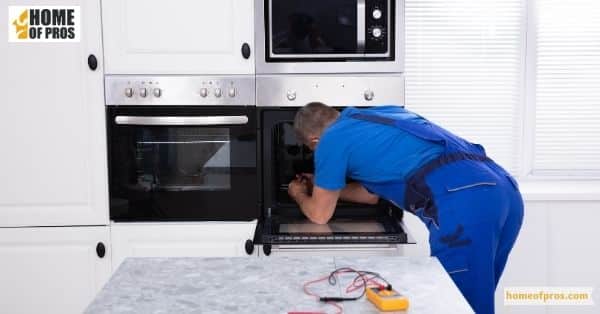
Replacing parts for your oven or stove may seem daunting, especially if you’re not familiar with the inner workings of your appliance. But fear not, as replacement parts are widely available and relatively easy to install.
Whether it’s a faulty heating element or a broken control knob, there’s a replacement piece out there for you. It’s important to keep in mind that purchasing replacement parts from a reputable source, like the manufacturer or a trusted retailer.
Ensures that you’re getting a high-quality component that will work seamlessly with your appliance. So instead of tossing out your oven or stove at the first sign of trouble, consider a replacement part. A little investment in your appliance could save you both time and money in the long run.

DIY Oven and Stove Repair: Safety Precautions and Step-by-Step Instructions
When it comes to repairing your oven or stove, tackling the task yourself can be a rewarding and cost-effective option. However, it’s crucial to prioritize safety and follow proper procedures.
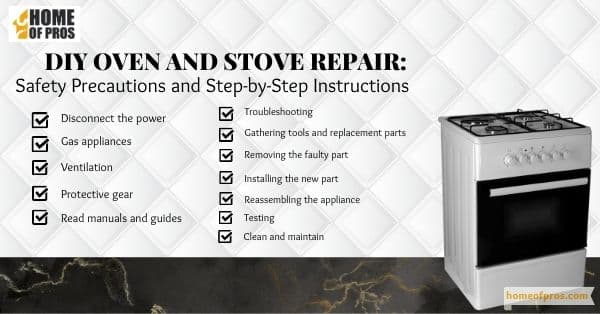
Safety Precautions:
- Disconnect the power: Before starting any repair work, unplug the appliance from the power outlet or turn off the circuit breaker to ensure there is no electricity flowing to the oven or stove.
- Gas appliances: If you have a gas oven or stove, shut off the gas supply valve before attempting any repairs. If you’re unsure about working with gas connections, it’s best to call a professional.
- Ventilation: Ensure the repair area is well-ventilated to prevent the accumulation of gas or fumes. Open windows or doors and use fans if necessary.
- Protective gear: Wear appropriate safety gear, including gloves and safety glasses, to protect yourself from sharp edges, electrical components, or any potential hazards.
- Read manuals and guides: Familiarize yourself with the appliance’s user manual, repair guides, or online resources specific to your oven or stove model. Understand the components, diagrams, and instructions before proceeding with any repairs.
Step-by-Step Instructions:
- Troubleshooting: Identify the specific problem with your oven or stove. Use troubleshooting techniques to determine the cause, such as checking power connections, assessing burner functionality, or inspecting heating elements.
- Gathering tools and replacement parts: Based on your troubleshooting, determine the tools and replacement parts required for the repair. Ensure you have the necessary items before starting the process.
- Removing the faulty part: Depending on the repair, you may need to disassemble certain components of the oven or stove to access the faulty part. Use appropriate tools to carefully remove the part without damaging other elements.
- Installing the new part: Install the replacement part according to the manufacturer’s instructions. Take note of any specific guidelines for proper installation or wiring connections. Make sure the new part fits securely and is aligned correctly.
- Reassembling the appliance: Once the new part is installed, carefully reassemble any components that were removed. Ensure all connections are secure and any fasteners or screws are tightened appropriately.
- Testing: Reconnect the power or gas supply and test the repaired oven or stove. Turn it on and verify that the repaired part is functioning as expected. Monitor for any unusual sounds, smells, or malfunctions.
- Clean and maintain: After completing the repair, clean the oven or stove and its surrounding area. Regularly maintain the appliance by cleaning burners, oven interiors, and ventilation systems to prevent future issues.
Important Note: It’s essential to recognize your limitations. If you encounter complex issues, feel uncomfortable, or lack the necessary skills or tools for repair, it’s best to seek professional assistance to ensure your safety and prevent further damage to the appliance.
Remember, DIY oven and stove repairs can save you money, but safety should always be the top priority. By following safety precautions and step-by-step instructions, you can effectively troubleshoot and repair common issues, restoring your appliance’s functionality and avoiding unnecessary expenses.

In conclusion
Oven and Stove Repair: Troubleshooting and Replacement Parts is a crucial aspect of maintaining a safe and functional kitchen. While it may be tempting to replace the appliance altogether, troubleshooting and repairing specific parts can save time and money in the long run.
It is important to identify the root of the problem and determine if it can be fixed with a replacement part or if a professional technician should be consulted. With proper maintenance and care, ovens and stoves can provide reliable service for years to come.