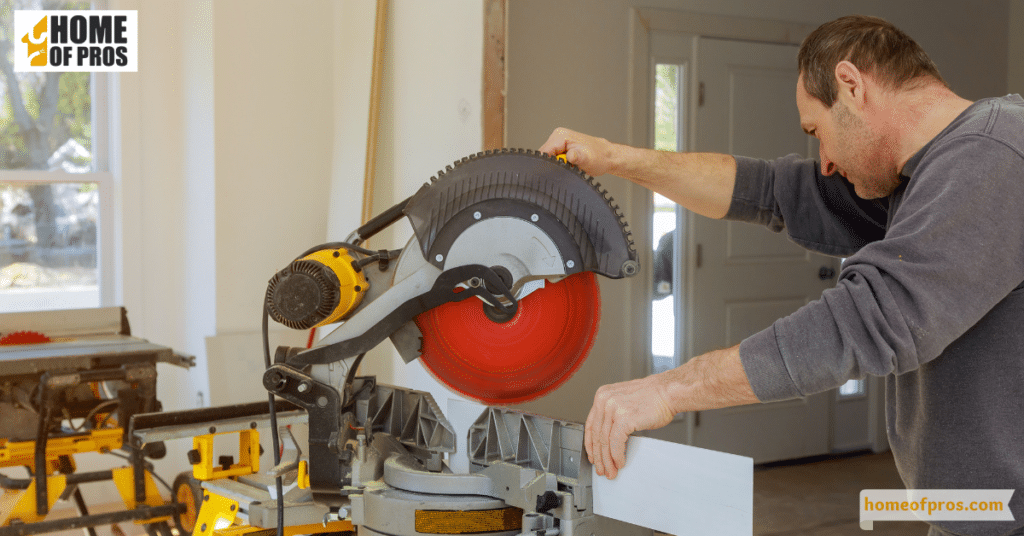
Changing a circular saw blade is a straightforward process that can greatly enhance the tool’s performance and safety. Begin by unplugging the saw and locating the blade release button or bolt, usually found near the blade guard. After securing the blade, carefully follow the manufacturer’s instructions to ensure a smooth and efficient replacement.
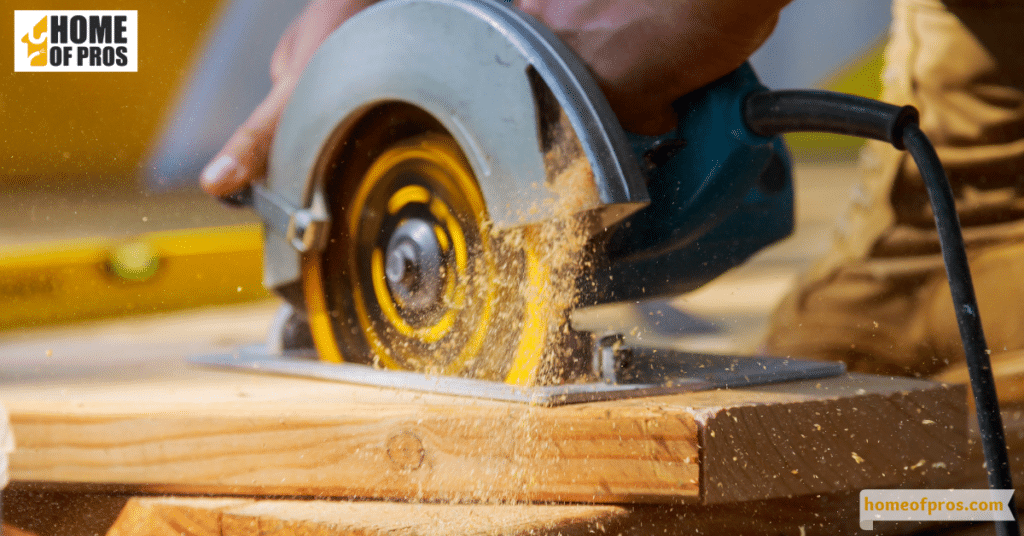
When it comes to woodworking or DIY projects, a circular saw is a trusty companion in every handy person’s toolkit. However, like any loyal ally, it requires proper care and maintenance to perform at its best. One crucial aspect of circular saw upkeep is knowing how to change the blade. Not only does this enhance the tool’s performance, but it’s also a vital safety measure.

Step 1: Gather Your Tools and Safety Equipment
Before embarking on the blade replacement journey, it’s essential to assemble the required tools and safety gear. Here’s what you’ll need:
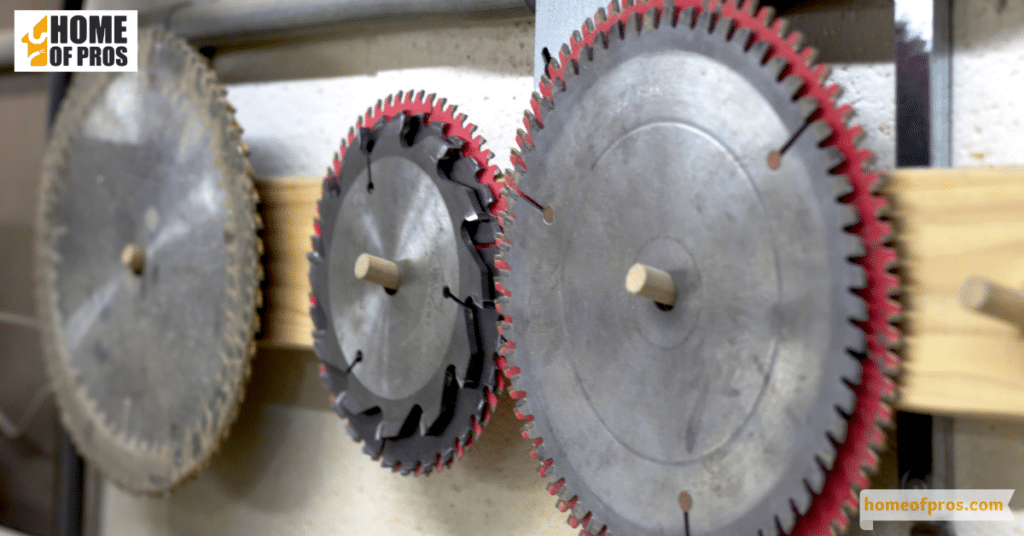
- A New Circular Saw Blade: Ensure that the replacement blade is suitable for your specific project, taking into account factors like material thickness and cutting type.
- Wrench: This tool is often provided with your circular saw and is essential for the blade removal process. It allows you to safely and securely handle the blade.
- Safety Glasses: Protect your eyes from potential debris and sparks during the blade replacement. Safety glasses are a must for any power tool operation.
- Gloves: Safeguard your hands from sharp edges and any accidental contact with the blade. A pair of sturdy gloves provides added safety.
- Hearing Protection: If your circular saw is known for being loud, wearing hearing protection is crucial. Prolonged exposure to loud power tools can harm your hearing, so it’s better to be safe.
- Optional: Sawhorse or Workbench: For stability and ease of work, consider using a sawhorse or workbench. These can provide a steady platform to work on and prevent any awkward or uncomfortable positioning during the blade replacement process.
By ensuring you have all these tools and safety items at your disposal, you’ll be well-prepared to change your circular saw blade efficiently and safely.

Step 2: Disconnect the Power Source
Safety should always be your top priority when working with power tools. Before you start the blade replacement process, take a moment to ensure your circular saw is completely disconnected from the power source or has its battery removed if it’s a cordless model. This critical step serves to prevent any accidental starts while you’re working on the blade. Even a momentary lapse in attention can lead to serious injuries, so double-check the power source to guarantee a safe working environment.
Step 3: Locate the Blade Release Mechanism
Now that your circular saw is safely disconnected, the next step is to locate the blade release mechanism. Typically, you’ll find this button or bolt near the blade guard, but its exact placement can vary depending on the saw’s make and model. If you’re unsure about where to find it, consulting your saw’s user manual is a wise move. This manual will provide you with specific guidance, ensuring you’re working with confidence and precision.
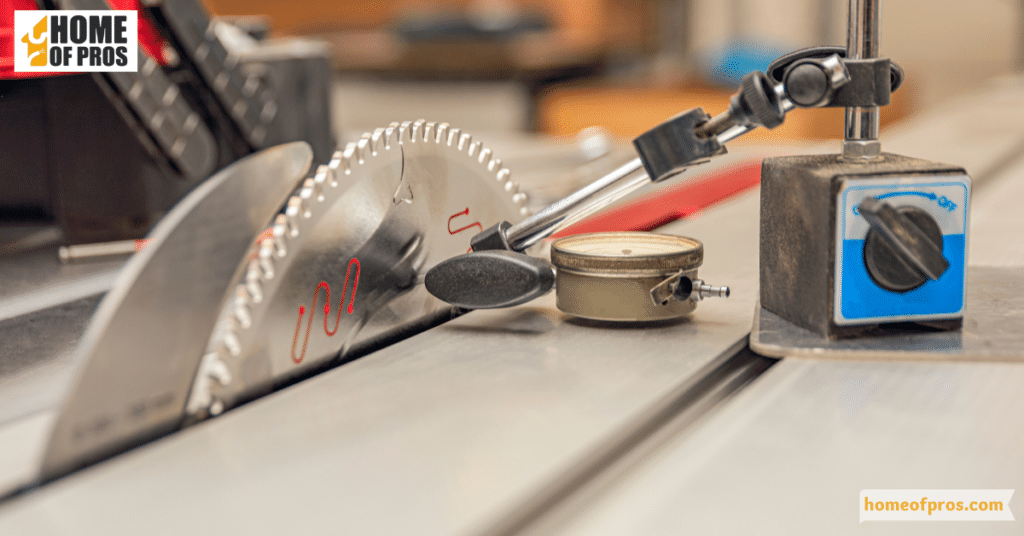
Step 4: Secure the Blade
With the blade release mechanism identified, it’s time to secure the blade for safe removal. Insert the provided wrench into the blade bolt, ensuring a snug fit. This wrench will allow you to safely and efficiently handle the blade. To prevent any unintended movement of the blade, consider two options:
- Engage the Blade Lock: If your circular saw is equipped with a blade lock, use it. This feature holds the blade in place, eliminating the risk of rotation during removal.
- Insert a Piece of Wood: Alternatively, you can insert a piece of wood through the teeth of the blade to immobilize it. This makeshift tool acts as a barrier, preventing any accidental rotation.
Once the blade is securely immobilized, carefully turn the wrench counterclockwise to loosen and remove the blade bolt. It’s important to note that some circular saw blades have a reverse thread, meaning you’ll need to turn the wrench in the opposite direction to remove the bolt.
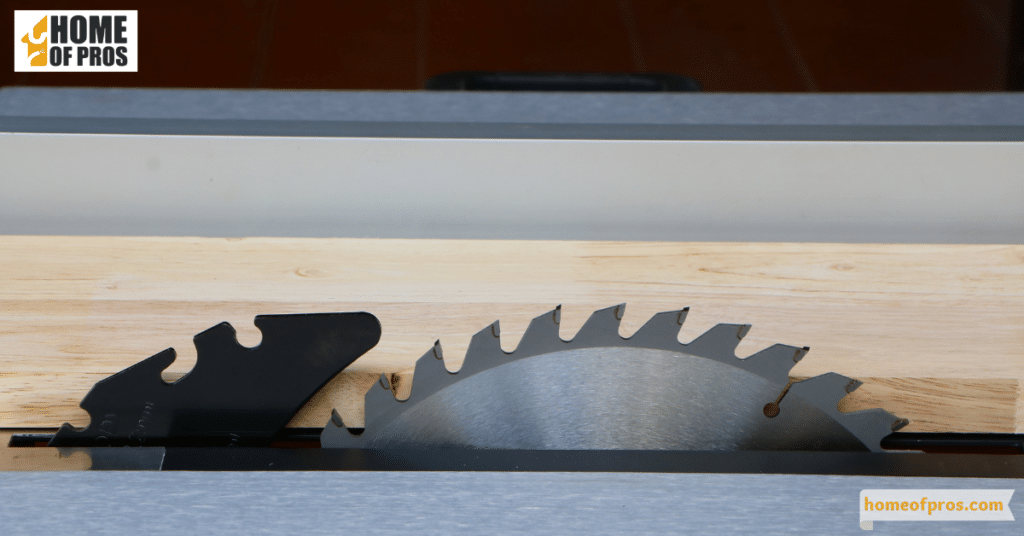
Step 5: Remove the Old Blade
With the blade bolt successfully removed, you can now proceed to extract the old circular saw blade from its housing. This step requires a gentle touch and careful handling, as the old blade may still have sharp edges. To do this:
- Hold the circular saw firmly with one hand to stabilize it.
- With your other hand, gently slide the old blade out of its housing, pulling it straight toward you.
- Be mindful of the blade’s edges, ensuring you don’t accidentally contact them.
Once the old blade is removed, place it aside in a safe location, away from your work area, to prevent any accidental contact or injury.
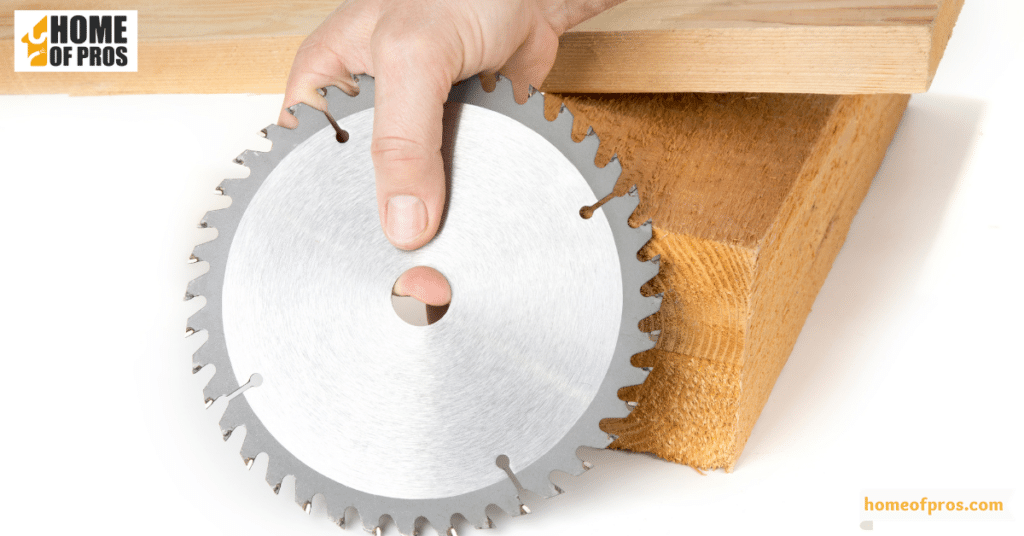
Step 6: Install the New Blade
Now that the old blade is out of the way, it’s time to install the fresh circular saw blade. Follow these steps carefully:
- Position the new circular saw blade onto the saw’s arbor, which is the central spindle where the blade is mounted. Ensure the blade aligns correctly with any markings for blade orientation, which may be indicated on the blade itself or in your saw’s manual.
- Next, reinsert the blade bolt into its designated location on the arbor.
- Use the wrench to securely tighten the blade bolt. Ensure it is fastened firmly, but be cautious not to overtighten, as this can potentially damage the blade or the saw.
- If you’re unsure about the torque requirements for your specific circular saw, consult your saw’s manual for guidance.
- Once the blade is securely in place, remove any immobilizing device you used earlier, such as a blade lock or piece of wood.
- Recheck the blade’s alignment to make sure it’s seated correctly on the arbor. A properly aligned blade is essential for safe and effective cutting.
Step 7: Perform a Final Safety Check
Before putting your circular saw to work, it’s crucial to conduct a comprehensive safety inspection to ensure that everything is in order:
- Examine all components to verify they are properly installed and aligned.
- Confirm that the newly installed blade is secure and there is no wobbling.
- Ensure that the blade guard is functioning correctly and covers the blade appropriately when not in use.
- Reconnect the power source for corded saws or insert the battery for cordless models.
- Finally, turn on the circular saw briefly without any load to ensure smooth operation and check for any unusual sounds or vibrations.
With these final safety checks completed, your circular saw is now ready for action. By following these steps meticulously, you can approach your woodworking or DIY projects with improved performance and, most importantly, enhanced safety.
Step 8: Reconnect the Power or Battery
Once you’ve successfully changed the circular saw blade and completed your final safety inspection, it’s time to prepare your saw for action.
For Corded Saws: Plug your saw back into a power source, ensuring a secure connection. Confirm that the saw’s switch is in the “off” position. Before you start cutting, briefly turn on the saw without any load to ensure the blade runs smoothly and there are no unusual sounds or vibrations.
For Cordless Saws: Insert the fully charged battery into its designated slot on the saw. Make sure it clicks into place securely. Like with corded saws, ensure that the saw’s switch is in the “off” position. Before you begin your project, briefly activate the circular saw without a load to verify that it operates smoothly.
By following these steps to reconnect the power source or battery, you’ll have your circular saw ready to tackle woodworking or DIY tasks with improved performance and enhanced safety.
Conclusion
In summary, changing a circular saw blade involves key steps that prioritize safety, proper installation, and tool maintenance. Safety measures, such as disconnecting power sources and securing the blade, are crucial Installing the new blade correctly, conducting a final safety check, and reconnecting power or the battery are vital for smooth operation.
Always follow your saw’s manual for specific instructions Safety should remain a top concern, and we encourage readers to perform regular tool maintenance for both optimal performance and safety during their woodworking or DIY projects.