First, drill a hole into the drywall at your desired location, ensuring it’s slightly smaller than your anchor’s diameter. Next, gently tap the drywall anchor into the hole until it’s flush with the wall. Finally, screw your desired item (like a picture hook or shelf bracket) into the anchor for a secure hold.
Ever hung a prized wall piece, only to hear it crash hours later? This is often the outcome of overlooking a tiny but pivotal tool: the drywall anchor. These anchors ensure your wall hangings remain secure, preventing potential damages and safety hazards. In this article, we’ll explore the importance of these anchors and the risks of skipping them in home décor projects.
Why Drywall Anchors Are Essential
Drywall, predominantly made of gypsum sandwiched between two layers of paper, is not innately equipped to bear significant weight. Its structure is designed for aesthetics and partitioning, not for load-bearing. Without appropriate support, the gravitational pull on a heavy object can easily tear through this material, leading to unsightly holes or, worse, substantial damage.
The consequences of hanging items without the correct support can range from the simple heartbreak of a shattered family heirloom to more severe incidents, like injuries from falling objects. Thus, drywall anchors become indispensable, offering the necessary grip and ensuring both safety and longevity for your wall-mounted treasures.
Types of Drywall Anchors
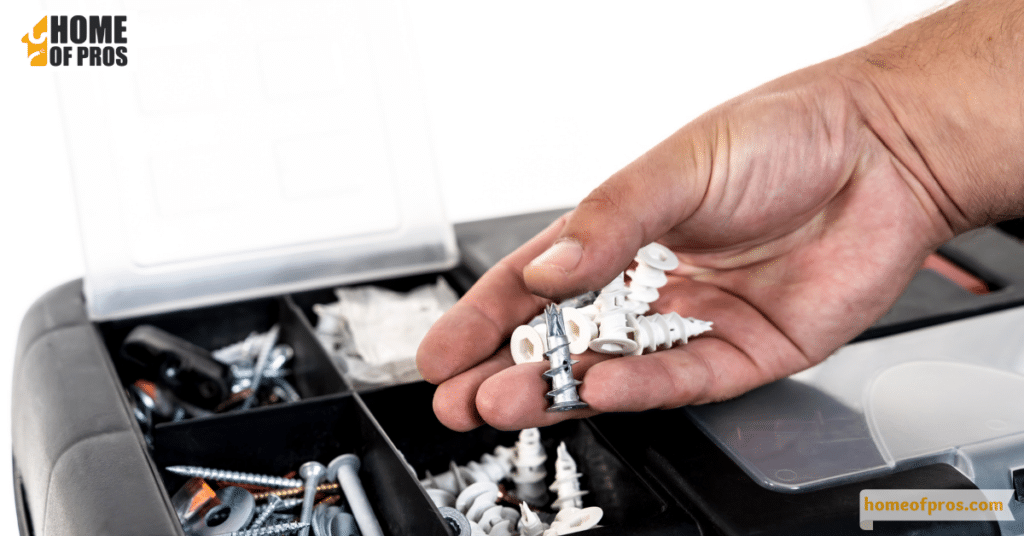
Choosing the right drywall anchor can be the difference between a safely mounted shelf and a disastrous wall mishap. With various types of anchors available, it’s crucial to understand their distinctions to make the right choice for your project.
1. Expansion Anchors
Ideal for light to medium-weight objects, expansion anchors expand as a screw is driven into them, offering a snug fit.
Pros: Simple to install; cost-effective.
Cons: Not suitable for very heavy items; can strain and crack the drywall if overloaded.
2. Toggle Anchors
These feature a spring-loaded wing that spreads out once pushed through a pre-drilled hole, securing items firmly.
Pros: High load-bearing capacity; distributes weight across a larger area.
Cons: Requires a larger hole; more challenging to install than expansion anchors.
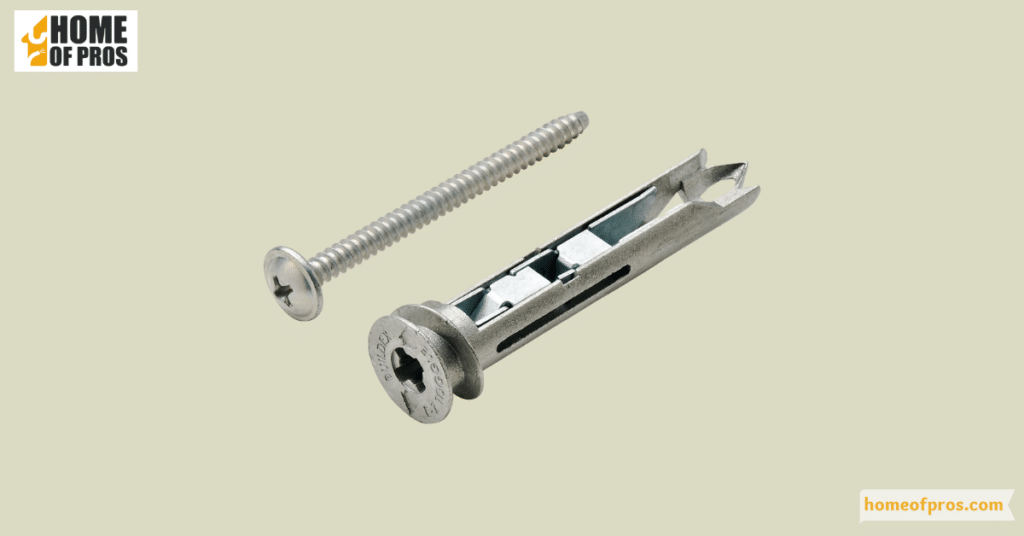
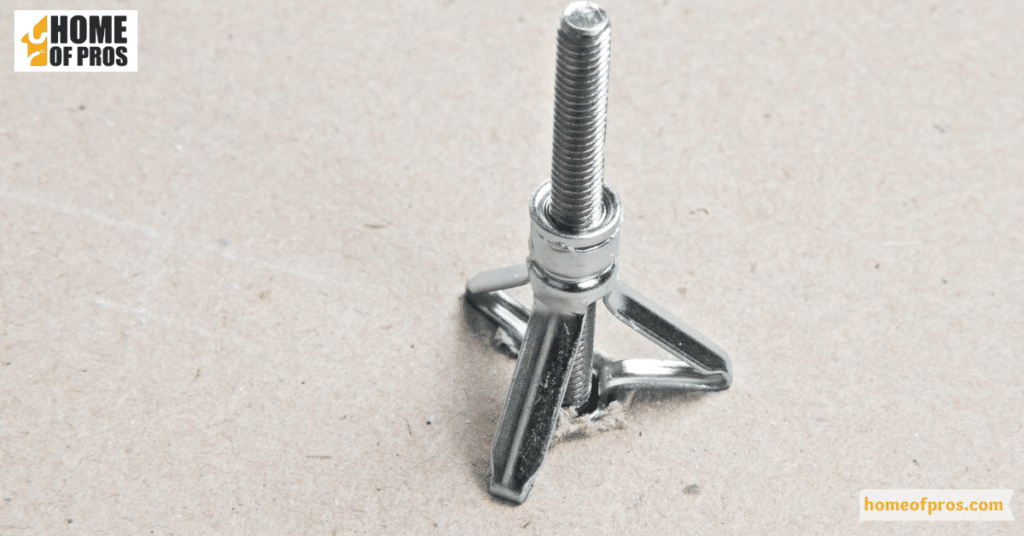
3. Hollow Wall Anchors
Also known as “molly bolts,” these anchors expand behind the drywall to spread the load, perfect for heavier items.
Pros: Strong holding power; can be removed and reused.
Cons: Installation can be slightly more complex; if over-tightened, it can damage the wall.
Whether you’re hanging a simple photo frame or installing a hefty wall cabinet, picking the right drywall anchor is key. By understanding the pros and cons of each type, you’re empowered to make informed decisions, ensuring the longevity and safety of your wall-mounted items.
Step-by-Step Guide to Installing a Drywall Anchor
Whether you’re looking to display a cherished family portrait, mount a new shelf, or hang decorative elements, ensuring they’re safely anchored is paramount. Follow this comprehensive guide for a hassle-free drywall anchor installation:
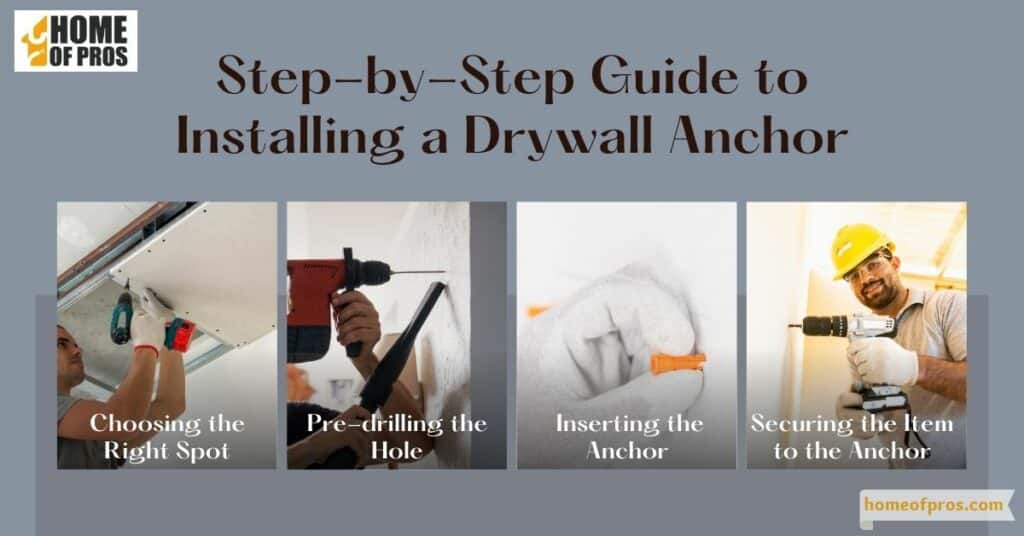
1. Choosing the Right Spot:
- Locate the Stud: Before beginning, use a stud finder to ensure you’re not trying to place the anchor where there’s a wooden stud behind the drywall. Anchors are designed for areas without studs.
- Mark the Position: Once you’ve identified the desired spot, mark it with a pencil. This will be where your anchor will go.
2. Pre-drilling the Hole (if required):
- Select the Right Drill Bit: The drill bit’s size should be slightly smaller than the width of the anchor. This ensures a snug fit.
- Drill with Care: Hold the drill perpendicular to the wall and drill a hole at the marked spot. Remember to clear out any debris from the hole.
3. Inserting the Anchor:
- Position the Anchor: Hold the anchor at the mouth of the hole.
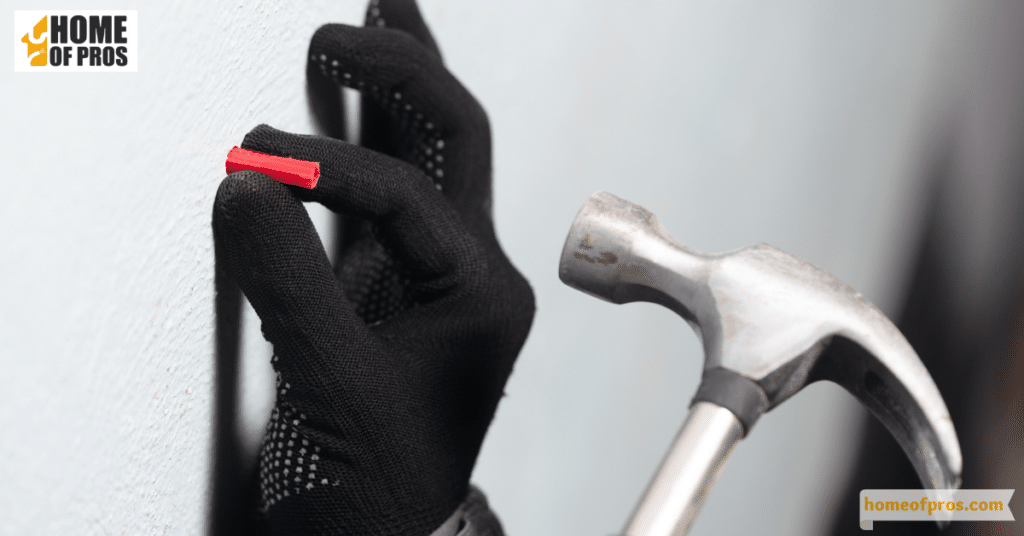
- Push or Tap Gently: For push-in anchors, apply steady pressure until it’s flush with the wall. For anchors that require hammering, gently tap it using a hammer until it’s level with the wall’s surface.
4. Securing the Item to the Anchor:
- Thread the Screw: Insert the screw into the anchor, leaving a bit of it exposed.
- Hang the Item: Place your desired item’s mounting hole or bracket over the protruding screw, then tighten until secure. Be cautious not to over-tighten, as this could damage the anchor or the drywall.
Installing a drywall anchor is a straightforward process, but attention to detail is essential. By following these steps methodically, you can ensure that your wall decorations or installations remain secure, adding beauty and functionality to your space without the risk of accidents.
Common Mistakes to Avoid When Using Drywall Anchors
Venturing into the world of DIY wall installations? As straightforward as drywall anchors might seem, there’s room for error. Avoid common pitfalls with this handy guide to best practices.
- Overlooking Studs: Anchors are designed for spaces without studs. Always use a stud finder first.
Solution: Invest in a reliable stud finder and mark stud locations. - Wrong Anchor Size: Using an anchor too large or small compromises its hold.
Solution: Always match the anchor size to the weight and size of the item being hung. - Skipping Pre-Drilling: Some anchors require a pre-drilled hole for a perfect fit.
Solution: Read the anchor’s instructions and use the recommended drill bit size. - Over-tightening Screws: This can damage both the anchor and the drywall.
Solution: Tighten screws until snug, but avoid using excessive force. - Neglecting Weight Limits: Every anchor has a maximum weight capacity.
Solution: Check the weight of the item you’re hanging and ensure the anchor can support it.
The beauty of DIY lies in learning and improving. By sidestepping these common missteps and employing the suggested best practices, you’ll be on your way to mastering the art of using drywall anchors, ensuring durable and safe installations.
Conclusion
Using drywall anchors might seem like a simple task, but it carries with it the weight of ensuring the safety and durability of your wall installations. It’s a skill that, when mastered, can significantly enhance the aesthetic and functional value of your interiors. Every DIY enthusiast knows that the beauty of a project doesn’t just lie in the final result, but also in the meticulous process that leads to it.
Understanding the subtleties of drywall anchors, from selecting the right type and size to the precision of installation, can make a world of difference. Beyond just holding up a picture or shelf, it’s about creating a secure environment and taking pride in one’s handiwork.