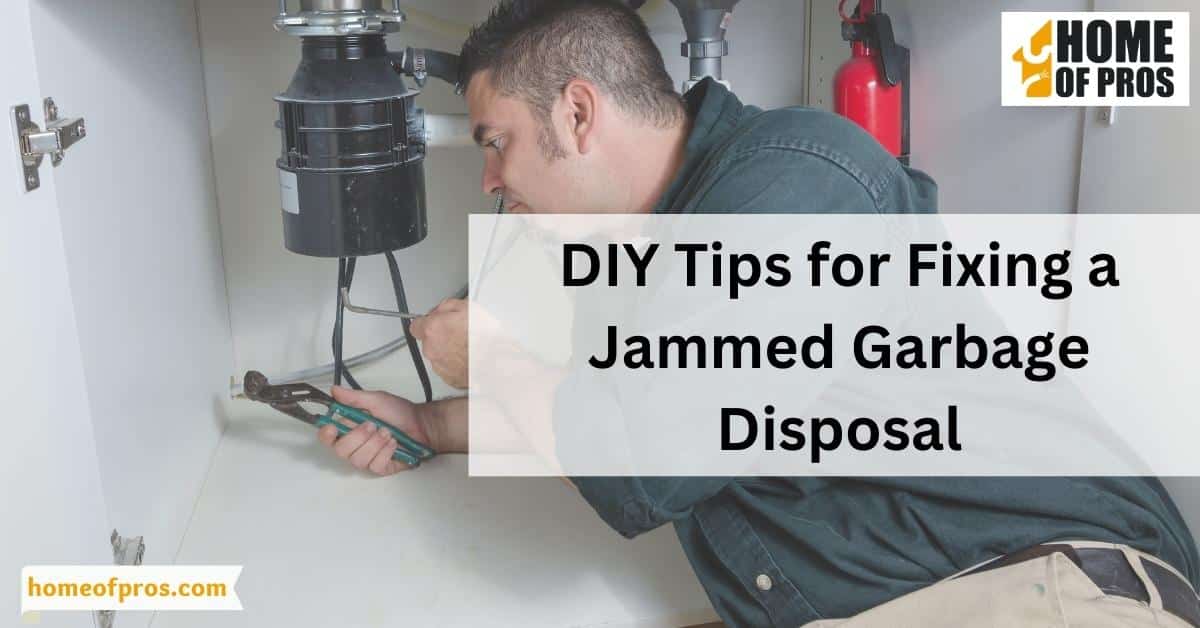
For anyone who has ever experienced the inconvenience of jammed garbage disposal, you know how frustrating it can be. Rather than waiting for a professional plumber to arrive, many homeowners take matters into their own hands and attempt to fix the issue themselves.
If your garbage disposal is jammed, you can easily fix it yourself. Start by turning off the power source to avoid accidental injury, then use pliers or tongs to manually clear out any blockages. Alternatively, resetting the disposal with a reset button may do the trick.
1. Identifying the problem
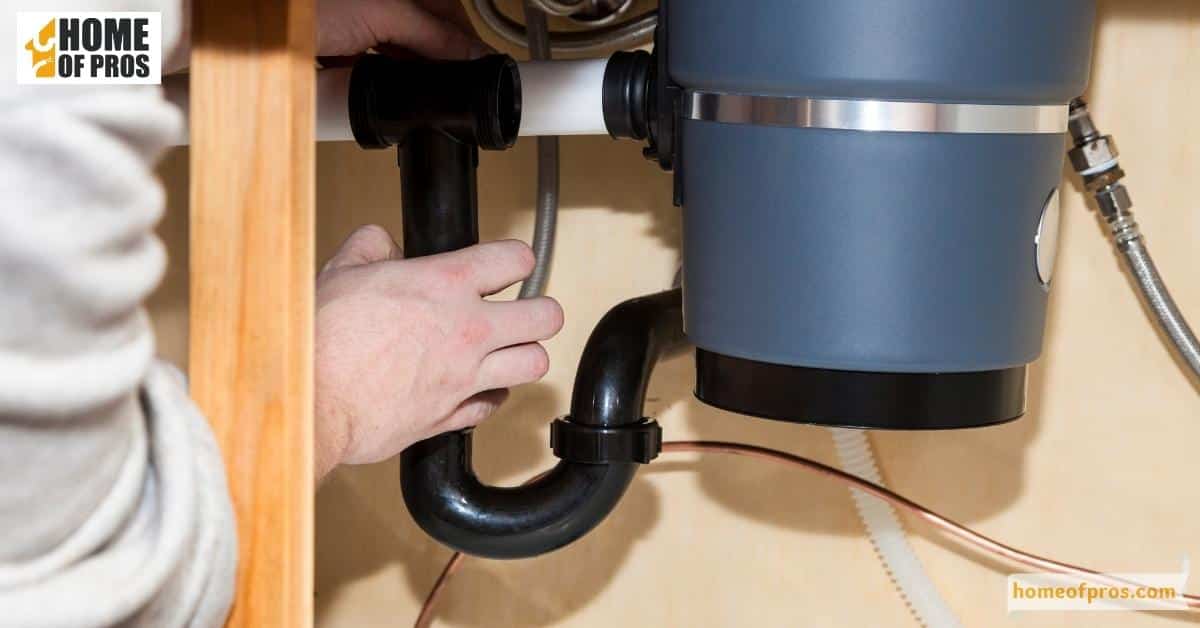
Identifying the problem is crucial when it comes to fixing a jammed garbage disposal. The first step is to confirm that the unit is indeed jammed and not experiencing a different issue. This can be done by turning off the power to the disposal and using a flashlight to check if there are any foreign objects stuck in the grinding chamber.
If a foreign object is interfering with the disposal’s ability to operate, then it must be removed using tongs or pliers. Another common cause of jammed disposal is a build-up of food waste, resulting in a clogged drain line. In this case, the solution may require more extensive plumbing work.
Identifying the problem is the first step toward successful garbage disposal repair, and it is essential to ensure that all steps are taken to make the repair process as effective and safe as possible.
2. Safety precautions before starting the fix
Before you begin any DIY fix for jammed garbage disposal, it is crucial to prioritize safety. Start by unplugging the unit or turning off the power source to prevent accidental activation. Wear rubber gloves to protect your hands from sharp blades and debris.
It is also important to avoid using any chemicals or harsh cleaning agents, as they may damage the unit or cause harm to you. Finally, consider enlisting the help of someone else to assist you with the fix, as an extra set of hands can make the process safer and more efficient.
Following these precautions will ensure that you can fix your garbage disposal safely and efficiently, without any unnecessary risks.
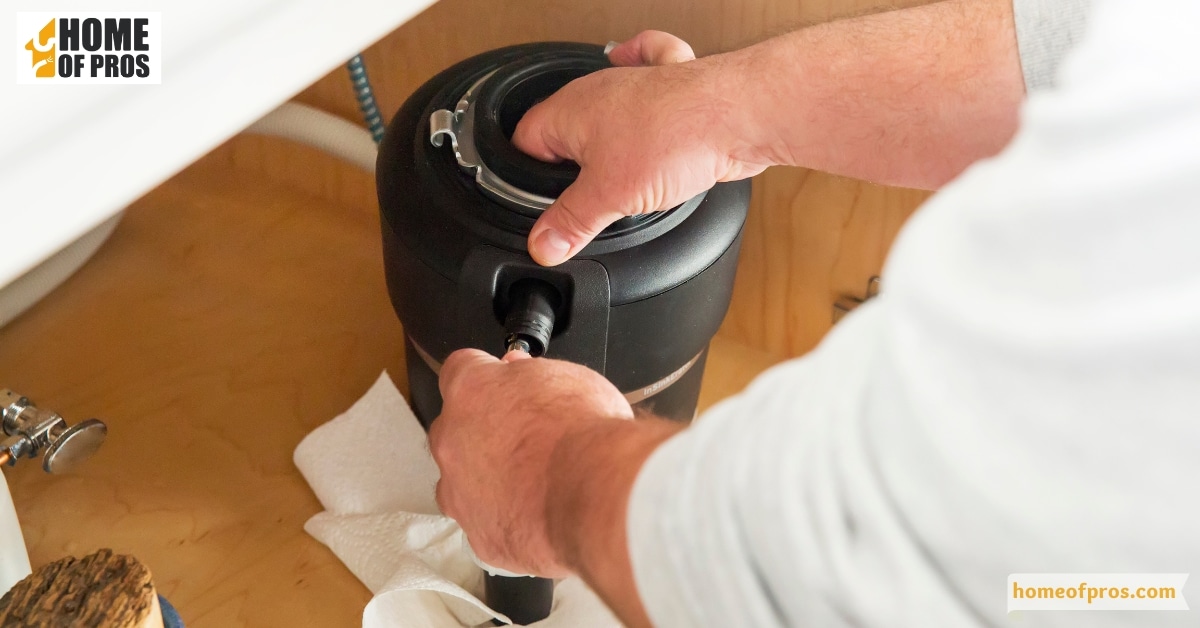
3. Shutting off the power to the garbage disposal
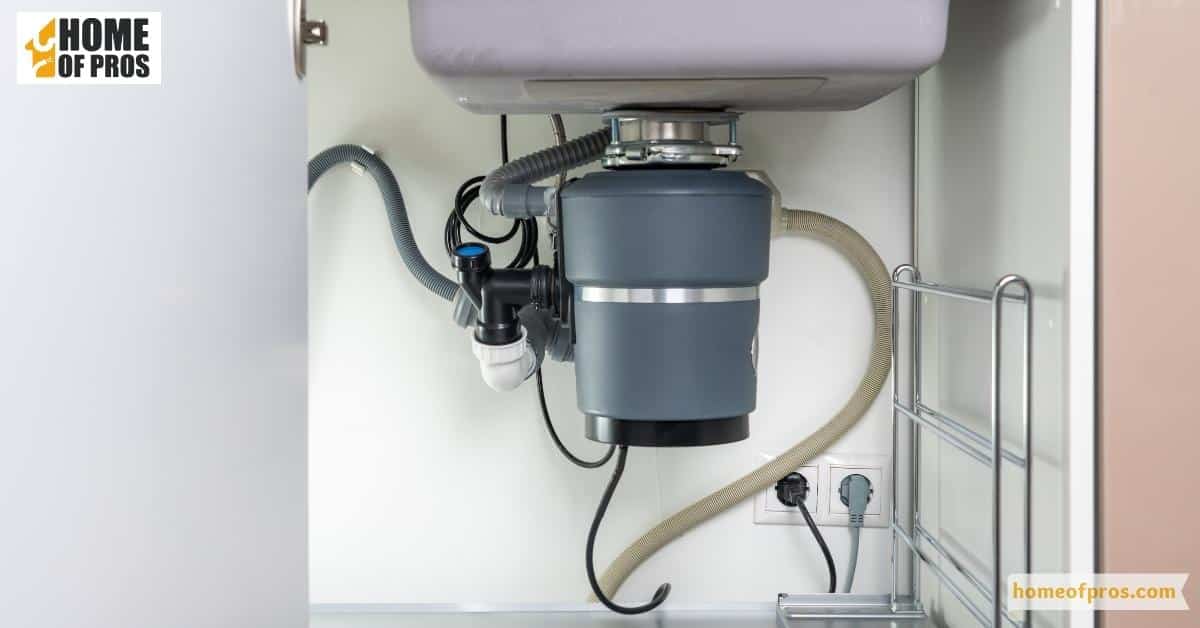
Garbage disposals are a convenient and efficient way to dispose of food scraps in your kitchen. However, a jammed garbage disposal can quickly become a frustrating problem. Before attempting any DIY tips for fixing a jammed garbage disposal, it’s important to ensure that the power is turned off at the source.
Shutting off the power is crucial for your safety and prevents any accidental injuries or damage to the disposal unit. By following proper precautions, you can effectively fix jammed garbage disposal without involving a professional, saving you time and money in the process.
With the right tools and guidance, you’ll have your disposal unit up and running again in no time.
4. Using the reset button to fix minor jams
A jammed garbage disposal can be an unexpected hassle in the kitchen. However, there’s no need to panic or immediately call a plumber. For minor jams, a quick fix can be done using the reset button. This button is located on the bottom of the disposal and is typically red or black.
By pressing it, the disposal will reset and may dislodge any obstructions causing the jam. It’s important to note that this quick fix should only be used for minor jams, and if the disposal is still not functioning properly after resetting, it’s best to contact a professional to avoid causing further damage or injury.
5. Clearing out the jam manually with pliers or tongs
A jammed garbage disposal can be a frustrating and inconvenient problem to have. However, with a few DIY tips, you can easily fix the issue without the need for a professional.
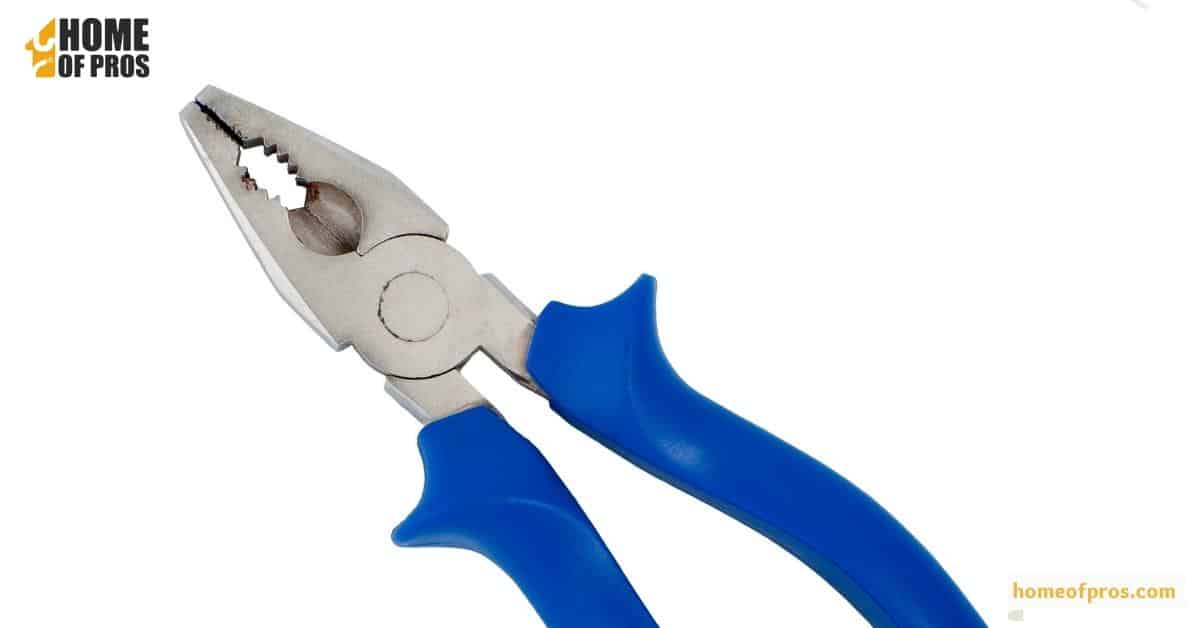
Using pliers or tongs to clear out the jam manually is a safe and effective way to get your disposal back up and running. It’s important to first turn off the power and carefully remove any large objects that may be causing the jam.
Then, use the pliers or tongs to maneuver around the blades and remove any smaller debris. By following these simple steps, you can successfully clear out the jam and save yourself the hassle and expense of calling in a plumber.
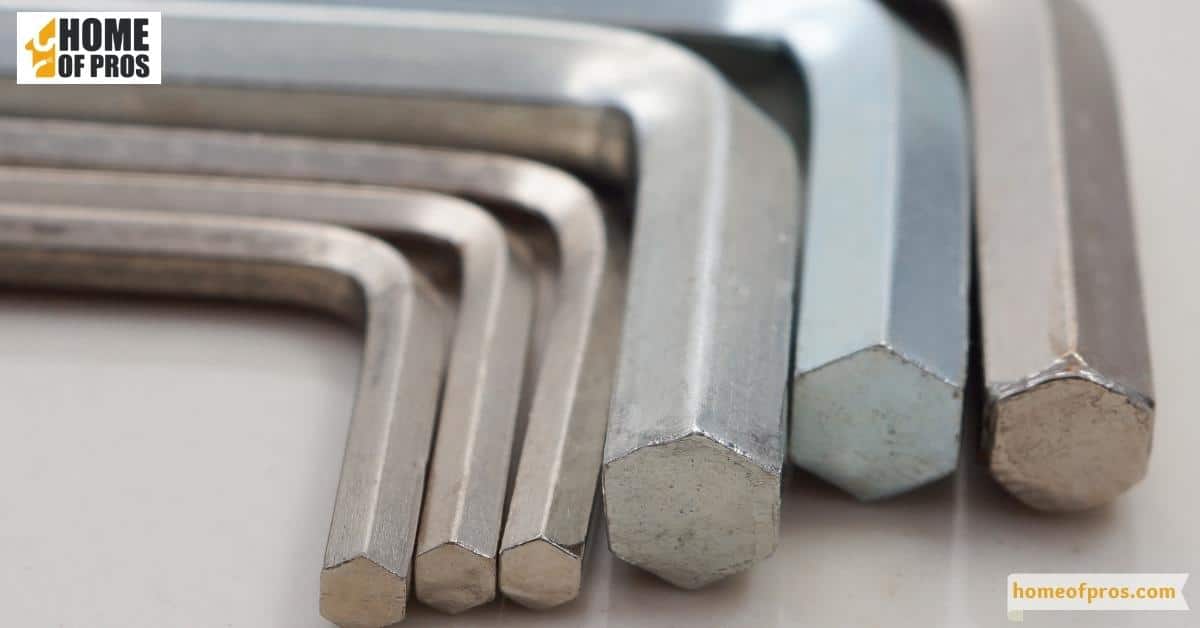
6. Using an Allen wrench to rotate the disposal’s flywheel
If you’re experiencing the frustrating issue of jammed garbage disposal, don’t panic just yet. With a few simple DIY tips, you can easily fix the problem and get your disposal back up and running in no time. One of the most effective ways to do this is by using an Allen wrench to manually rotate the disposal’s flywheel.
This process can help to dislodge any stuck food or debris that may be causing the issue. By following our expert advice, you can save yourself the hassle and expense of calling in a professional plumber.
7. Clearing blockages with a hex key or wooden spoon
If you find that your garbage disposal is not working properly, a blockage may be to blame. While this can be frustrating, there are simple ways to clear the blockage yourself before calling a professional. Two handy tools to keep on hand for this task are a hex key and a wooden spoon.
Using the hex key, you can manually turn the disposal to help dislodge any stuck food particles. A wooden spoon can also be used to carefully push the particles through the disposal’s shredder ring.
However, always remember to disconnect the power supply before attempting any repairs or blockage removal.
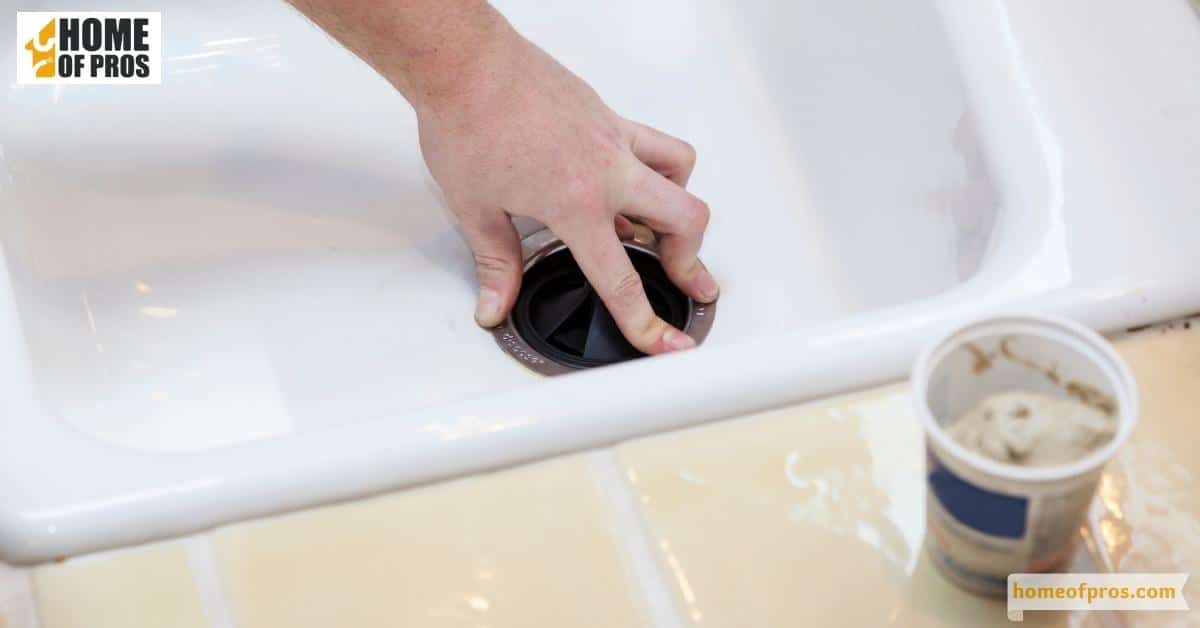
8. Removing foreign objects from the disposal
A jammed garbage disposal can be a frustrating issue to deal with in your kitchen. It may result in an unpleasant smell, mess, or even a broken unit. One of the main reasons for a jam is foreign objects that have been accidentally or intentionally put into the disposal.
Some common offenders are bones, fruit pits, utensils, and non-food items like bottle caps or small toys. When experiencing a jam, it’s essential to safely turn off the disposal, unplug the unit, and locate the object.
Once the item is found, try using pliers or tongs to remove it, and then turn on the disposal to test it.
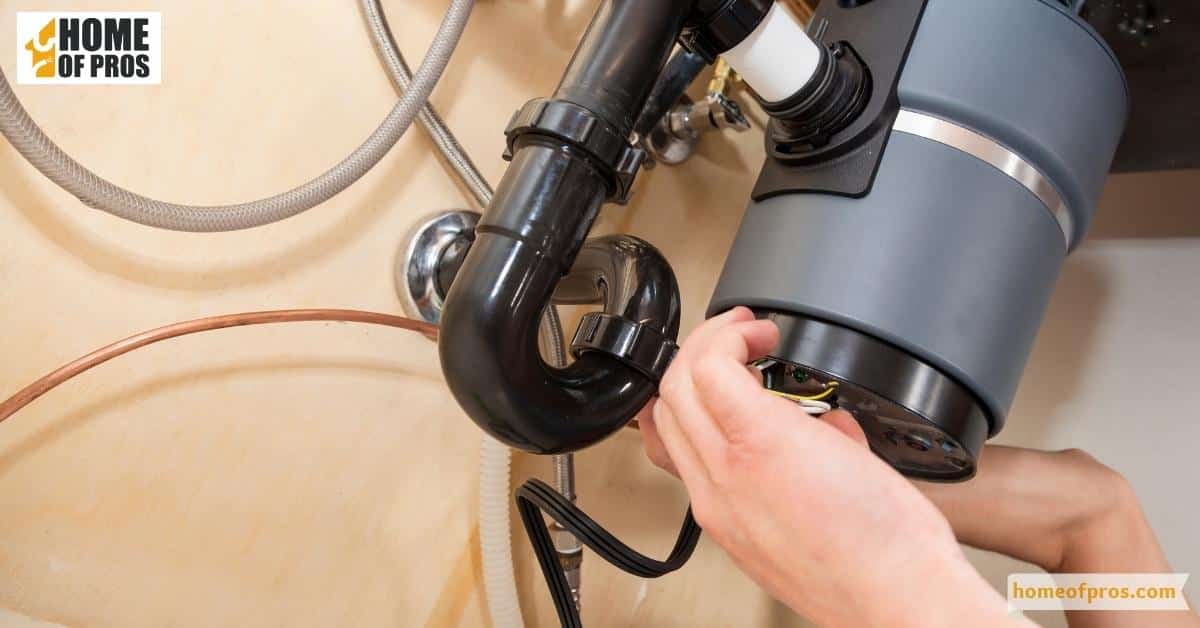
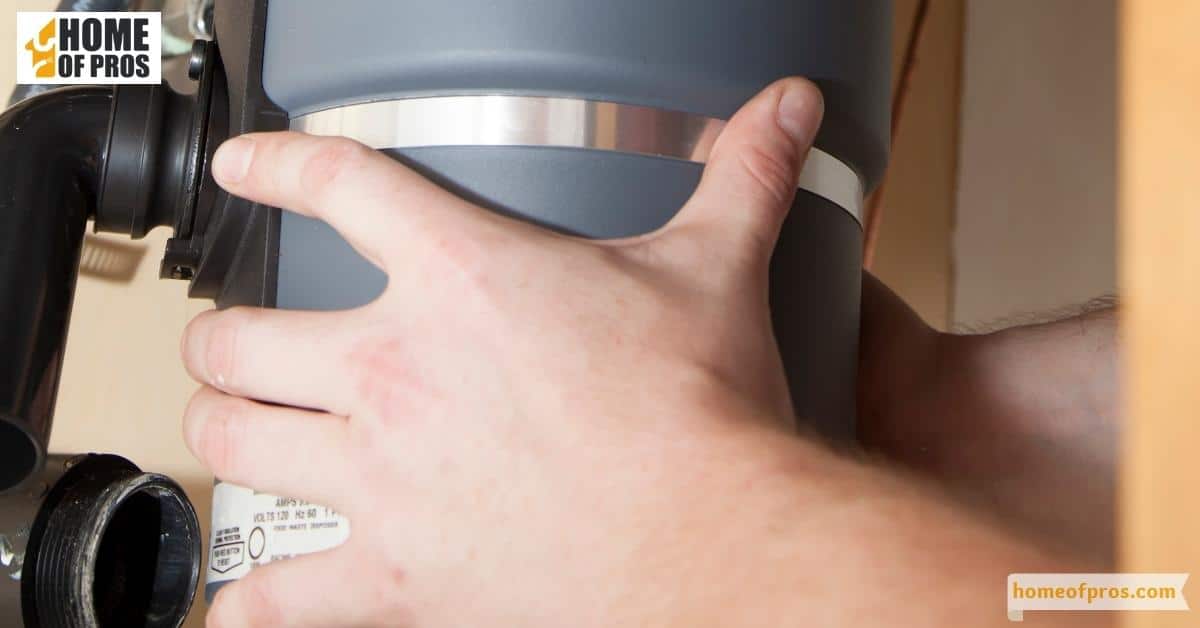
9. Restoring power and testing the garbage disposal
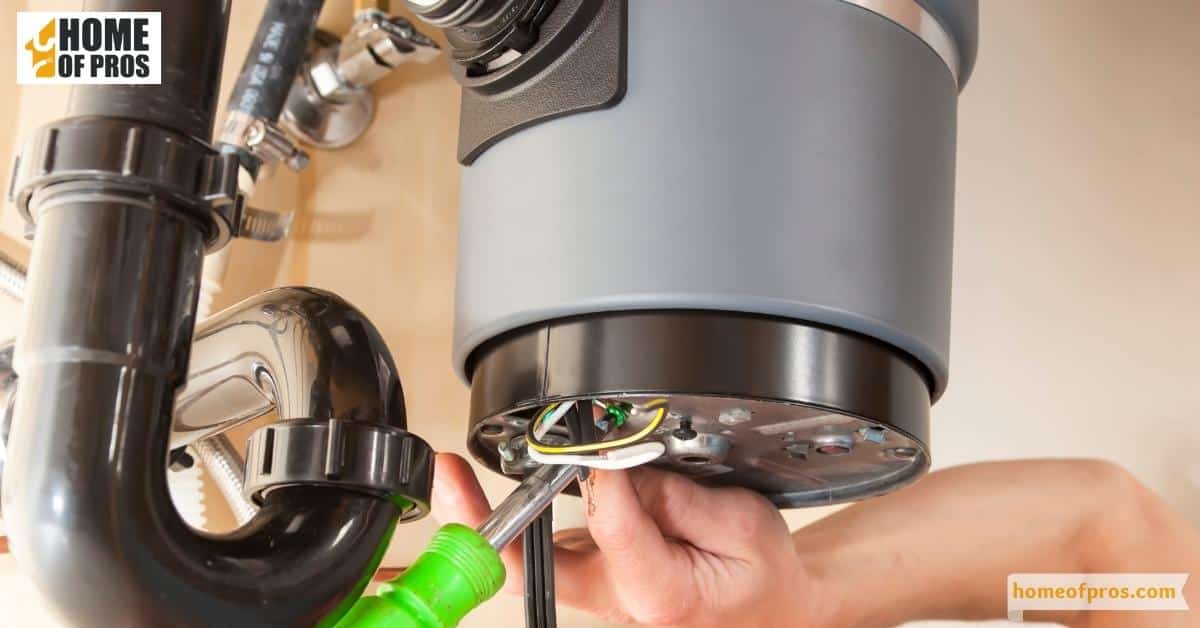
Restoring power to a jammed garbage disposal can be a challenging task, but with the right tools and techniques, it can be done successfully. Before attempting any repairs, always make sure that the power source is turned off to avoid any electrical hazards.
Once you have confirmed that the power source is off, try manually turning the blades of the garbage disposal with a hex key to see if it frees up the jam. If that doesn’t work, consider using a plunger or a specialized disposal wrench to remove the blockage.
Once you have freed up the jam, it’s crucial to test the garbage disposal to ensure that it’s working correctly. Turn the power back on and run water through the disposal to check for any leaks or abnormal sounds.
10. Preventive maintenance tips to avoid future jams
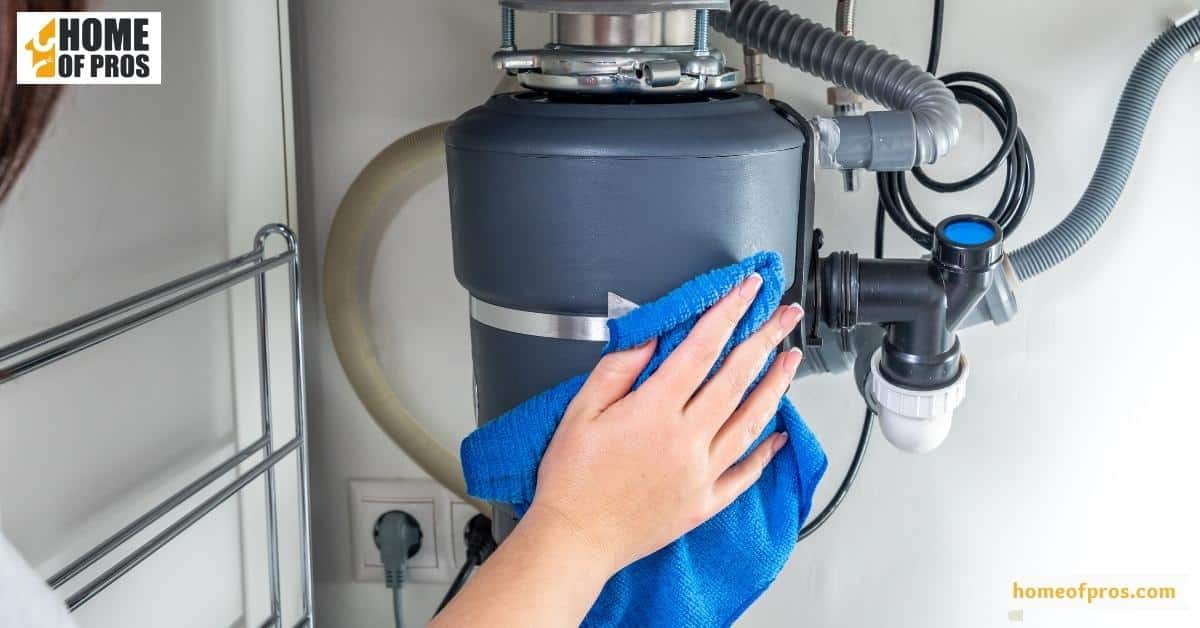
Maintaining the proper function of garbage disposal is an essential part of keeping your kitchen clean and functional. Whether you’re a DIY enthusiast or just someone who wants to prevent future jams, there are a few preventive maintenance tips you can follow.
One of the most important things you can do is to never put inappropriate material down the disposal. This includes anything that might be too tough or fibrous for the disposal to break down.
Additionally, you can help to keep your garbage disposal functioning properly by regularly cleaning it out with vinegar and baking soda.
In conclusion
Fixing a jammed garbage disposal can seem like a daunting task, but with these DIY tips, it doesn’t have to be. By following the steps outlined and taking proper precautions, such as turning off power to the unit, you can successfully troubleshoot and fix the issue yourself.
Remember to always use caution and never put your hands down on the disposal unit. If the problem persists or you feel uncomfortable attempting the repairs yourself, it’s always best to contact a licensed professional.