Are you tired of your old vinyl floors, but don’t want to go through the hassle and expense of replacing them? Painting your floors may be the perfect solution! With a bit of time and effort, you can give your vinyl floors a brand-new look that will last for years to come
Paint your vinyl floors in an easy and cost-effective way. Start by selecting the right pattern and colors, cleaning and prepping the surface, priming it, then applying multiple coats of paint. Finish with a protective topcoat and maintain your painted vinyl floors regularly with gentle cleaners.
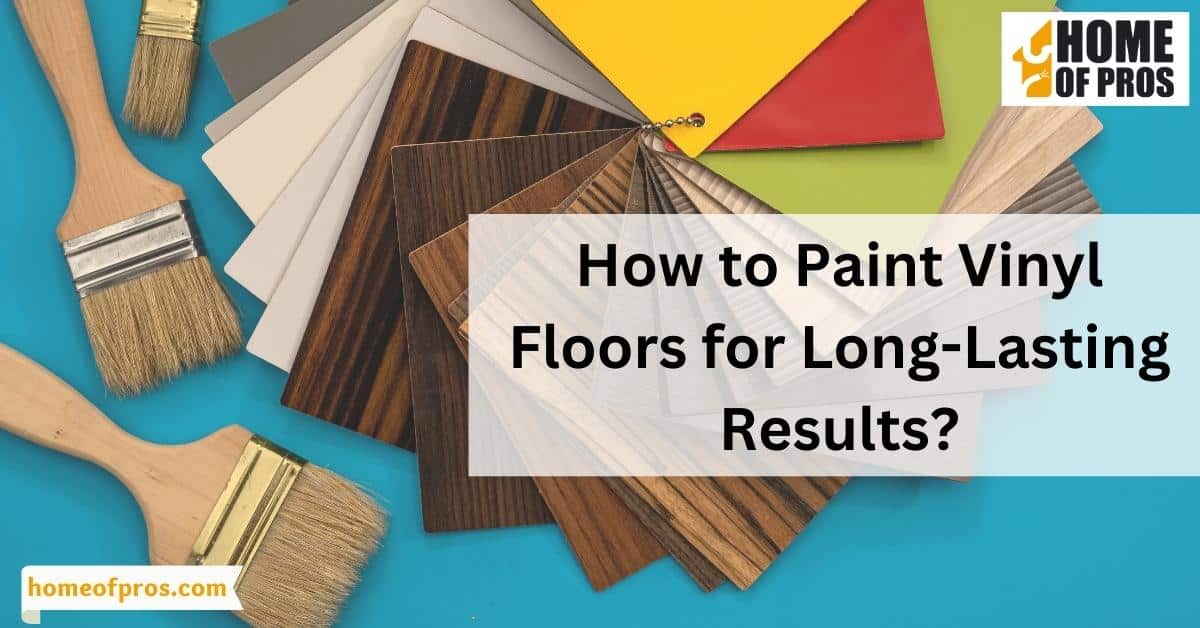
1. Selecting the Right Pattern and Colors
Painting vinyl floors can be daunting, especially when it comes to choosing the right pattern and colors that will provide long-lasting results. It’s important to select patterns and colors that coordinate well with your existing decor and will hold up over time.
When selecting patterns, consider your personal style and the overall look you want to achieve. Solid colors can provide a modern look, while patterns such as stripes or geometric shapes can add visual interest.
When it comes to colors, it’s important to choose ones that complement the rest of the room. Neutral tones like beige, gray, or white are a safe bet and work well with a variety of decor styles.
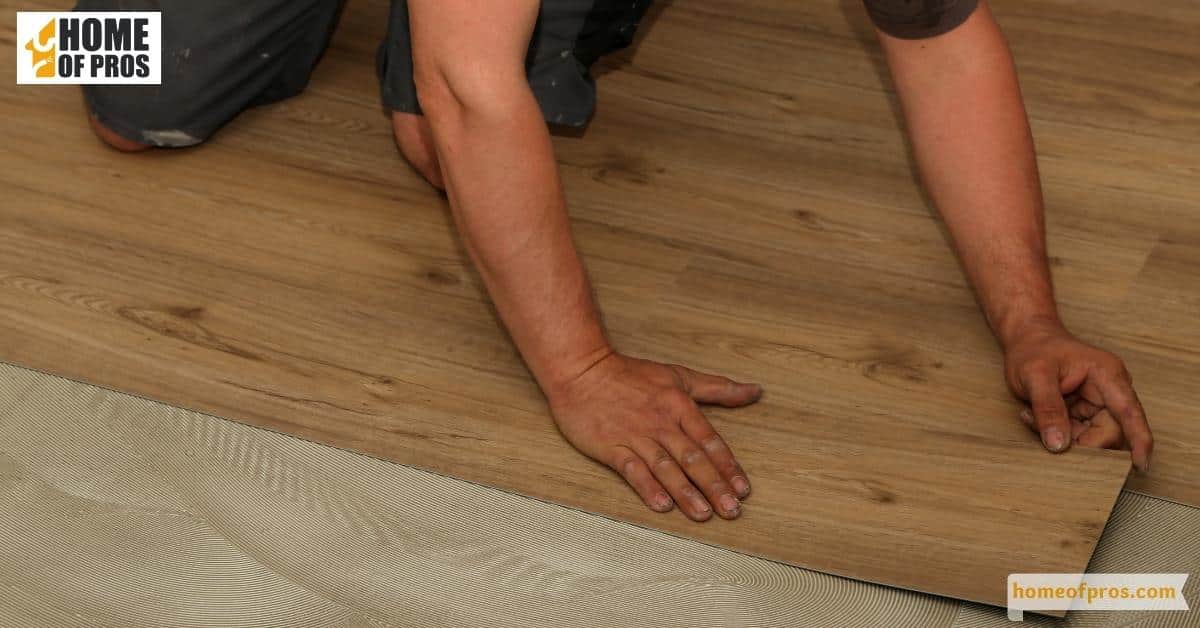
2. Prepping the Floor Area
When it comes to painting vinyl floors, prepping the floor area is a crucial step to ensure long-lasting results. Before you break out the brushes and rollers, take some time to assess the condition of your floor. Start by removing any furniture or obstacles that may get in the way.
Then, give the floor a thorough cleaning with a mix of warm water and mild detergent. Rinse the floor well to ensure there are no soapy residues left behind. Next, use a sander or sandpaper to rough up the surface of the vinyl.
This will help the paint adhere better. Finally, use a quality primer to provide a smooth and even base for the paint. With these prep steps in place, you’re ready to achieve beautiful, long-lasting results with your painted vinyl floors.
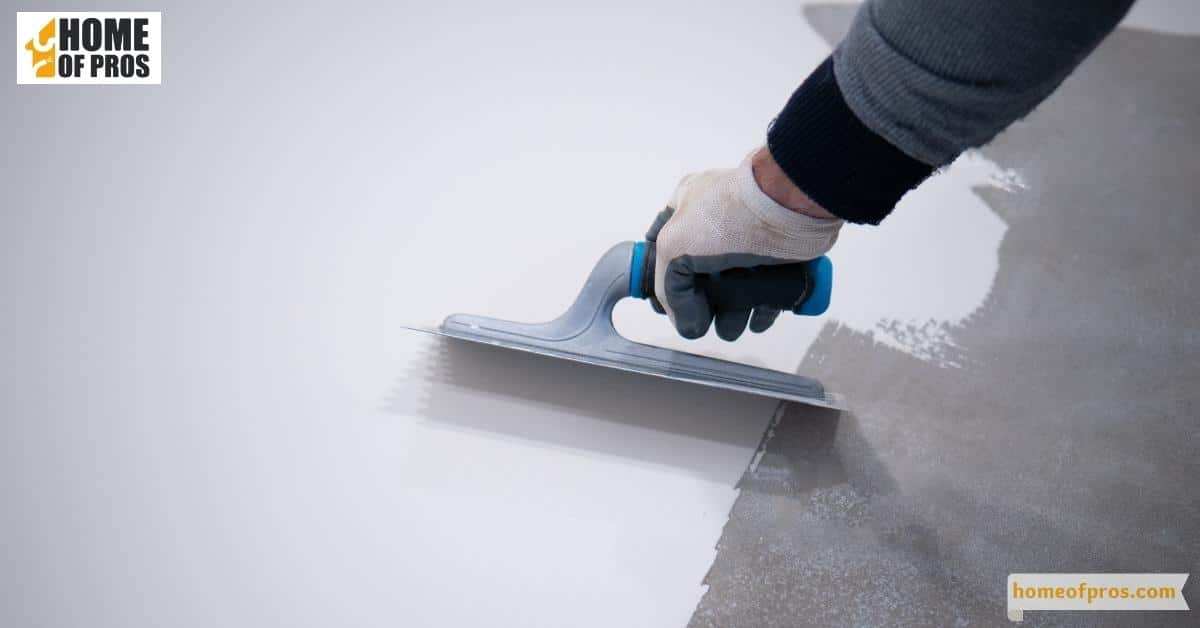
3. Priming the Vinyl Surface
Transforming your vinyl floors with a fresh coat of paint can be a cost-effective and stylish solution for a room makeover. However, before grabbing the paintbrush, it’s important to prime the vinyl surface for long-lasting results.
Priming provides a smooth and even base for the paint to adhere to, ensuring its durability and preventing chipping or peeling. Choose a primer that is specifically formulated for vinyl surfaces and follow the manufacturer’s instructions for application.
With a properly primed surface, you can confidently paint your vinyl floors and enjoy a beautiful, long-lasting finish.
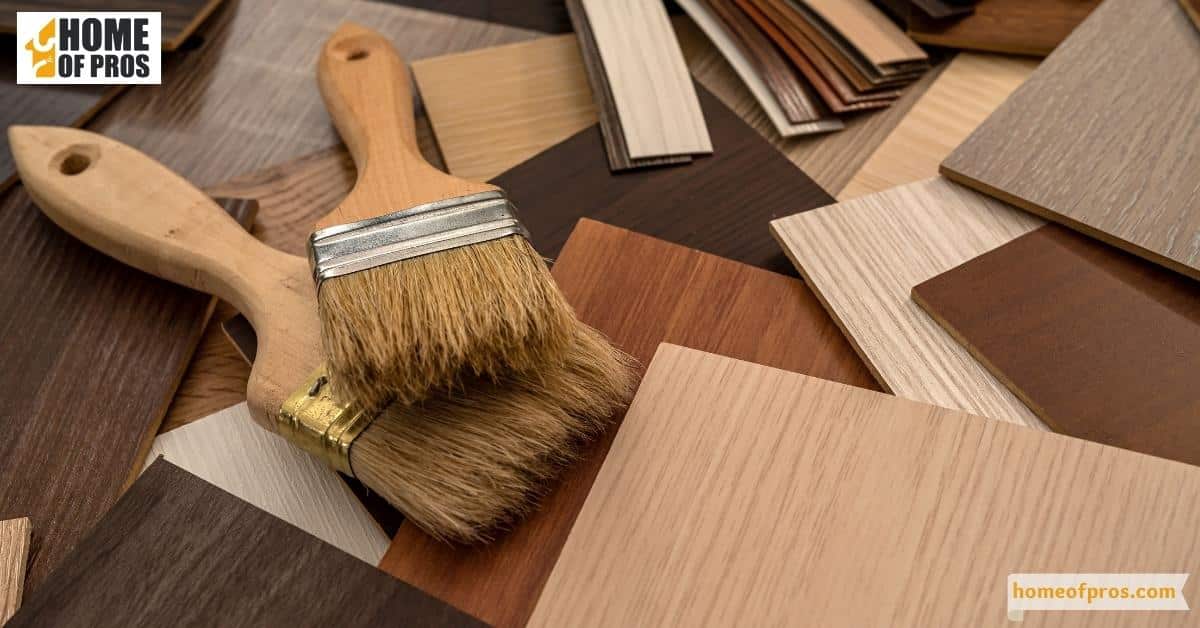
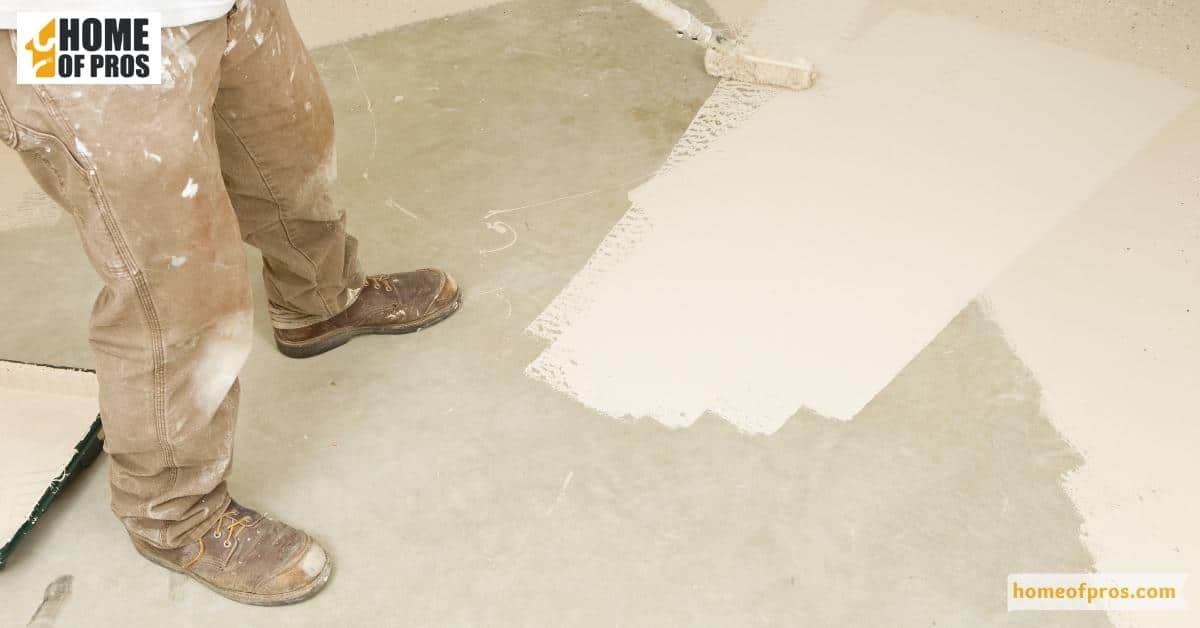
4. Applying the Base Coat of Paint
If you want to give your vinyl floors a fresh new look, painting them is a cost-effective solution. But before you can start painting, it’s crucial that you apply the right base coat to ensure long-lasting results. Begin by cleaning your floors thoroughly to remove any dirt and debris.
Then, using a 2-inch paintbrush, apply a layer of high-quality primer to the surface of your floors. Make sure to apply the primer thinly and evenly, and allow it to dry completely. This will provide a secure base for the paint to adhere to, ensuring that your floors stay looking great for years to come.

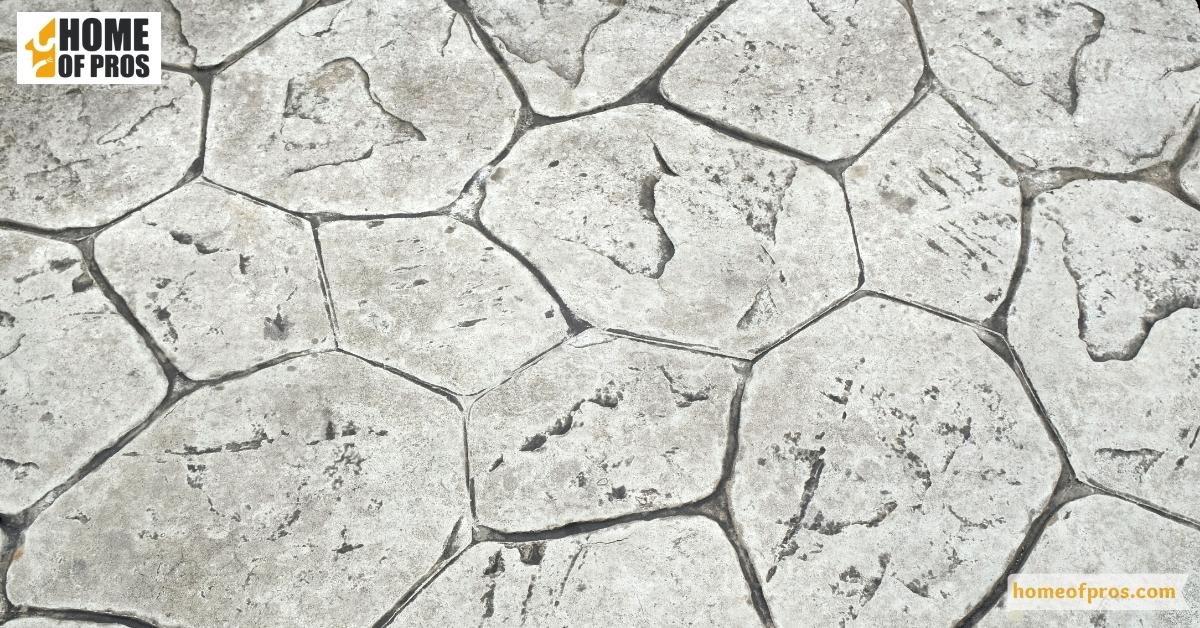
5. Painting Your Stripes or Patterns
Are you tired of looking at your plain vinyl floors? Painting stripes or patterns could be the answer to brightening up the room with a unique touch. But before you start, there are a few things you should know for long-lasting results. First, ensure that the vinyl is clean and free of any dirt or residue.
Next, use the appropriate primer to ensure the paint will adhere correctly. Then, choose high-quality floor paint that is durable and will withstand foot traffic. Don’t forget to measure and tape your design prior to painting to achieve a precise look.
With a little patience and attention to detail, your newly painted vinyl floors will be a stunning addition to your home!
6. Removing Painter’s Tape and Touching Up Mistakes
Once you’ve finished painting your vinyl floors and removed the painter’s tape, it’s time to touch up any mistakes that may have been missed. Don’t panic if you notice little spots or drips here and there. To fix them, grab a small, angled brush and dip it into the paint you used for the floors.
Gently apply the paint over any marks or mistakes. If you need to apply more than one coat, let each coat dry for at least two hours before applying another. Don’t rush this step! Taking the time to touch up small mistakes will make a big difference in the overall finish.
7. Finishing with a Protective Topcoat
When it comes to painting vinyl floors, it’s important to finish the job with a protective topcoat to ensure long-lasting results. A topcoat not only adds an extra layer of protection against scratches and wear but also helps to seal in the paint and keep it from chipping or peeling.
Plus, a good topcoat can give your floors a polished, professional-looking finish that will elevate the overall aesthetic of the room. While there are many types of topcoats to choose from, it’s important to select one that is specifically designed for use on painted vinyl surfaces.
8. Maintaining Your Painted Vinyl Floor
Vinyl floors are a popular choice due to their durability and affordability. However, over time, they can become scuffed and scratched, leaving your home looking tired and dingy. That’s where a fresh coat of paint can really give your floors a new lease of life. But how do you ensure the results last?
The key is maintenance. To keep your painted vinyl floors looking their best, it’s important to use appropriate cleaning products and techniques. Avoid harsh chemicals or abrasive tools that could damage the surface.
Instead, stick to a gentle, pH-neutral cleaner and a soft mop. Regularly sweeping or vacuuming will help prevent dirt and grit from building up and causing scratches.
In conclusion
Painting vinyl floors is a great way to update the appearance of any room without breaking the bank. By following the steps outlined in this guide, you can ensure that your painted floors will last for years to come.
Remember to thoroughly clean and prep the surface, choose the right type of paint and finish, and apply multiple coats for optimal durability. Don’t forget to let each coat dry completely before moving on to the next.