Installing laminate flooring involves preparing the subfloor, installing underlayment, measuring and cutting the planks, interlocking and staggering them, adding baseboards, and regular cleaning and maintenance. Follow these steps for a successful and visually appealing laminate flooring installation.
Are you looking for an affordable and long-lasting flooring option? Laminate flooring is a great choice! Not only is it durable and easy to maintain, but it’s also easy to install.
In this blog post, we’ll provide step-by-step instructions on how to install laminate flooring properly. From preparing the subfloor to adding finishing touches, we’ll cover all the essential steps for a successful and beautiful installation. Read on to learn more!

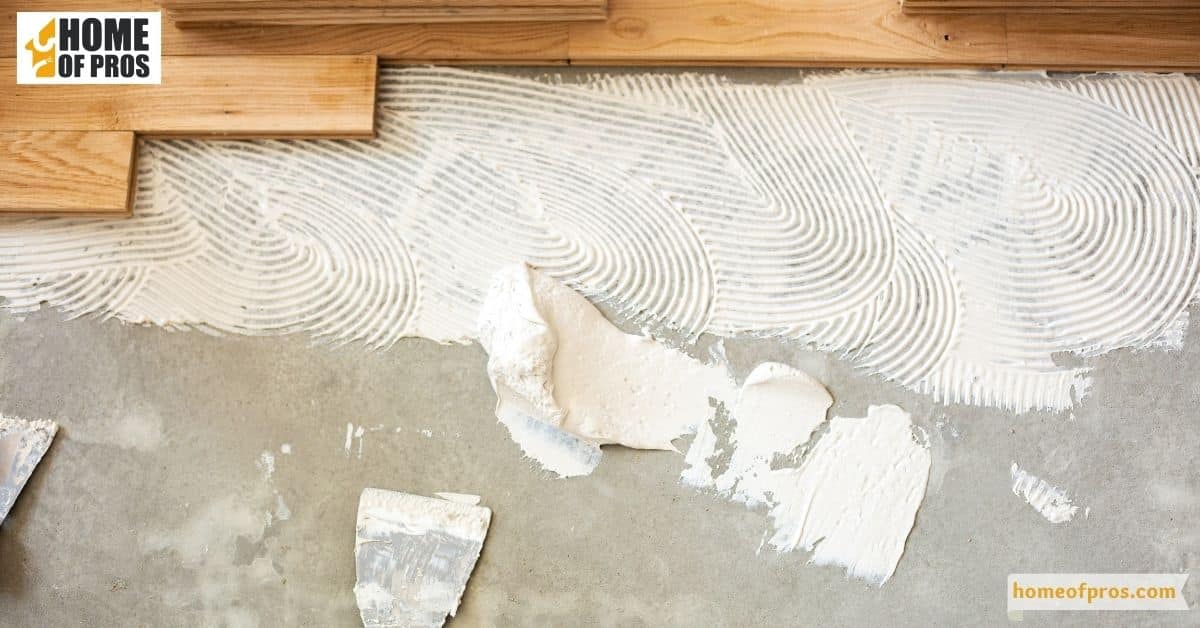
Preparing the Subfloor for Installation
Before installing a new floor, it’s important to prepare the subfloor. A well-prepared subfloor ensures a smooth and durable surface for your new flooring.
First, remove any existing flooring and clean the subfloor thoroughly of any debris or loose material.
Check for any dips or bumps and use a leveling compound to even out the surface. If the subfloor is made of wood, ensure it is structurally stable and replace any damaged boards.
Lastly, it’s crucial to allow the subfloor to acclimate to the room’s temperature and humidity for at least 48 hours before installing the new flooring.
By following these steps, you can ensure a successful and long-lasting flooring installation.
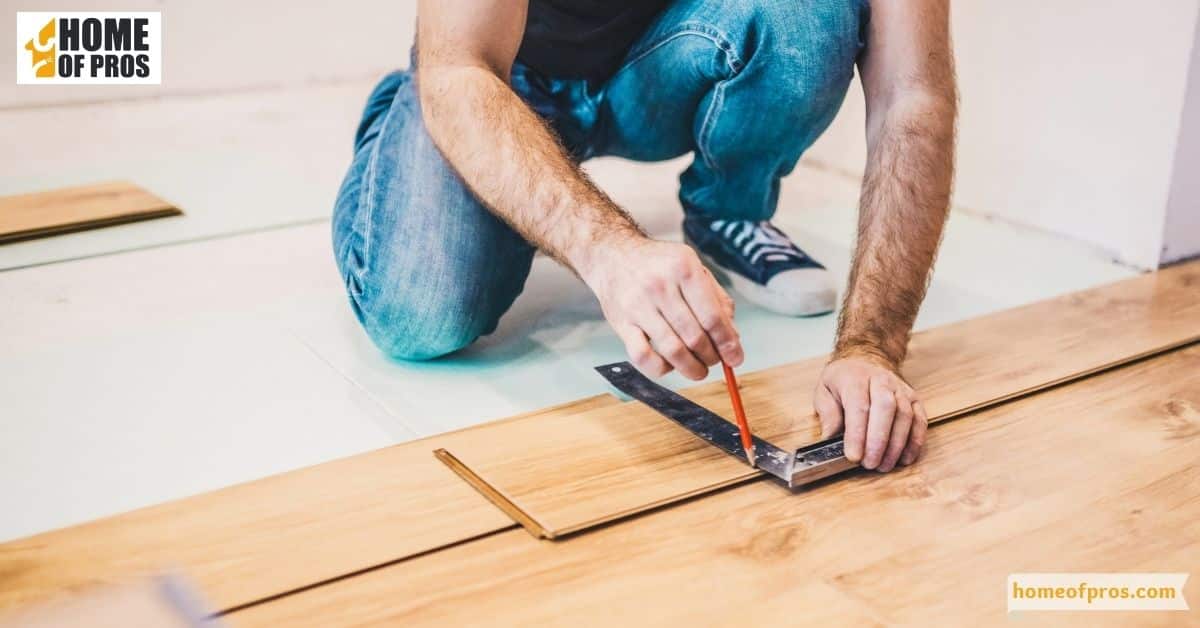
Measuring and Cutting the Laminate Flooring
Measuring and cutting laminate flooring accurately is crucial for a seamless and professional installation. To ensure precision and minimize wastage, follow these key steps.
Step 1:
Start by measuring the room’s dimensions and calculating the total square footage needed, including a 5-10% allowance.
Step 2:
Determine the desired layout and mark reference lines on the subfloor using a pencil and chalk line.
Step 3:
Plan the cuts by measuring the distance between the starting wall and reference line, ensuring balanced plank widths.
Step 4:
Choose the appropriate tools such as a laminate cutter, circular saw, or jigsaw, based on the complexity of the cuts.
Step 5:
Take precise measurements, mark the planks, and cut slowly, supporting the plank to prevent damage.
Step 6:
Test the fit after each cut and make necessary adjustments.
By following these steps, you’ll achieve accurate measurements and cuts, resulting in a visually appealing and well-fitted laminate flooring installation.
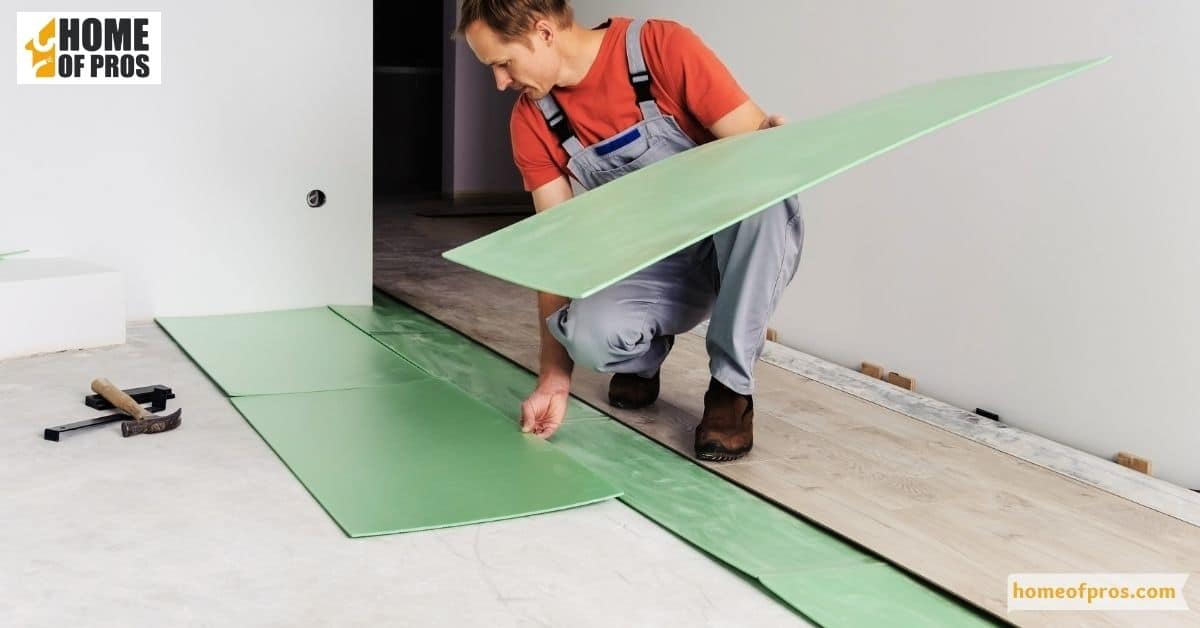
Installing the Underlayment
- Clean the subfloor: Start by ensuring that the subfloor is clean and free of debris. Sweep or vacuum the area to remove any dirt, dust, or loose particles.
- Roll out the underlayment: Unroll the underlayment material across the entire subfloor, starting from one side of the room. Ensure that the underlayment covers the entire floor area without any gaps or overlaps.
- Trim excess underlayment: Use a utility knife or scissors to trim off any excess underlayment along the edges of the room. Make sure the edges are flush with the walls or baseboards.
- Secure the underlayment: Depending on the type of underlayment you’re using, you may need to secure it in place. Some underlayment materials have a built-in adhesive strip or overlapping edges that can be attached together. Follow the manufacturer’s instructions to properly secure the underlayment.
- Repeat for multiple rolls: If the room is larger than the width of a single roll of underlayment, you may need to use multiple rolls. In that case, align the edges of the subsequent rolls with the previous one, ensuring a tight and seamless fit.
Installing the Laminate Flooring Planks
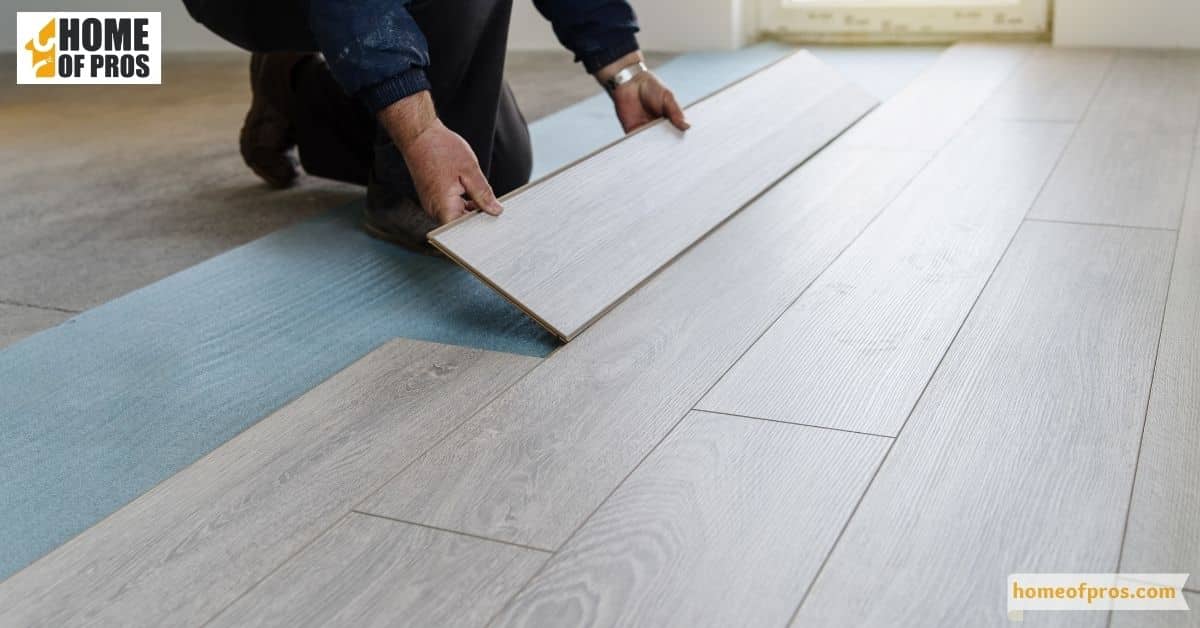
- Begin in a corner: Start in a corner of the room, aligning the first laminate plank with the reference lines or the longest wall. Leave the recommended expansion gap between the plank and the wall.
- Interlock the planks: Insert the tongue of the second plank into the groove of the first plank at a slight angle. Gently lower the plank, allowing the interlocking mechanism to engage. Continue interlocking the planks row by row.
- Stagger the joints: To create a visually appealing pattern and enhance the stability of the floor, stagger the end joints of the planks. Ensure that no adjacent end joints are closer than the recommended distance, typically around 8 inches.
- Use a tapping block and mallet: When fitting the planks together, gently tap them with a tapping block and mallet. This helps secure the joints and ensures a snug fit. Avoid using excessive force that could damage the planks.
- Cut planks as needed: Measure and cut the last plank in each row to fit against the wall. Use a saw or appropriate cutting tool to make precise cuts. Remember to leave the expansion gap along the walls.
- Continue installation: Repeat the process, installing subsequent rows of planks until the entire floor is covered. Use spacers to maintain the recommended expansion gap along the walls and fixed objects.
Finishing Touches and Maintenance Tips
When it comes to finishing touches and maintenance for laminate flooring, there are a few key points to keep in mind.
Firstly, install baseboards or trim to cover the expansion gap and give the flooring a polished appearance.
Regular cleaning is crucial, using a soft broom, a vacuum with a hard floor attachment, or a damp mop with a recommended laminate cleaner.
Wipe up spills promptly to prevent moisture damage. Protect the flooring from scratches by using felt pads on furniture legs, using rugs or mats in high-traffic areas, and being cautious with heavy objects.
Minimize exposure to direct sunlight to prevent color fading, and consider using window treatments or rearranging furniture.
Lastly, address minor damage with a laminate repair kit, matching the color to your flooring.
With these tips on hand, your laminate flooring should look stunningly glossy and stylish for years to come.

In conclusion
Installing laminate flooring is not as hard as it may seem. The key to success is to be thorough in your preparation. From ensuring the subfloor is level and clean to measuring and cutting the planks precisely, taking your time and being patient will lead to a beautiful finished product.
By following the steps outlined in this guide and taking advantage of the many resources available, you can confidently take on this project and transform your space with new flooring. Remember to always prioritize safety and have fun with the process!