Ever wondered what to do with those old dishes gathering dust in your cupboards? Well, it’s time to pull them out and breathe new life into them! Instead of tossing them away, why not transform them into stunning décor pieces for your home?
Don’t throw away those old dishes! With a little bit of creativity, you can transform them into stunning pieces to add a touch of personality to your home. From plate collages to dish wreaths, there are endless possibilities for repurposing and decluttering your space. Get creative and have fun with these DIY projects!
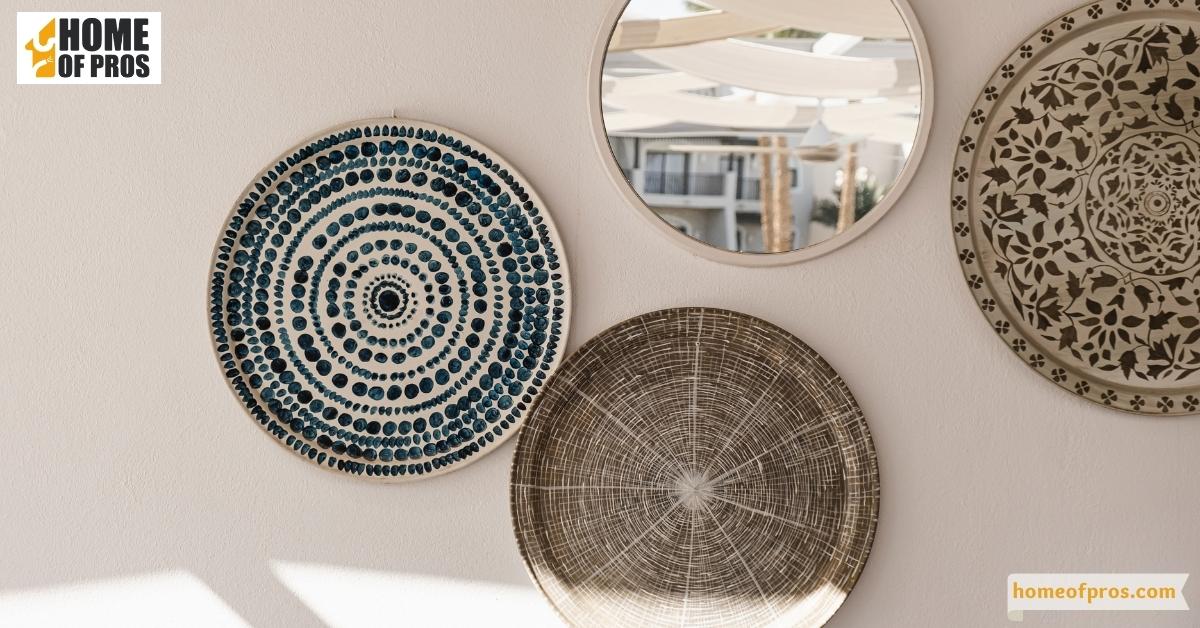
1. Design a Wall Decoration
First up, we have the plate collage. This involves arranging a collection of mismatched plates in different sizes and patterns on a blank wall. The eclectic mix creates an eye-catching collage that adds character to any room. It’s a fun and playful way to showcase your creativity.
Next, consider transforming a large dinner plate into a stylish clock face. Add numbers and clock hands to create a functional yet decorative piece for your home. It’s a great way to repurpose old dishes and add a touch of vintage charm to your walls.
For those who love a touch of whimsy, how about creating floral wall art? Use smaller saucers and teacups to arrange a whimsical flower bouquet on your wall. Hang them with adhesive hooks or picture hangers, and you’ll have a delightful display that brings nature indoors.
If you’re feeling crafty, try making a dish wreath. Gather colorful plates and bowls and arrange them in a circular shape. Secure them with wire or hot glue, and voila! You’ve got a vibrant wreath that can be hung on your front door or above your mantel as a charming focal point.
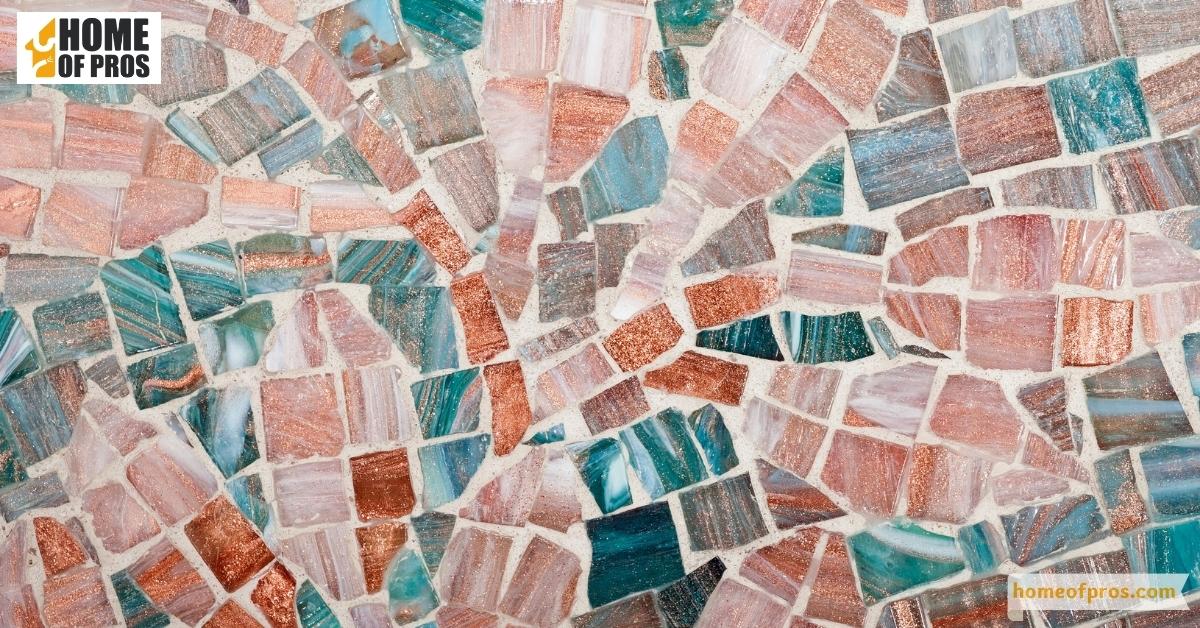
2. Craft a Mosaic Tabletop
You’ll need a sturdy table or an existing tabletop to work with. Next, collect your old dishes, plates, and bowls. Mix and match colors, patterns, and sizes to create a visually appealing mosaic design.
Start by cleaning and breaking your dishes into smaller pieces. Be sure to wear safety goggles and use protective gloves when handling the broken dishes. Once you have your mosaic pieces, it’s time to prepare your tabletop surface.
Apply a layer of adhesive or mortar to the tabletop, creating a smooth and even base for your mosaic. Then, begin arranging your broken dishes on top, playing around with different designs and patterns until you’re satisfied with the overall look.
Once your design is complete, it’s time to secure the pieces in place. Apply another layer of adhesive or mortar over the top of the mosaic, ensuring that each piece is firmly attached. Allow it to dry according to the product instructions.
3. Make Candles
You’ll need your old dishes, preferably ones with deep sides like bowls or teacups. You’ll also need candle wax, wicks, fragrance oils (if desired), a double boiler or microwave-safe container, and a thermometer.
Start by preparing your old dishes. Clean them thoroughly, removing any remnants of food or dirt. Once they are clean and dry, place the wicks in the center of each dish, ensuring they are straight and secure.
Next, melt your candle wax in a double boiler or a microwave-safe container. If using a microwave, heat the wax in short intervals, stirring in between until it is completely melted. Use a thermometer to ensure the wax is at the appropriate temperature for pouring.
Once your wax is melted, you can add fragrance oils if desired. This step is optional but can add a lovely scent to your candles. Be sure to follow the recommended guidelines for fragrance oil usage to achieve the desired scent strength.
Carefully pour the melted wax into your old dishes, ensuring the wick stays centered. Allow the wax to cool and solidify completely before trimming the wick to the desired length.
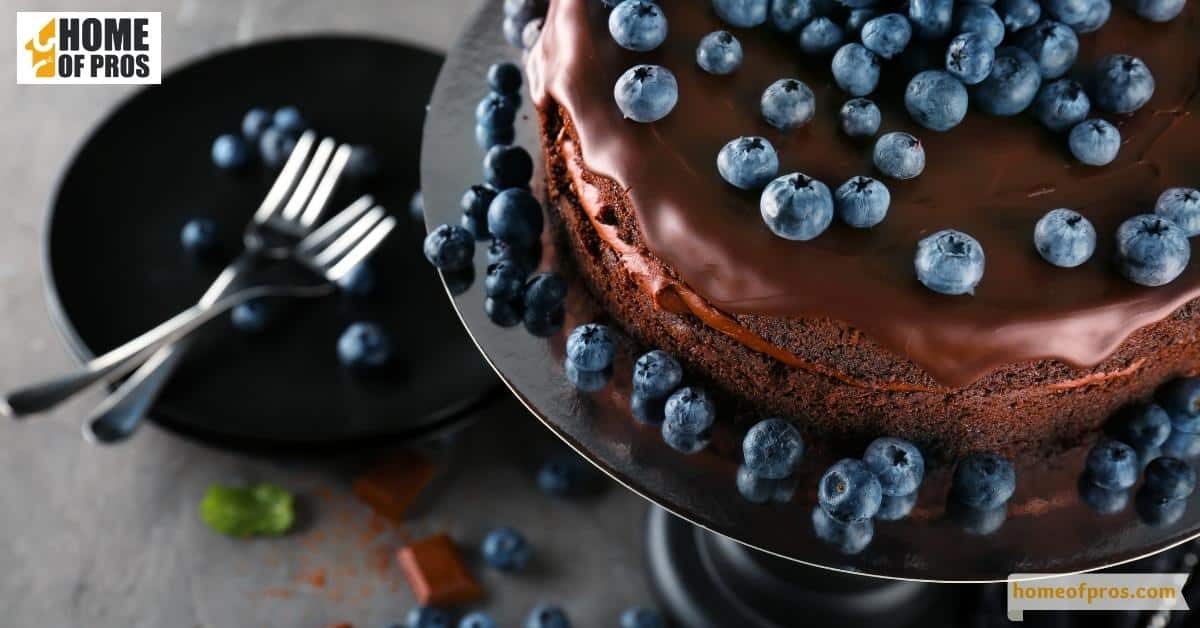
4. Build a Cake Stand
First, gather your materials. You’ll need a sturdy plate or dish as the base of your cake stand, and a smaller plate or bowl to create the elevated platform. Choose dishes that complement each other in size and style, allowing for stability and visual appeal.
Next, clean your chosen dishes thoroughly, ensuring they are free from any food residue or grease. This step is crucial to ensure a solid and stable construction.
Once your dishes are clean and dry, it’s time to assemble your cake stand. Place the larger dish or plate on a flat surface, and position the smaller plate or bowl upside down in the center of the larger dish. This will create an elevated platform for your cake.
To secure the two dishes together, use a strong adhesive suitable for bonding ceramics or glass. Apply a small amount of adhesive to the bottom of the smaller plate or bowl, and carefully press it onto the larger dish, ensuring it is centered and level.
Allow the adhesive to dry completely according to the manufacturer’s instructions. This step is essential to ensure a sturdy and durable cake stand.
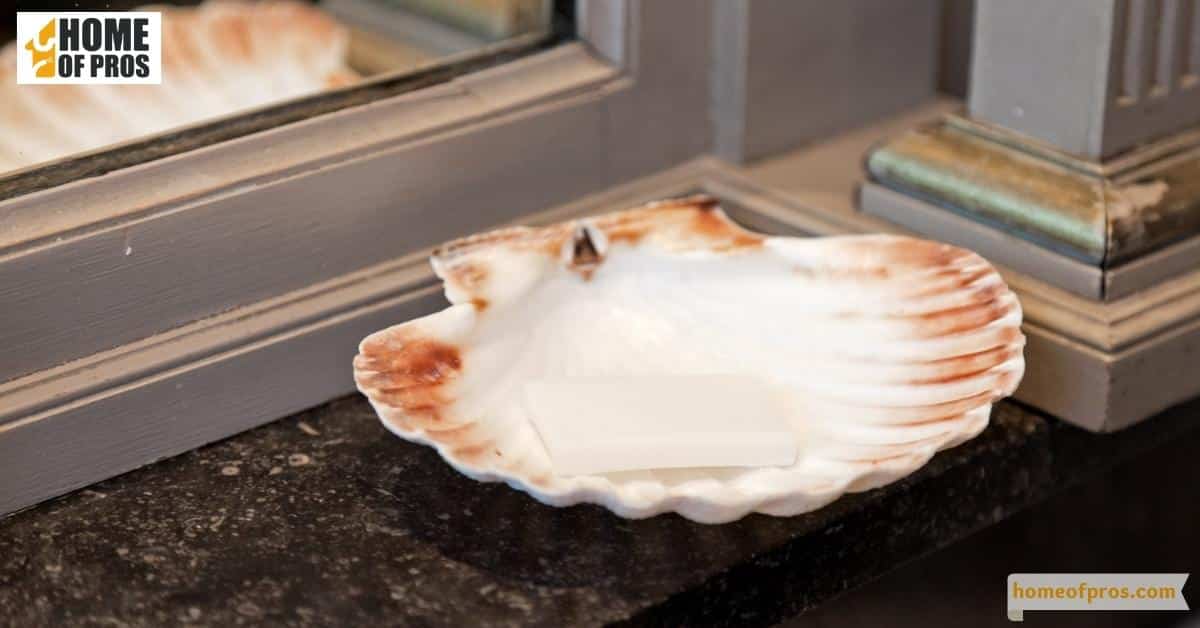
5. Make a Mirror
Start by cleaning your dishes thoroughly, eliminating any food residue or grease. This step is vital for achieving a smooth and clear mirror surface.
Once your dishes are clean and dry, it’s time to assemble your mirror. Place the round mirror face down in the center of the dish, ensuring it fits snugly. You can use a small amount of adhesive or silicone caulk to secure the mirror to the dish, providing stability.
Allow the adhesive to dry completely according to the manufacturer’s instructions. This ensures that your mirror remains securely attached to the dish and prevents any accidents.
Once the adhesive is fully cured, your homemade mirror is ready to be displayed! Hang it on a wall, prop it on a shelf, or place it on a vanity for a unique and charming addition to your space.
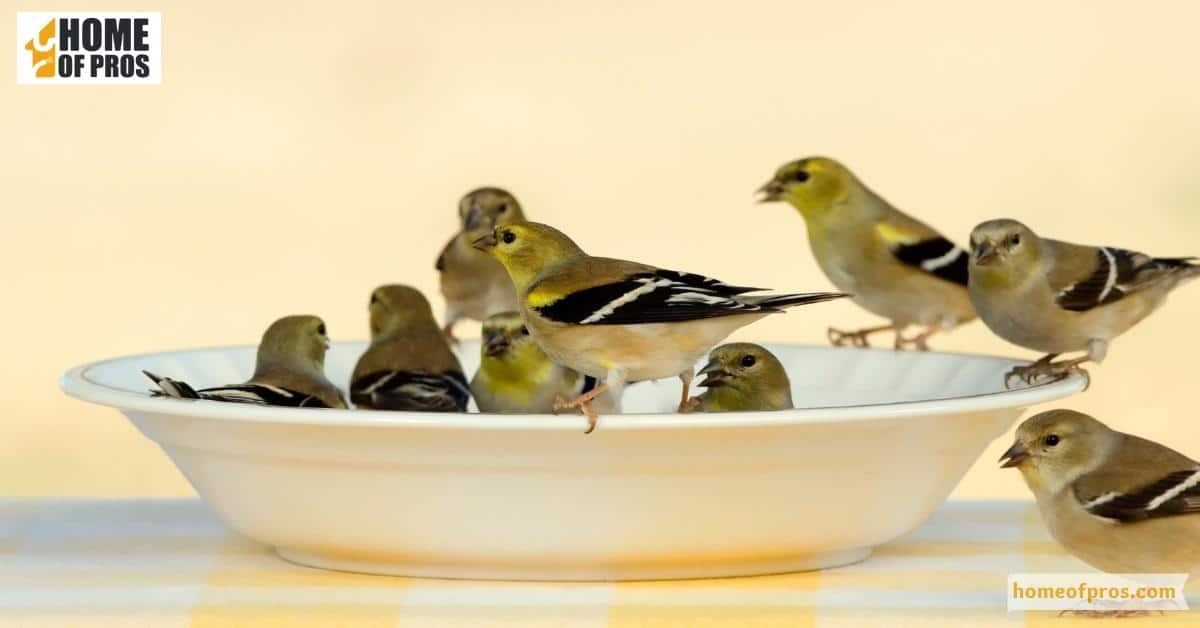
6. Create a Bird Feeder
Turn your old dishes into a welcoming dining spot for feathered friends! Begin by selecting a sturdy dish with enough depth to hold birdseed. Ensure the dish is clean and free of any residue. Attach a rope or chain to the dish using waterproof adhesive, allowing it to sit securely when hung from a tree branch or hook.
Once the adhesive is dry, fill the dish with birdseed, and hang it outdoors. Enjoy watching a variety of birds visit your homemade feeder, adding a vibrant touch to your garden while making good use of your old dishes.
In conclusion
Don’t let your old dishes clutter up your cabinets and become a source of stress. With a little bit of creativity, you can repurpose them into something new and useful. From transforming plates into beautiful wall art to turning teacups into innovative planters, the possibilities are endless.
So instead of throwing away your old dishes, consider giving them a new life and reaping the benefits of a more organized space. As home organization pros, we encourage you to get creative and have fun with your old dishes.